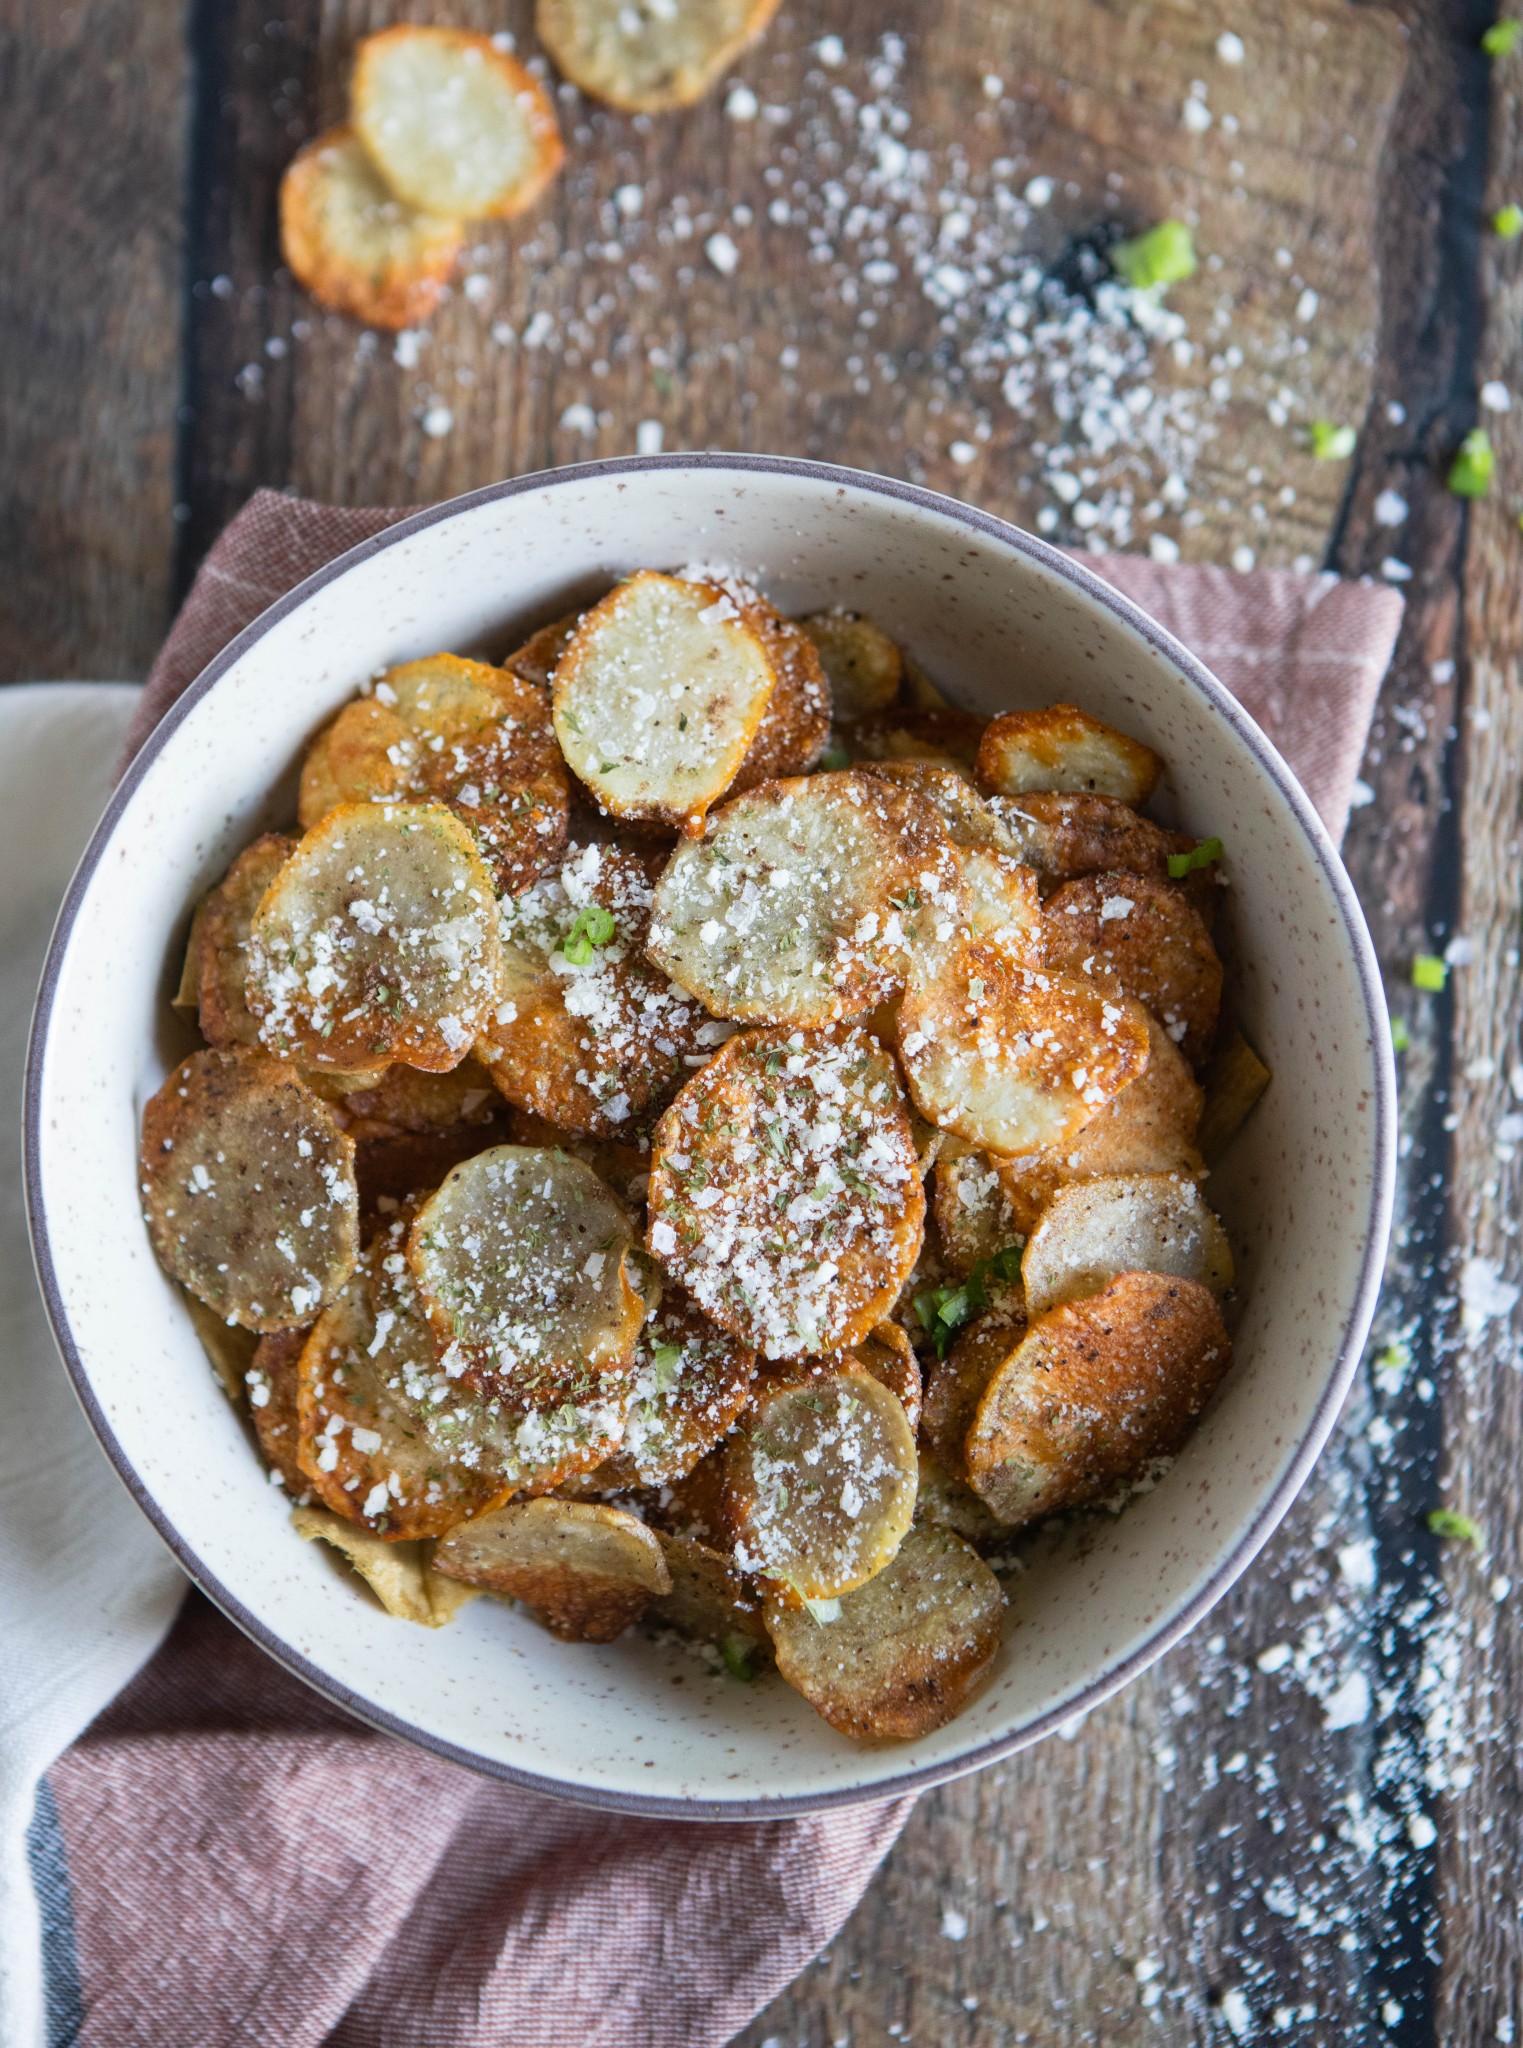
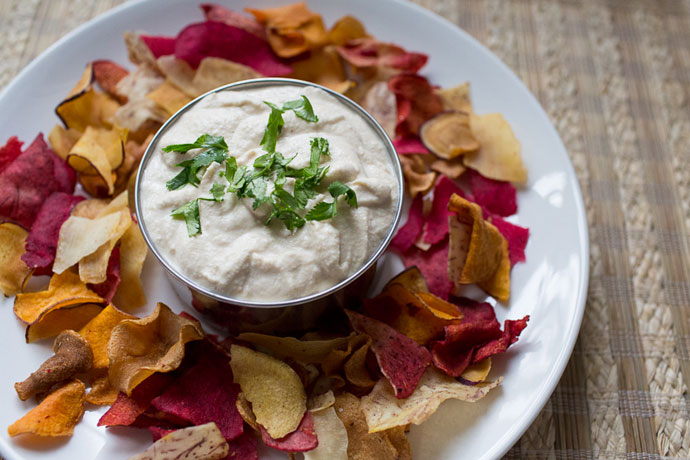
You’re going to love these potato chips in the air fryer! Light and crispy, with tons of flavor, they’ll soon become one of your favorite snacks. And I’ll share how to turn them into truffle potato chips with the addition of a couple of ingredients.

We purchased a glorified air fryer over a year ago and we mainly use it for baking and toasting things. Don’t get me wrong, getting the Breville Smart Air Oven Air has completely changed our cooking game at home, but I definitely don’t use it for air frying as much as I thought I would.
But I wanted to change that in 2021! Since we continue to spend most of our time at home, and I am getting pitifully bored of everything in my normal cooking routine, I decided to try making homemade potato chips in the air fryer! We were NOT disappointed in how they came out.
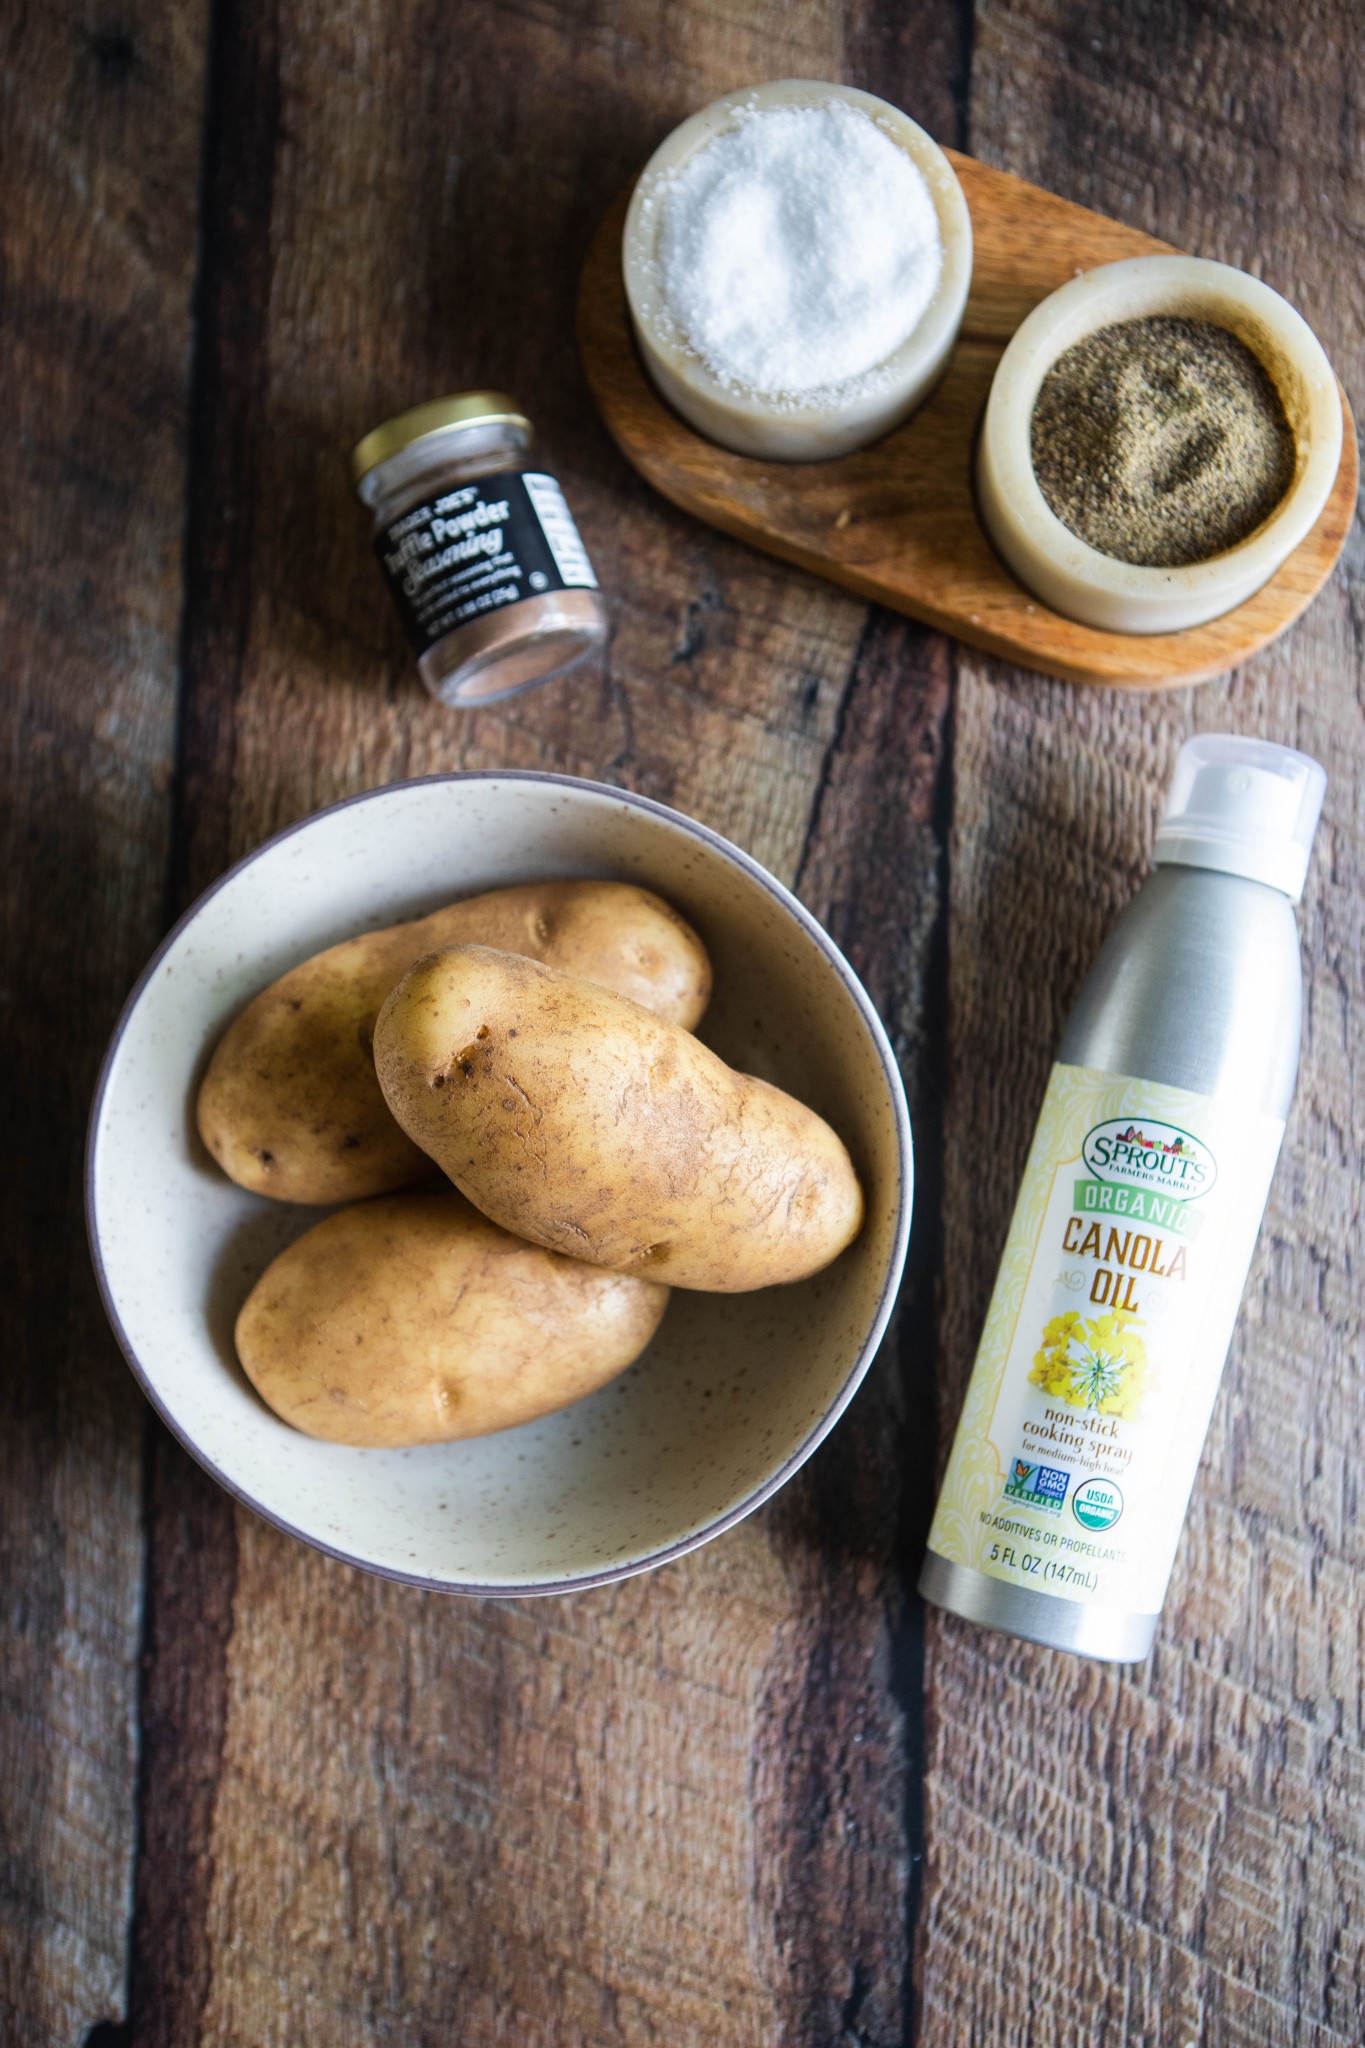
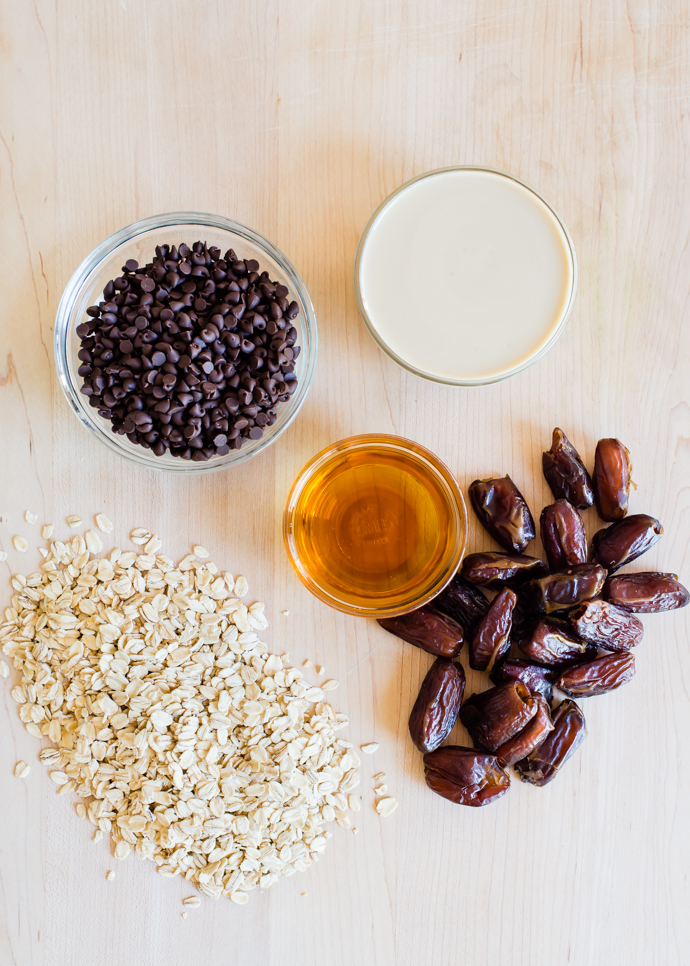
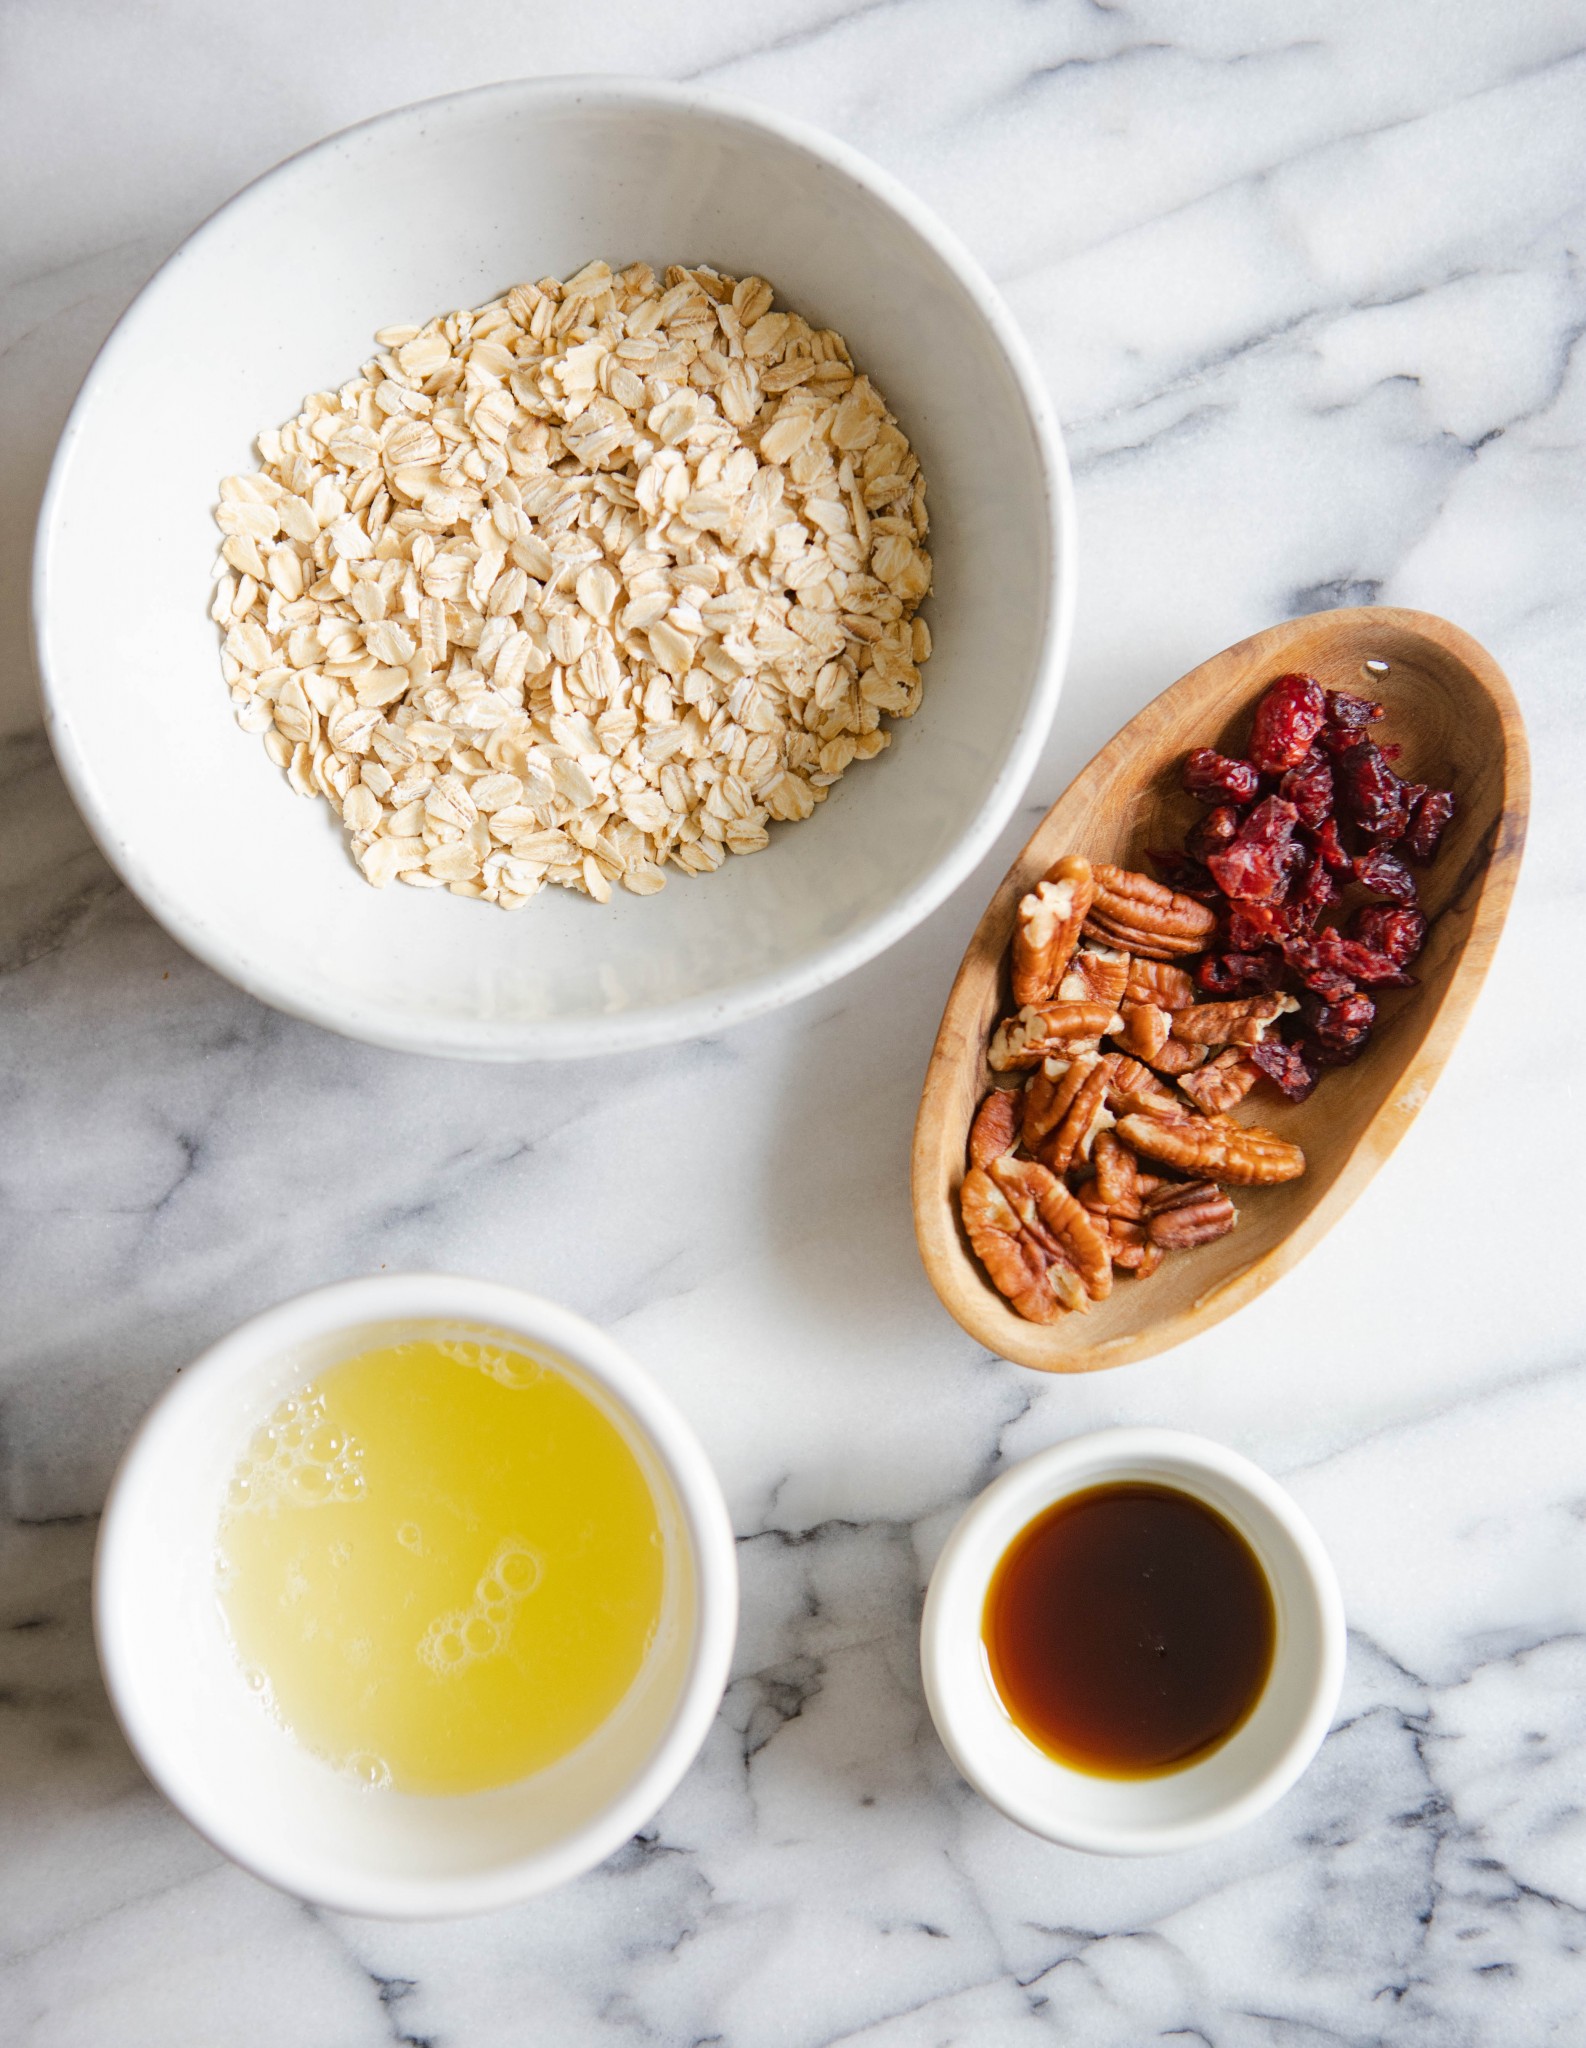
Ingredients needed for homemade potato chips in the air fryer
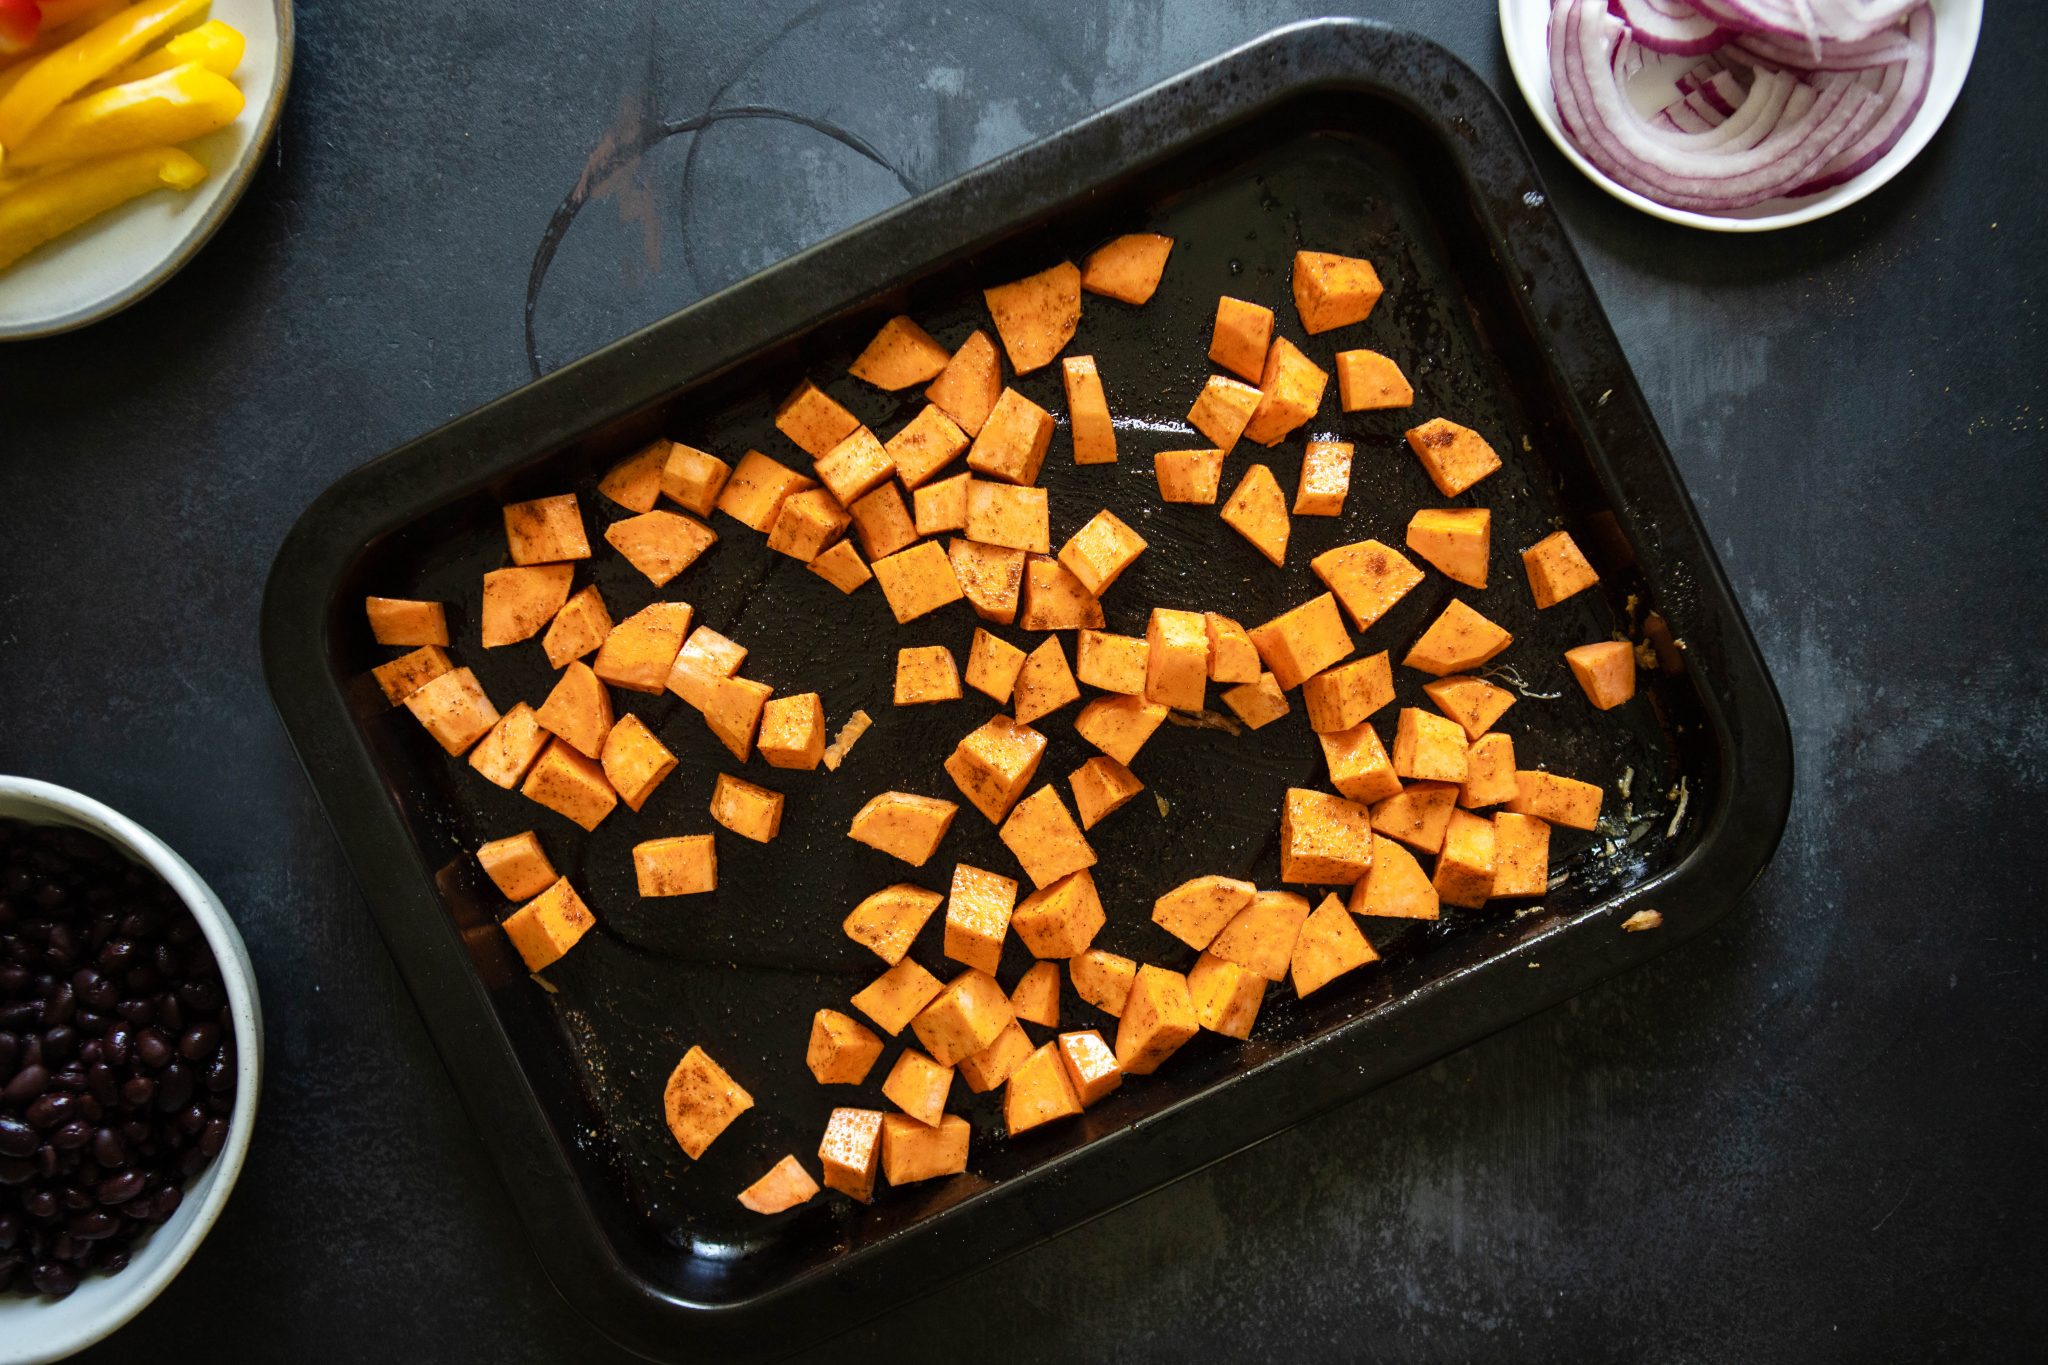
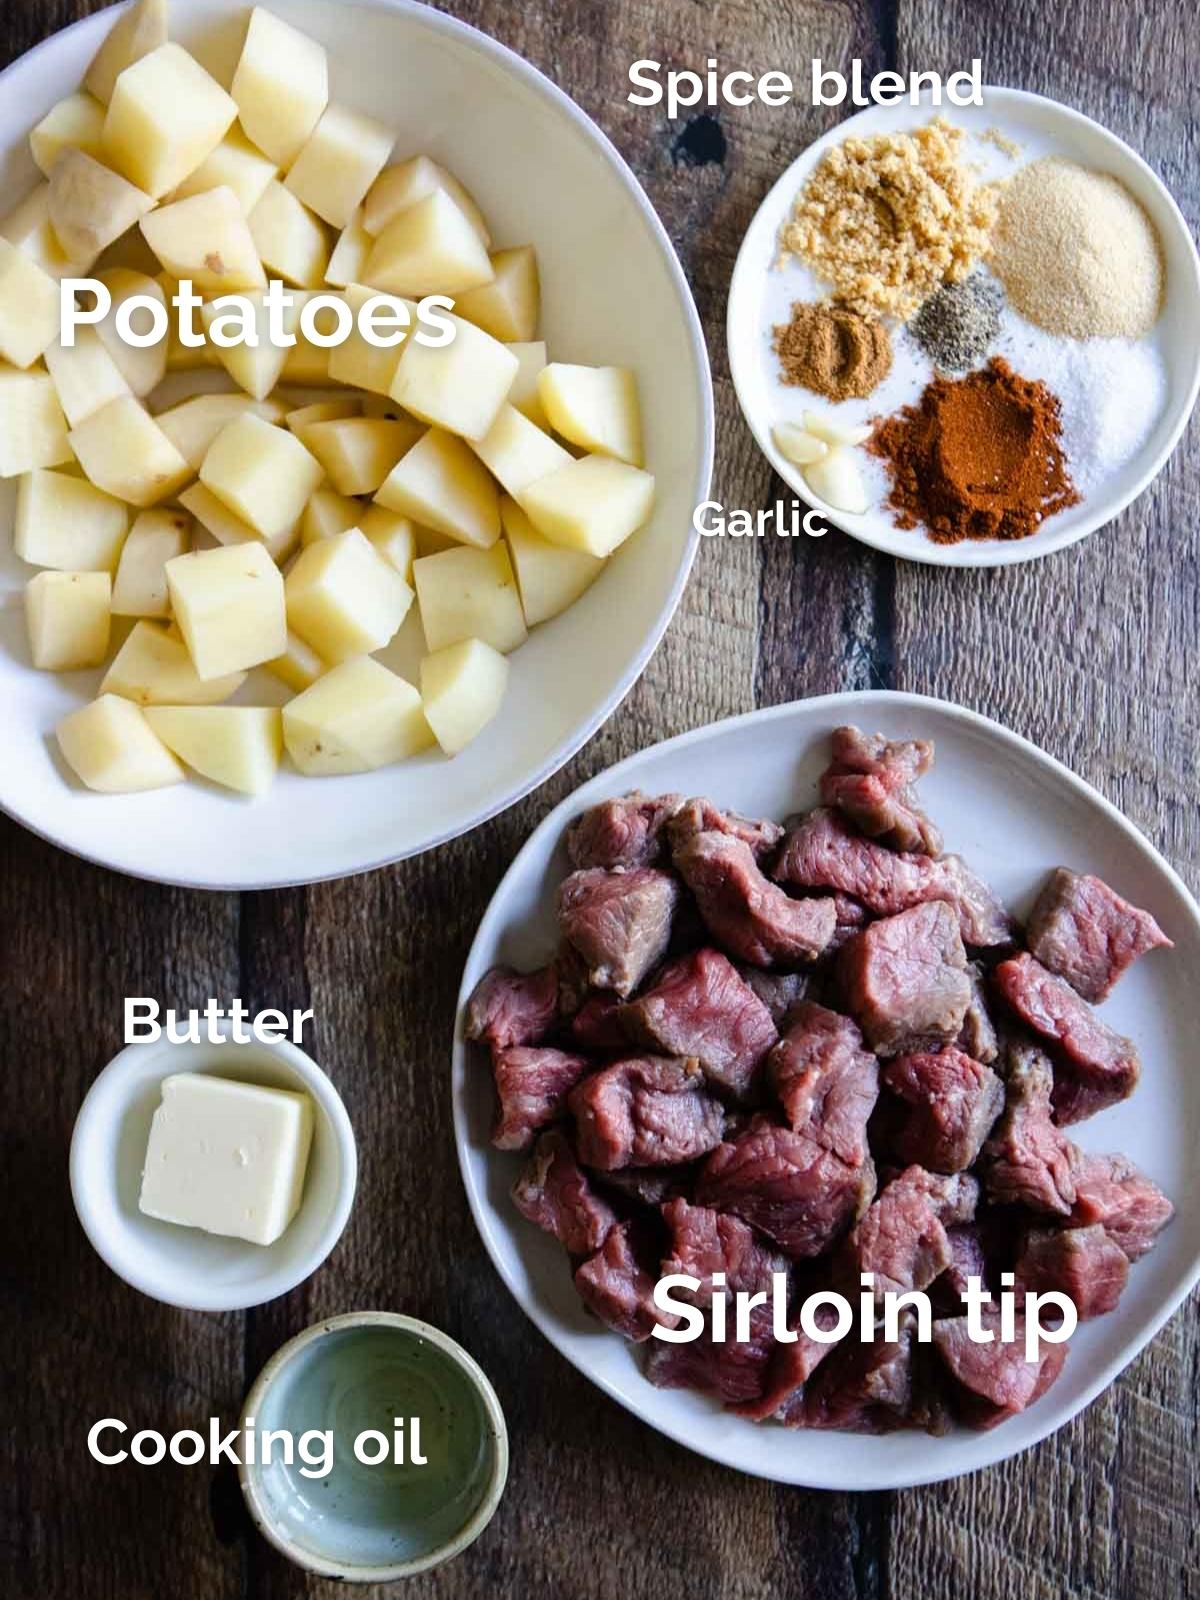
- 2 medium sized Idaho or Russet potatoes, washed and thinly sliced. Peeling first is optional
- Cooking oil to toss, as well as spray for the basket or tray of your air fryer (I used Canola)
- Salt and pepper
- Optional shredded parmesan and truffle powder if you’d like to make truffle potato chips
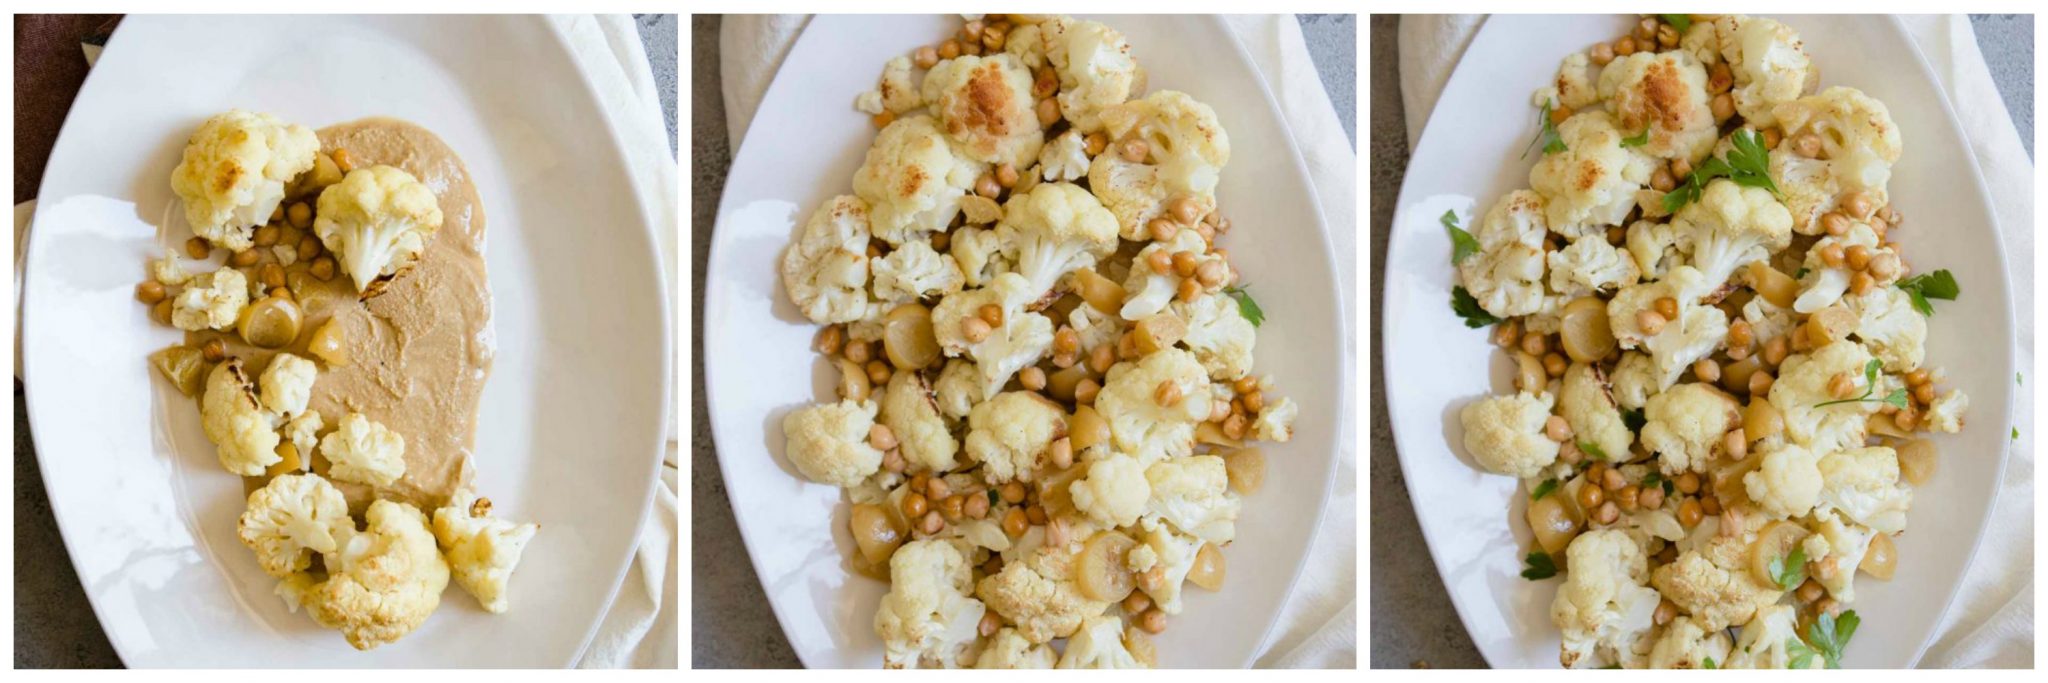
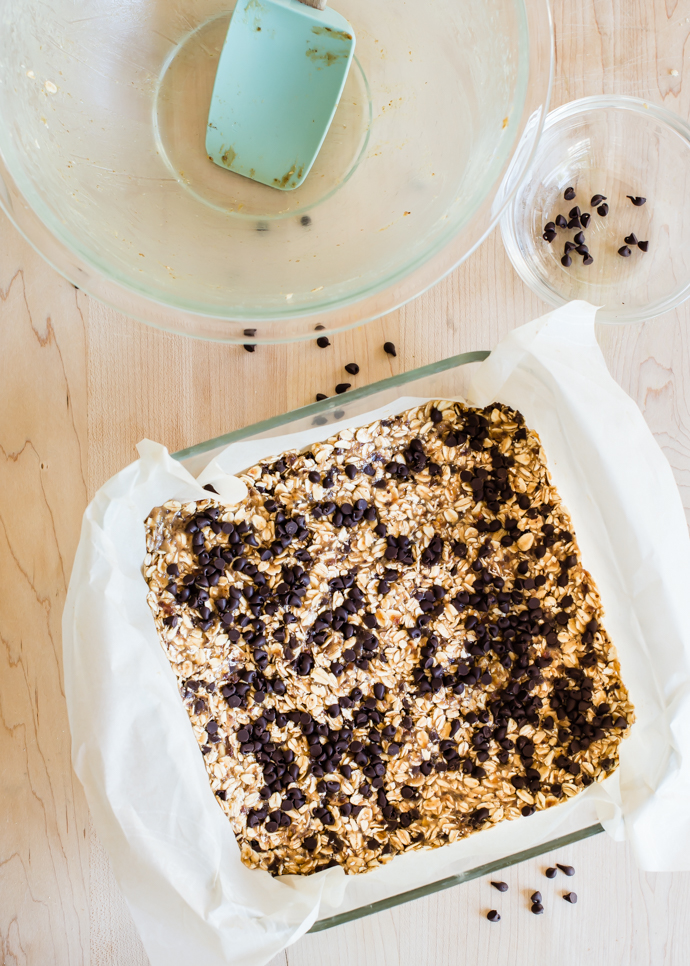
How to make potato chips in the air fryer
Making homemade potato chips are a bit of work up front, mainly in the department of slicing and soaking. However, I promise the end result will be worth it! Especially if you eat them warmed, right out of the air fryer. Plus, you really won’t feel “guilty” eating them by the bag full.
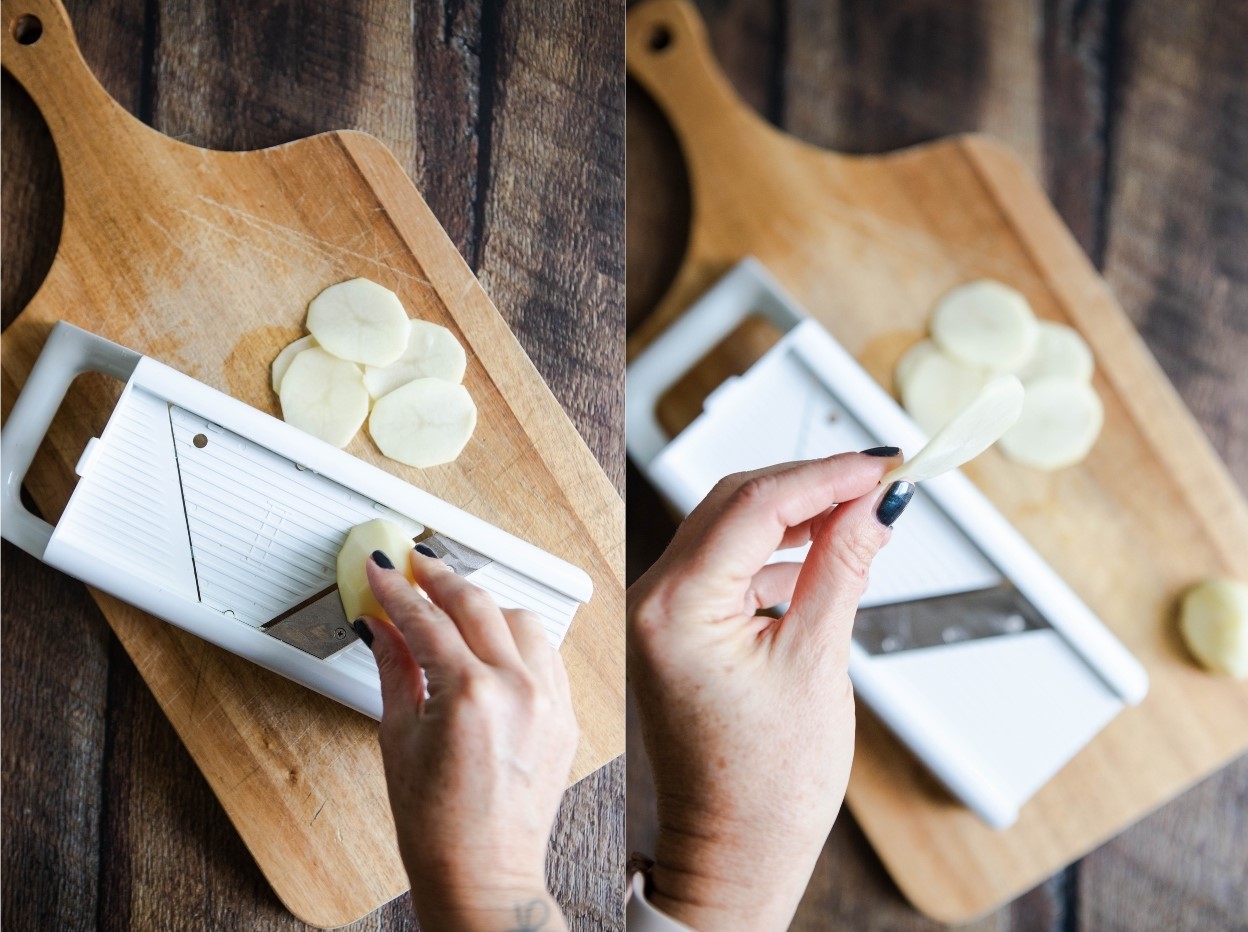
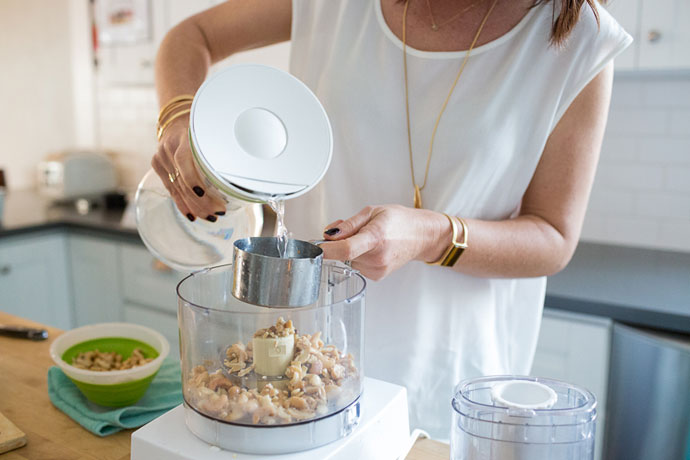
Begin by slicing your potatoes very thin. Of course you can do this by hand, but I prefer using a mandolin on the thinnest blade setting. This makes it go super quick and efficiently. You can also use a food processor with the slicing attachment, however, your slices won’t be as thin.
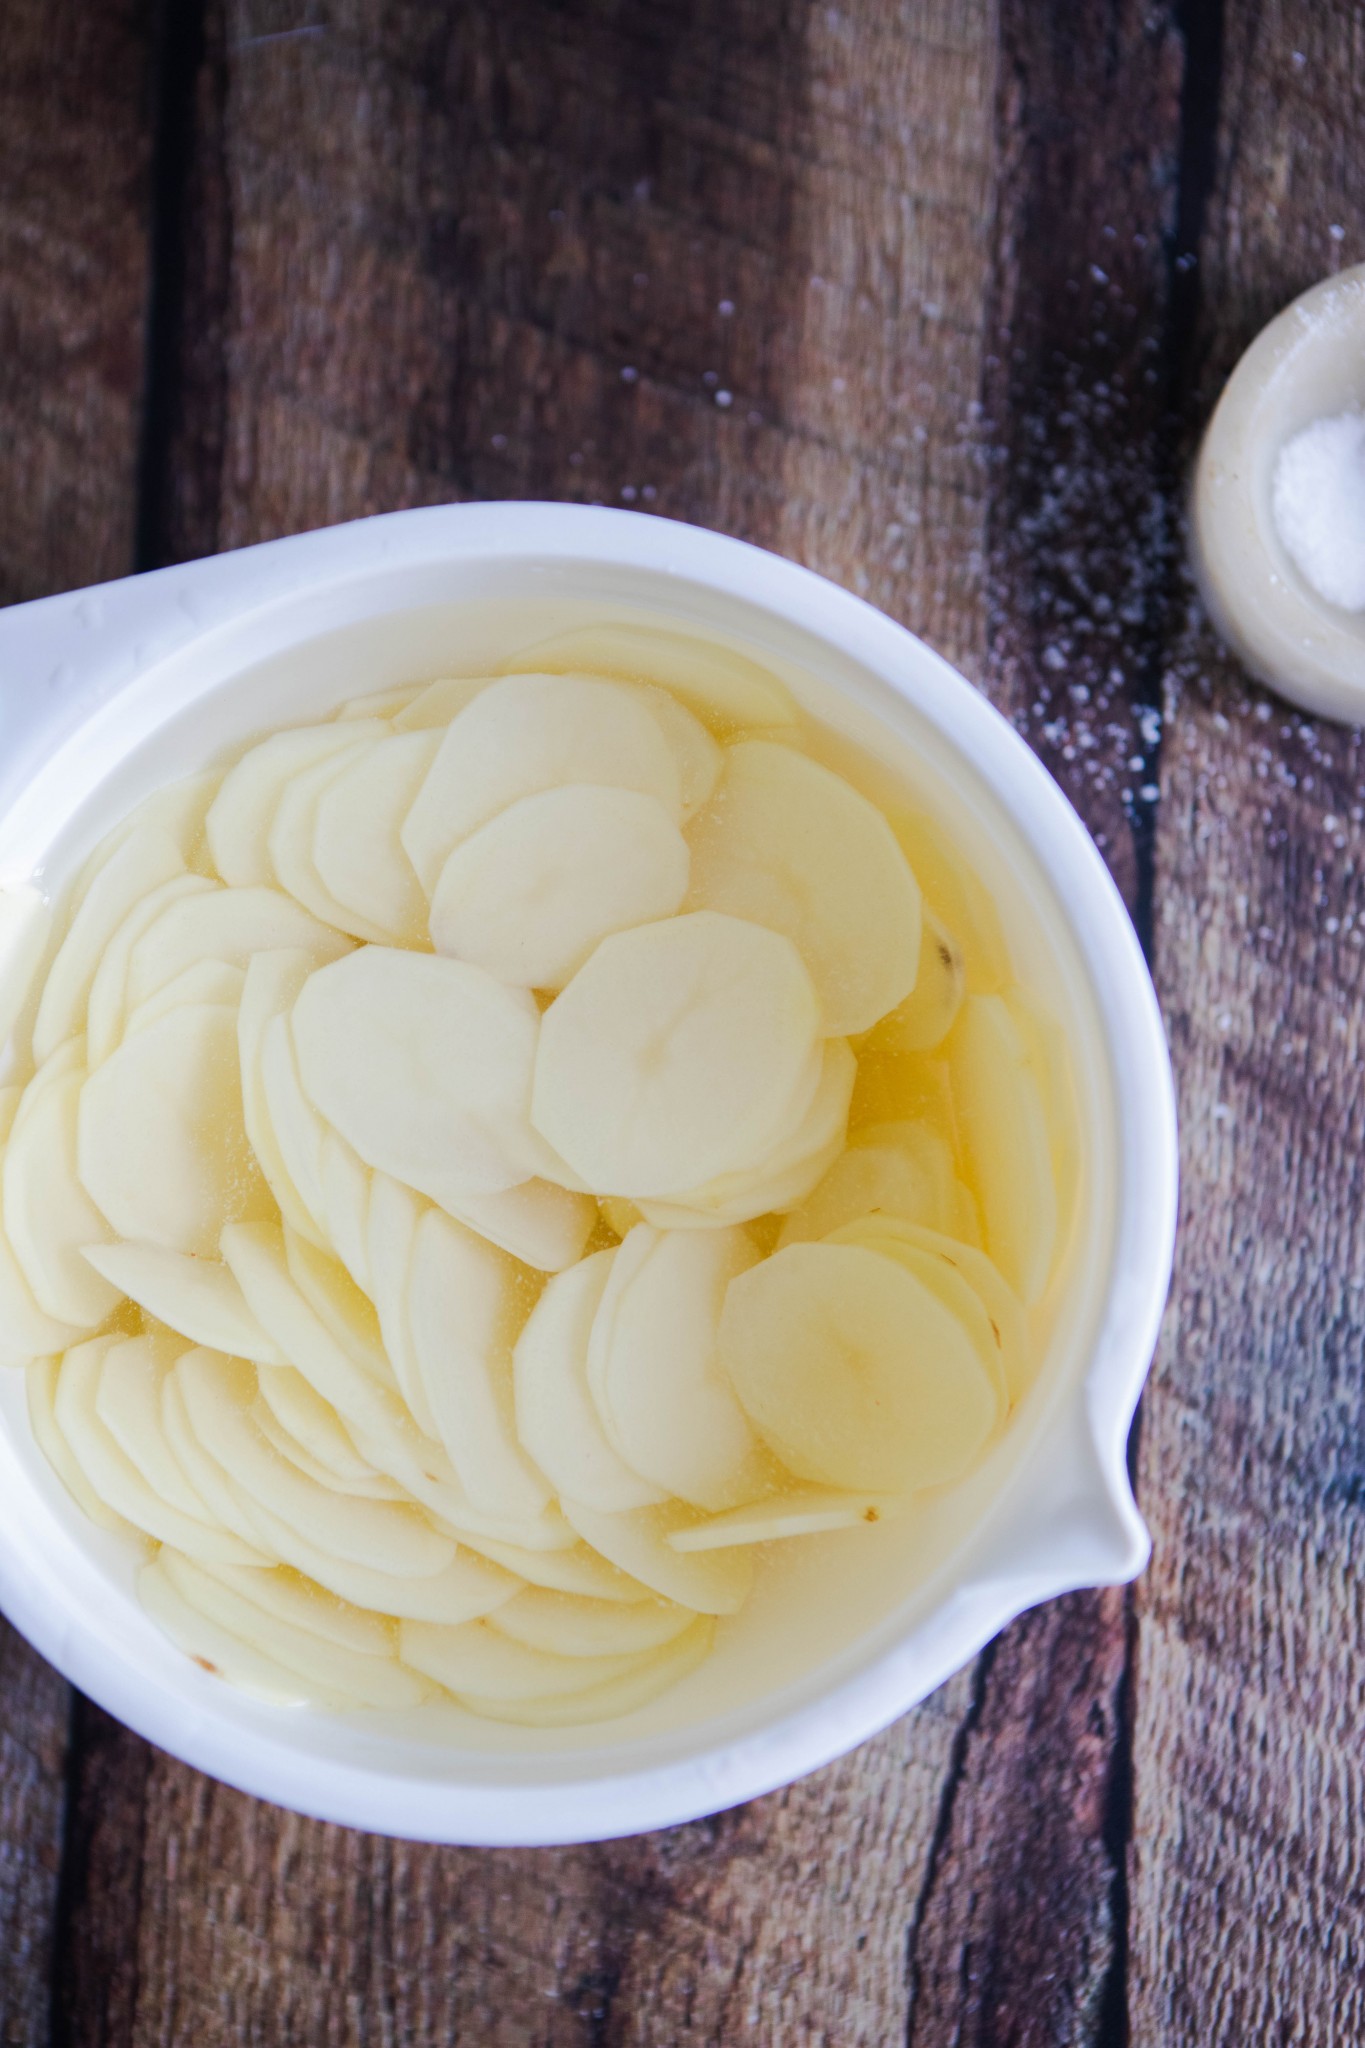
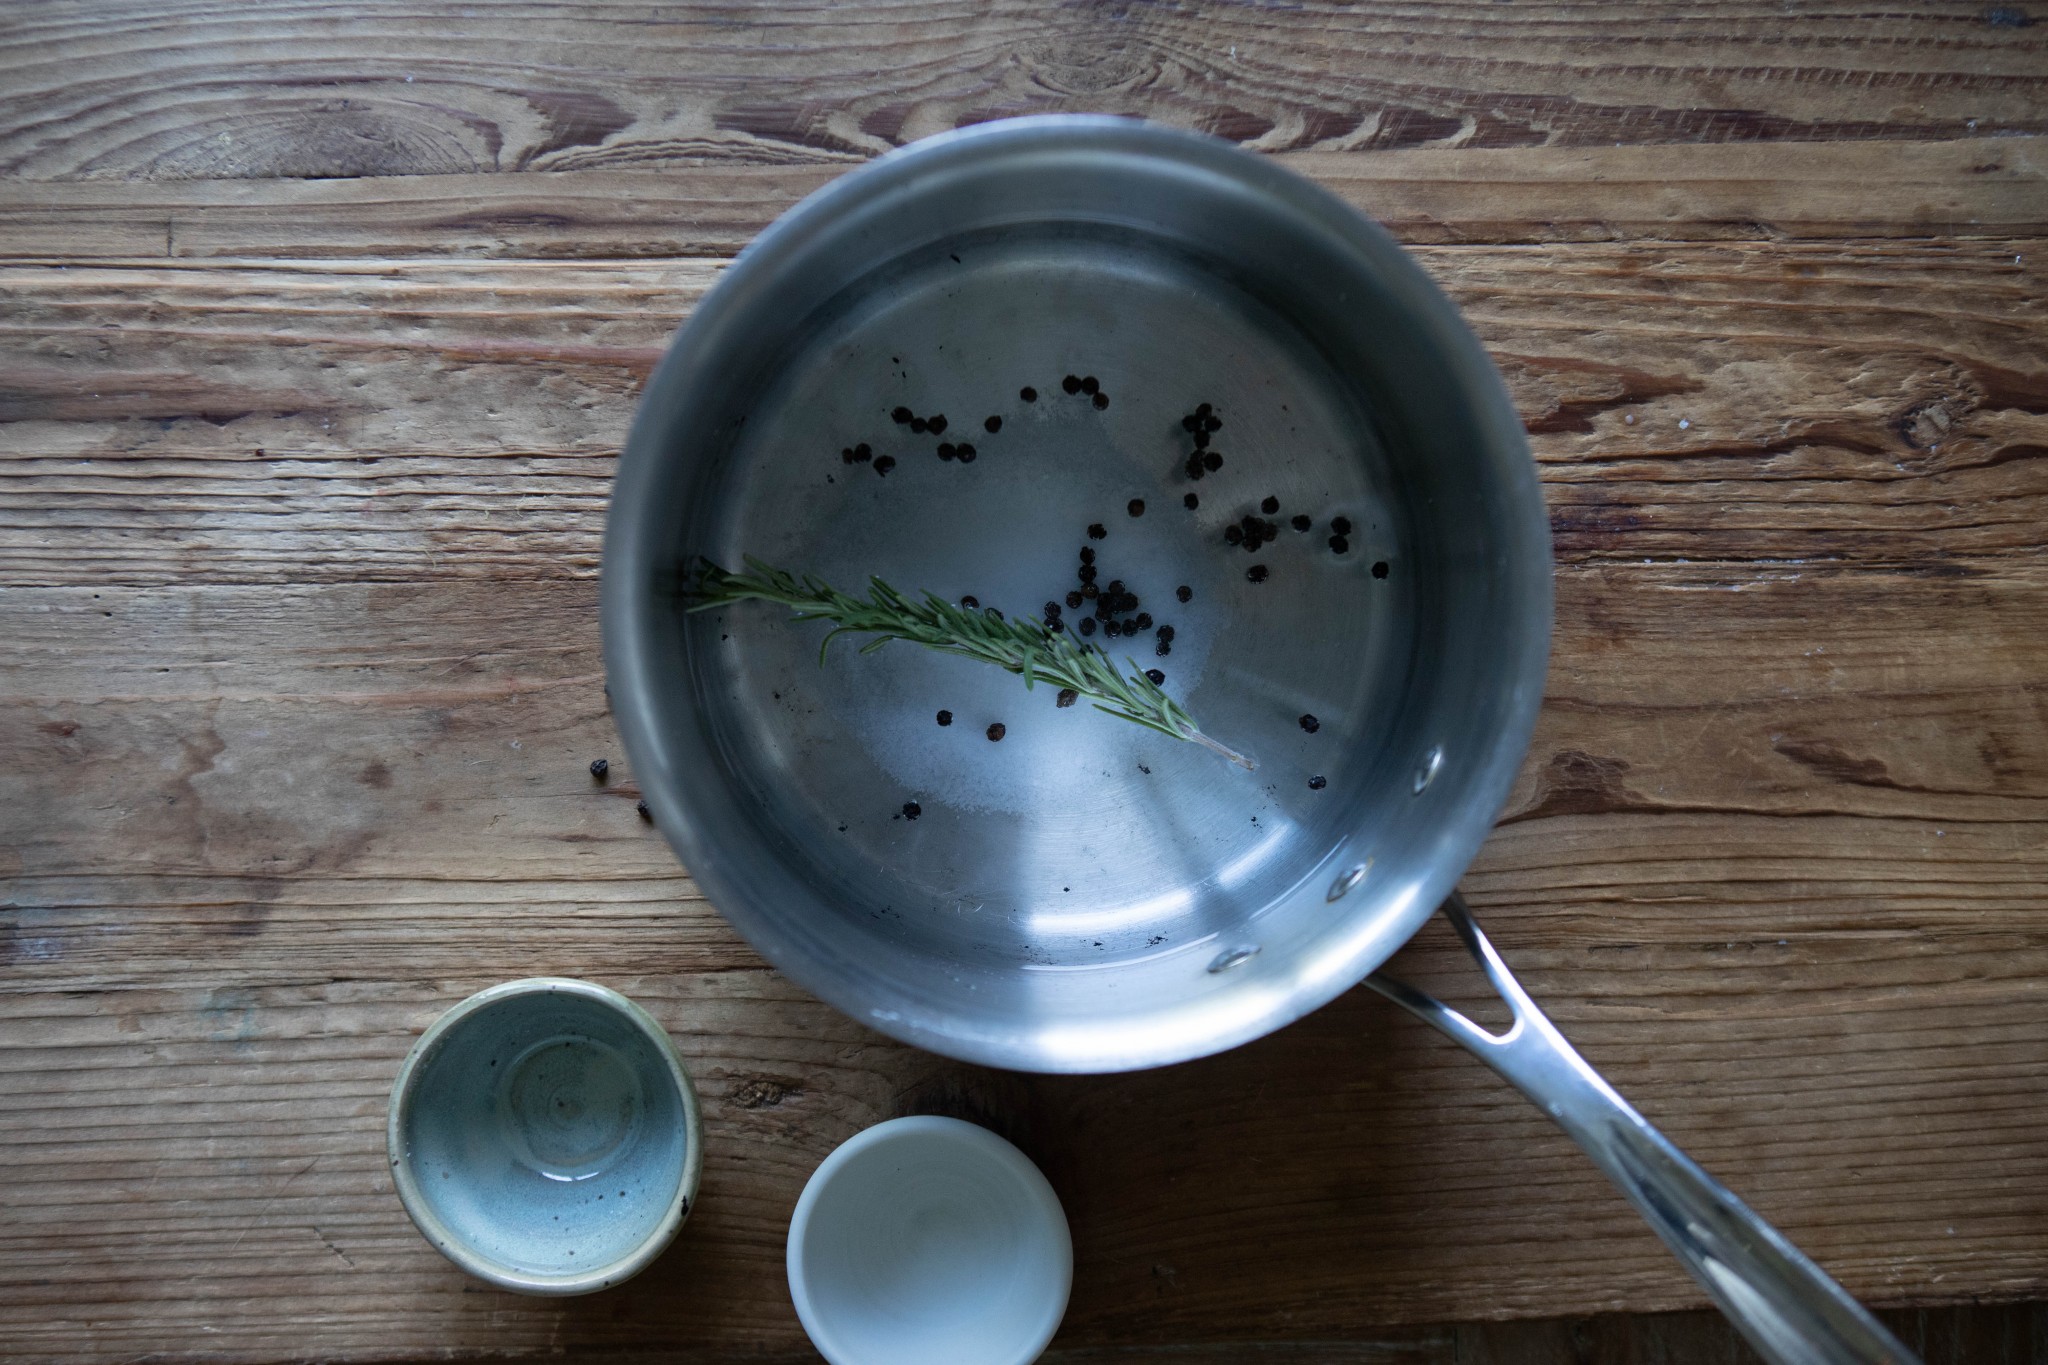
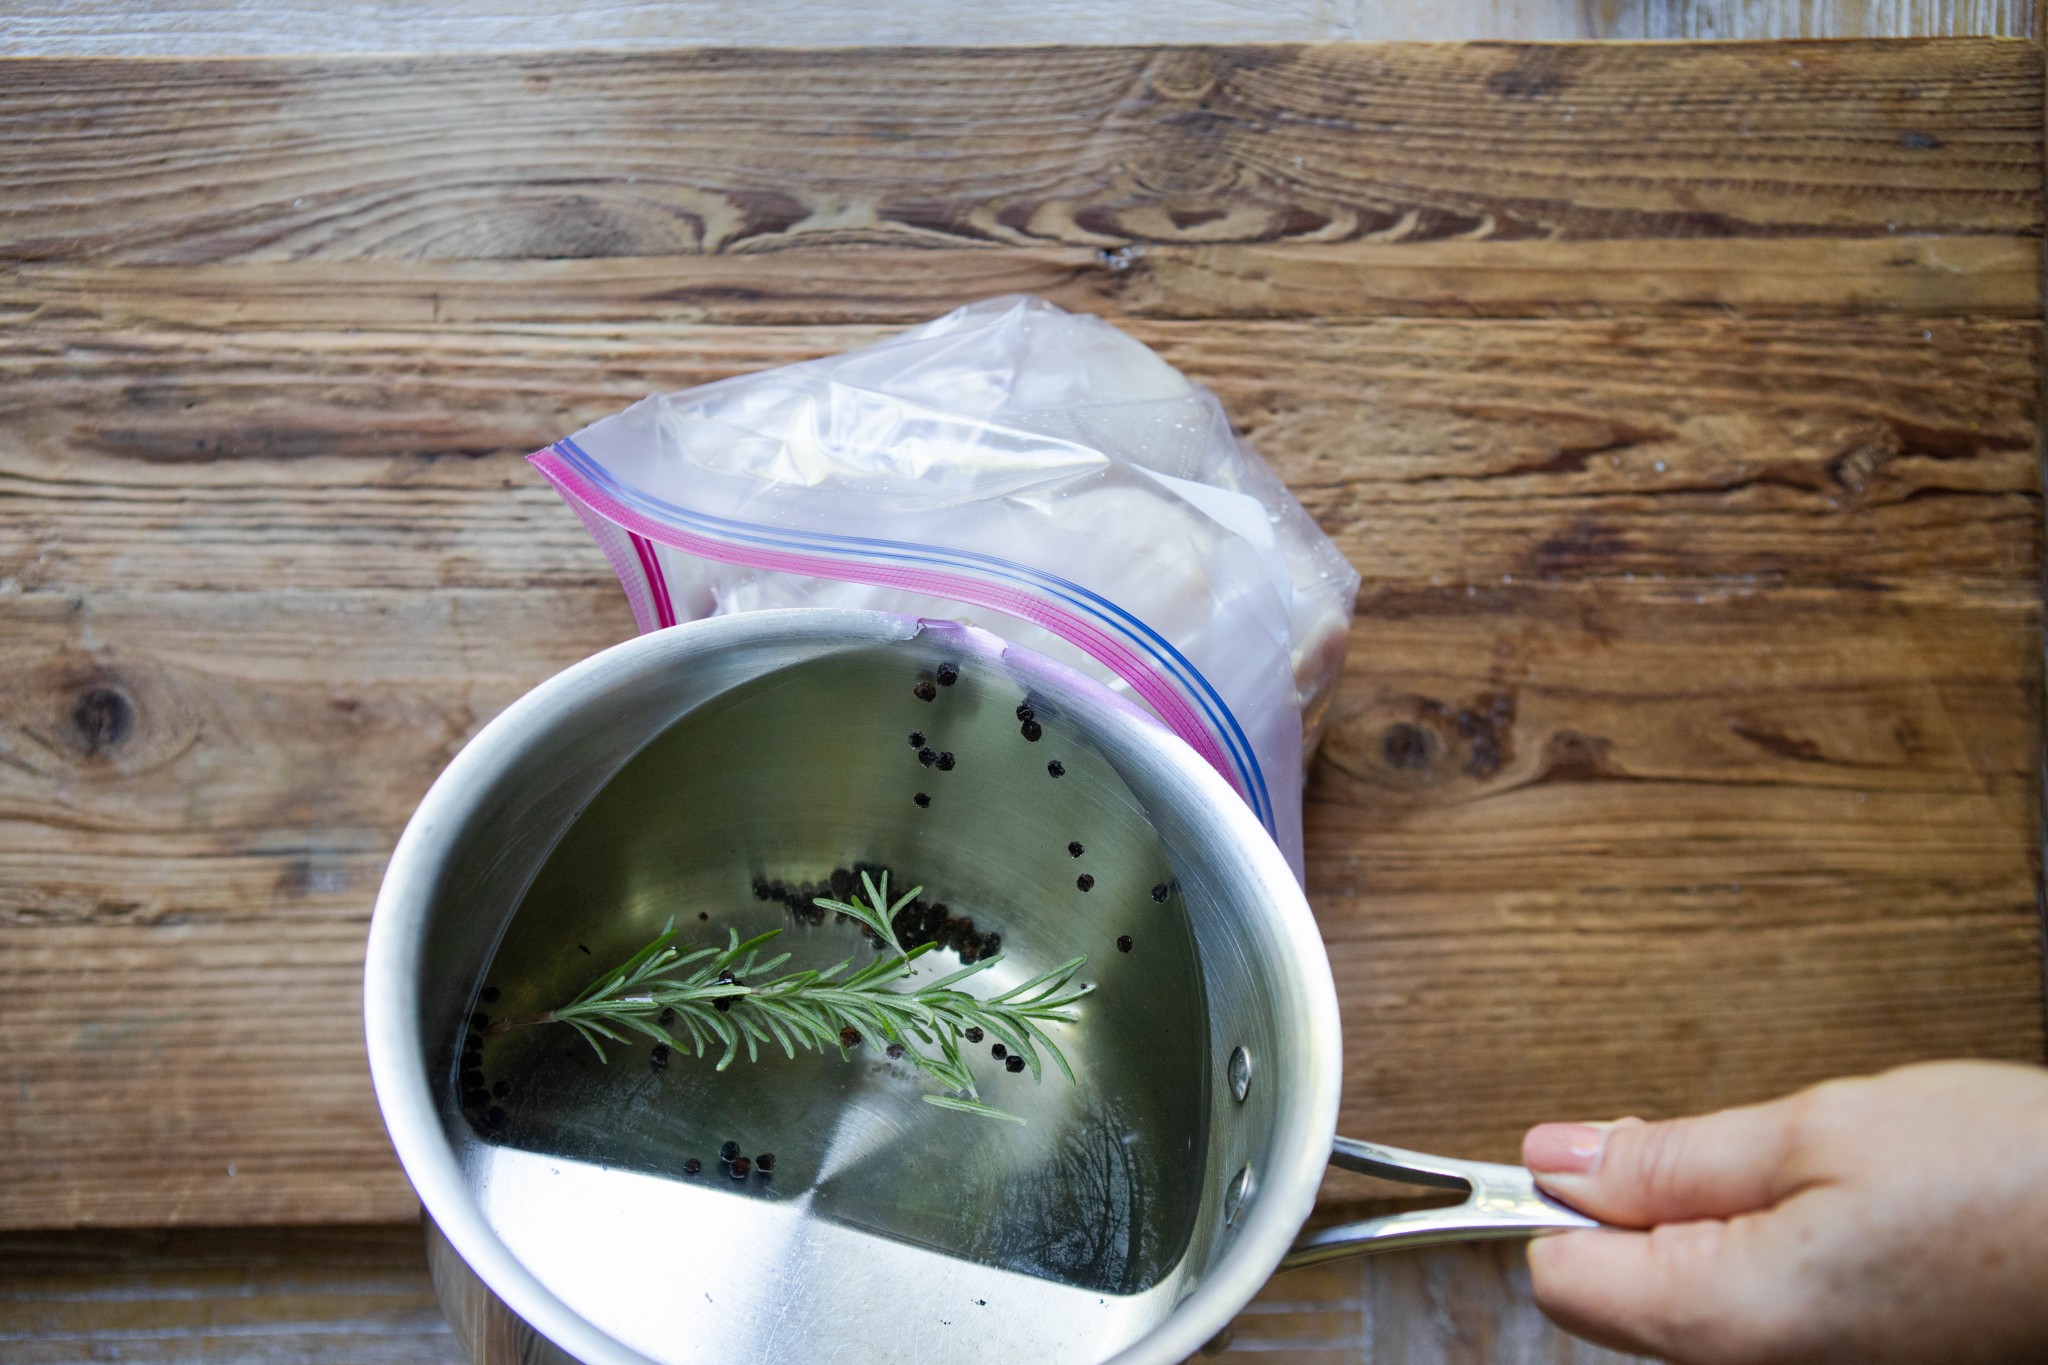
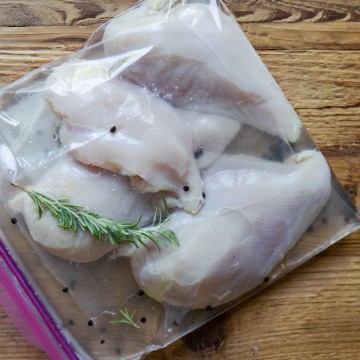
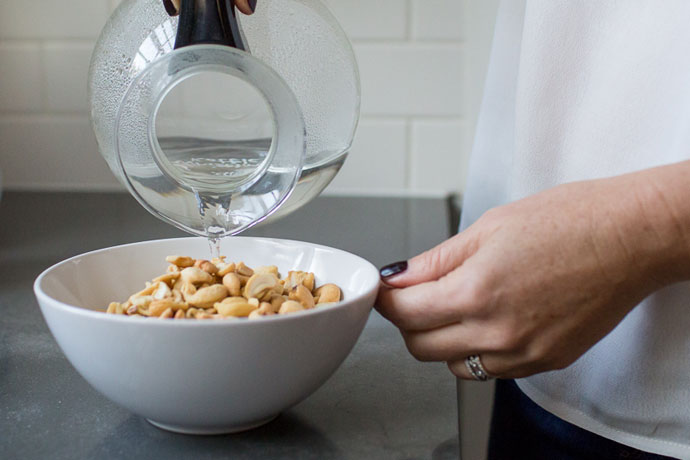
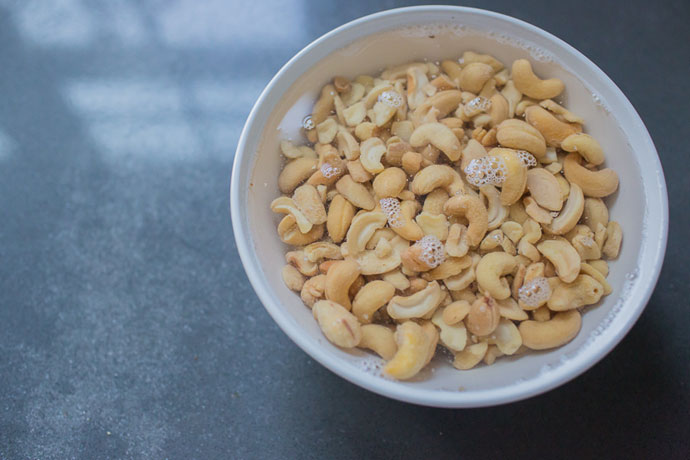
Next is a crucial step. You will need to soak your potatoes in cool salted water to help wash off the starches. Soaking them in the salted water also helps to infuse more flavor, working just like a brine for chicken! Don’t be shy with the salt; for my batch of 2 medium sized potatoes, I used about 2 tablespoons of kosher salt for about ½ quart of standing water. Allow your potatoes to soak for 30 minutes to an hour if you have the time.
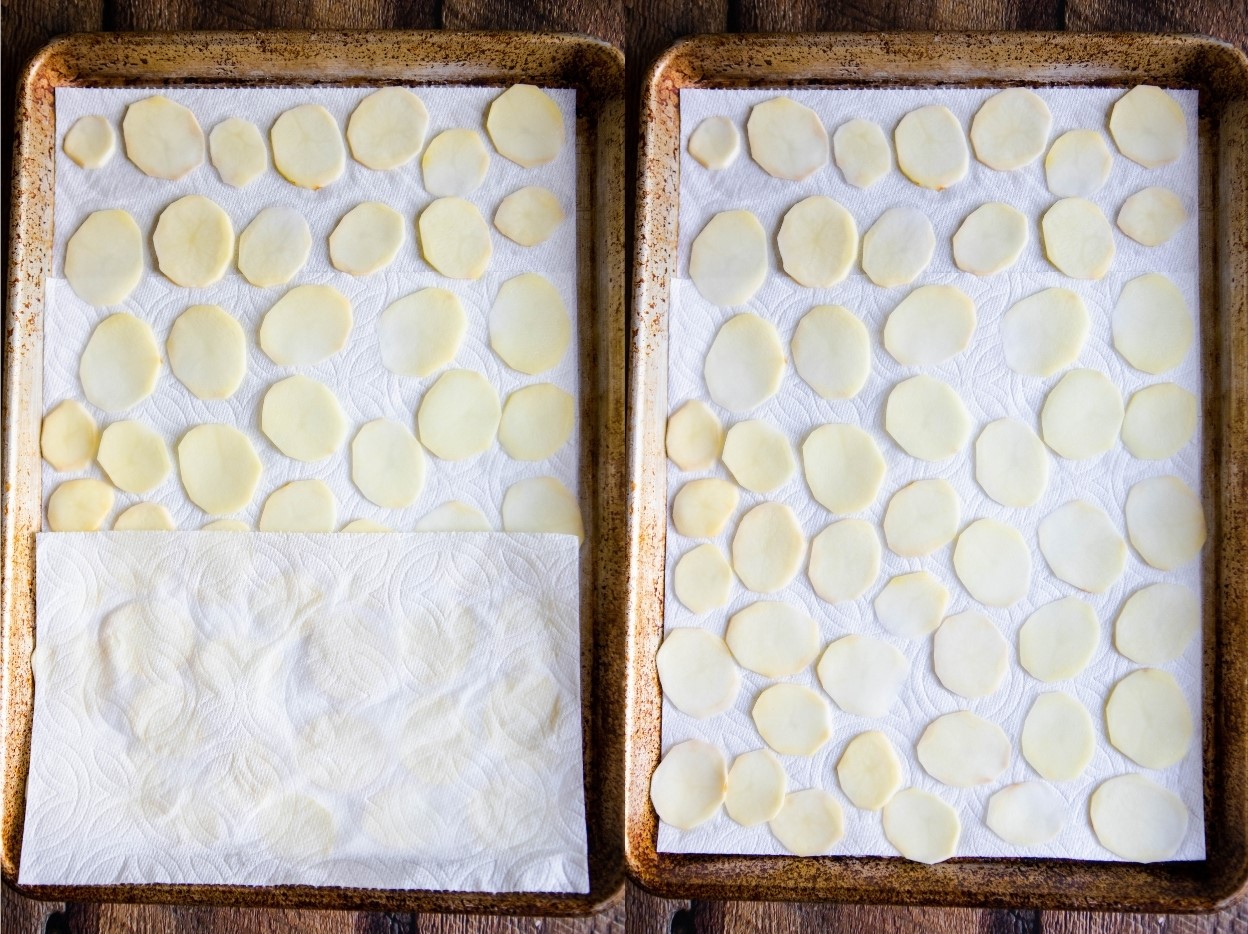
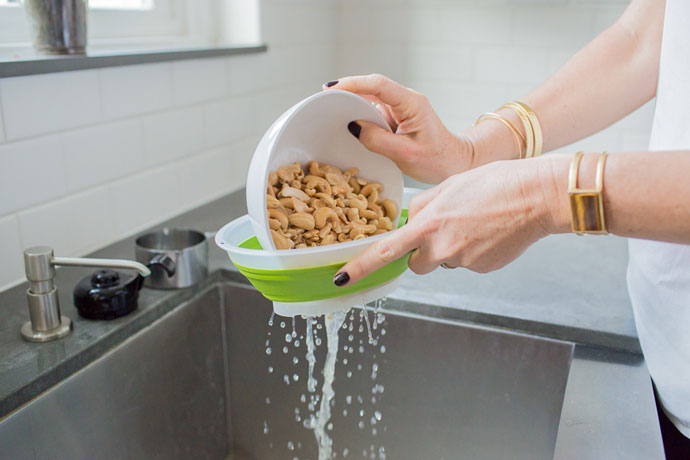
After soaking, drain the water and rinse the potatoes under running water a couple of times to ensure they’re well rinsed, then begin laying them out to dry.
You’ll want to thoroughly dry your potatoes as best you can before putting them to air fry. This will ensure a crunchier texture. You can toss them dry in a kitchen towel, or lay them out in a single layer of a paper towel lined baking sheet. Speed up the drying process by patting them dry with another paper towel.
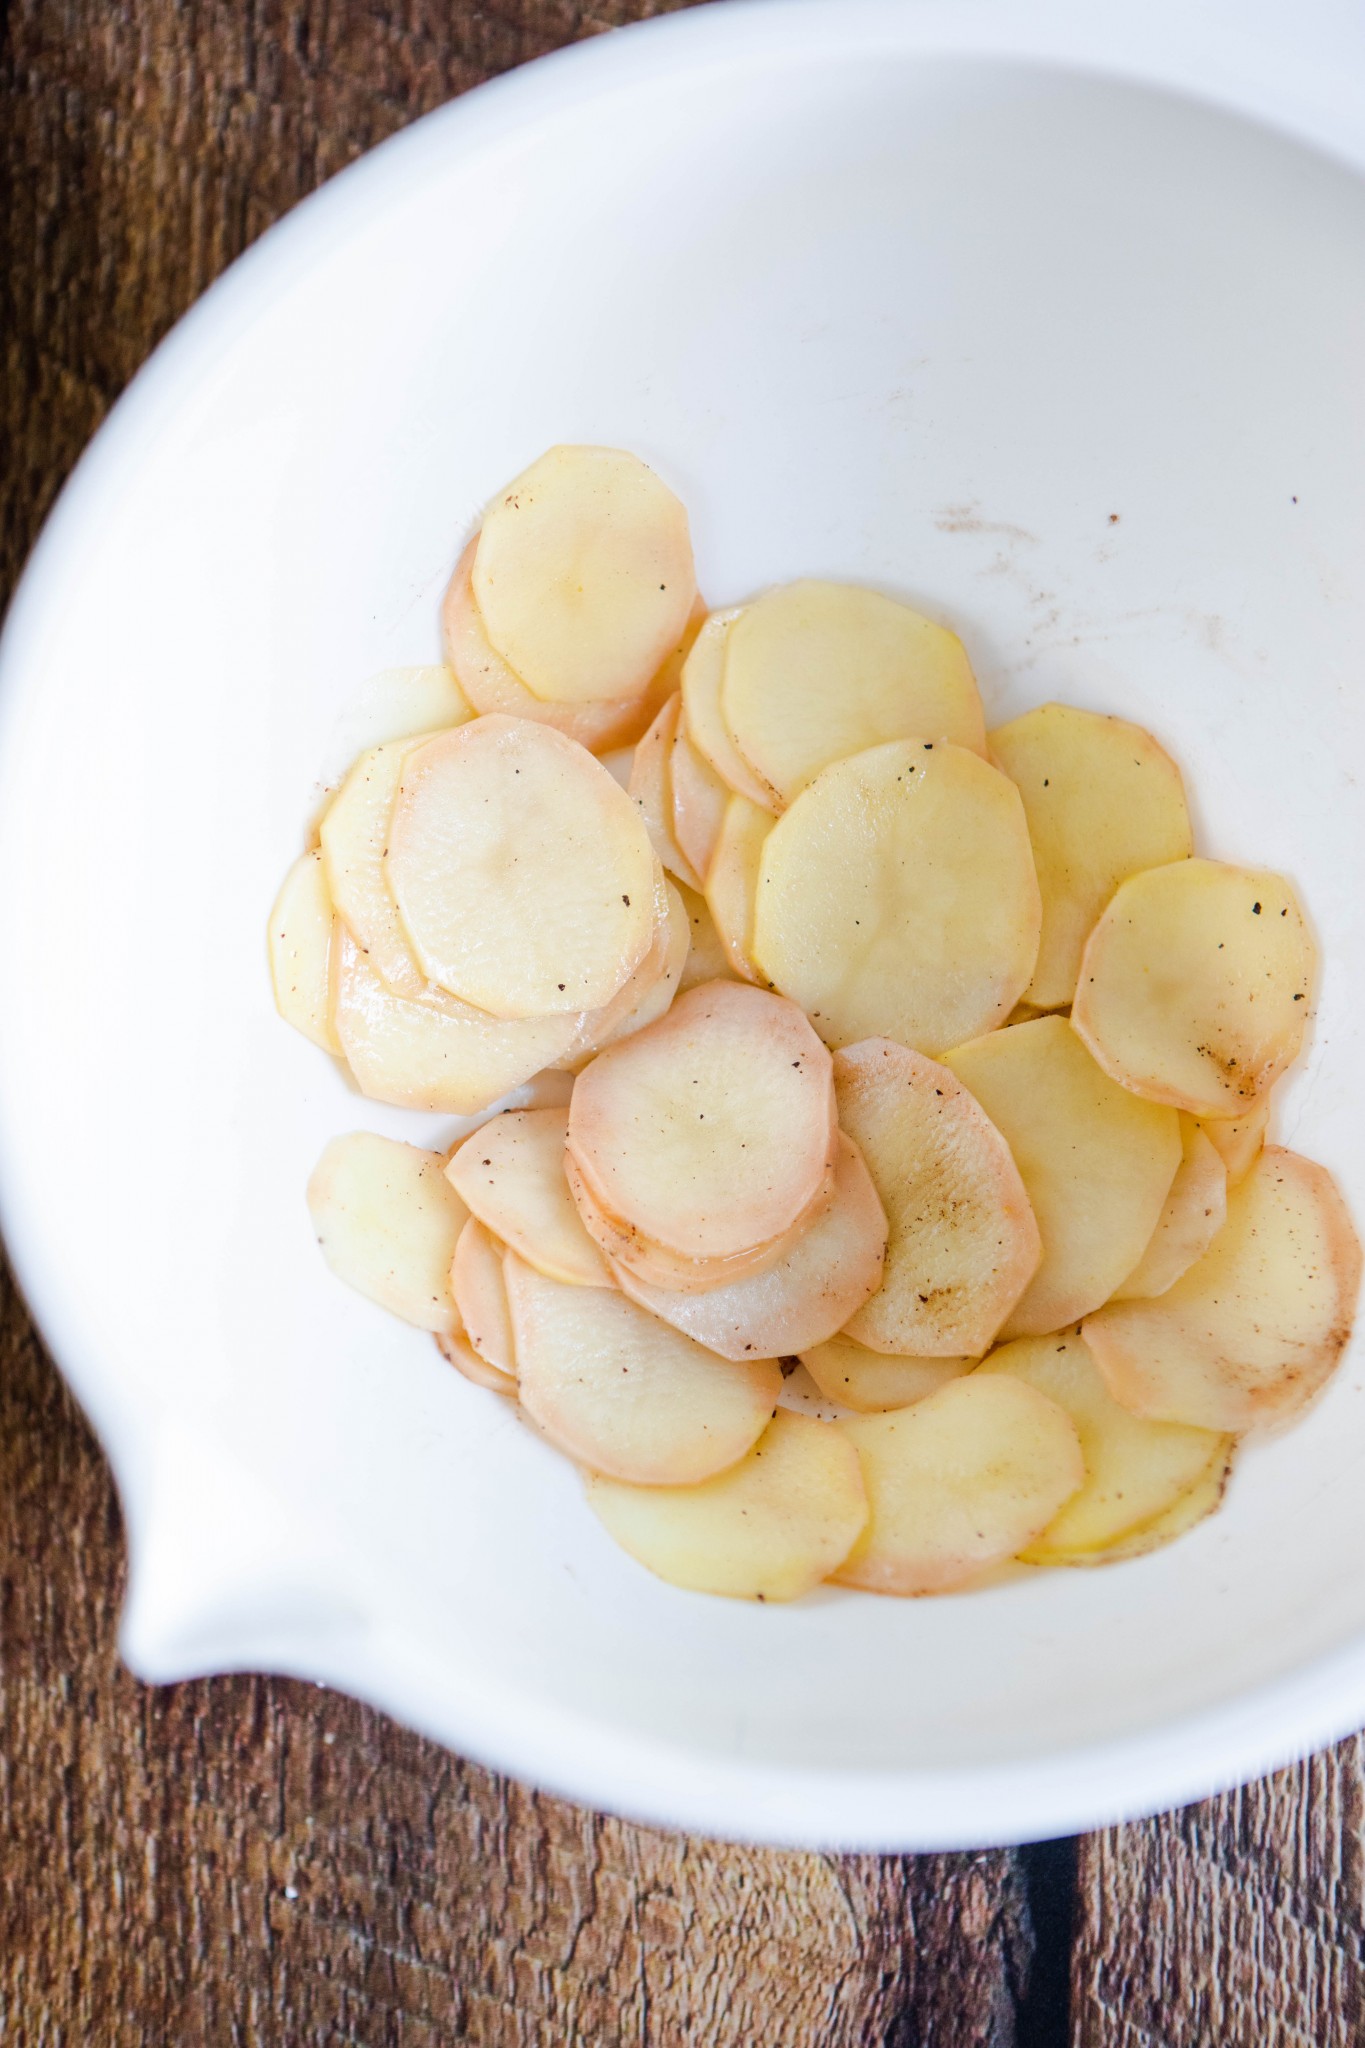
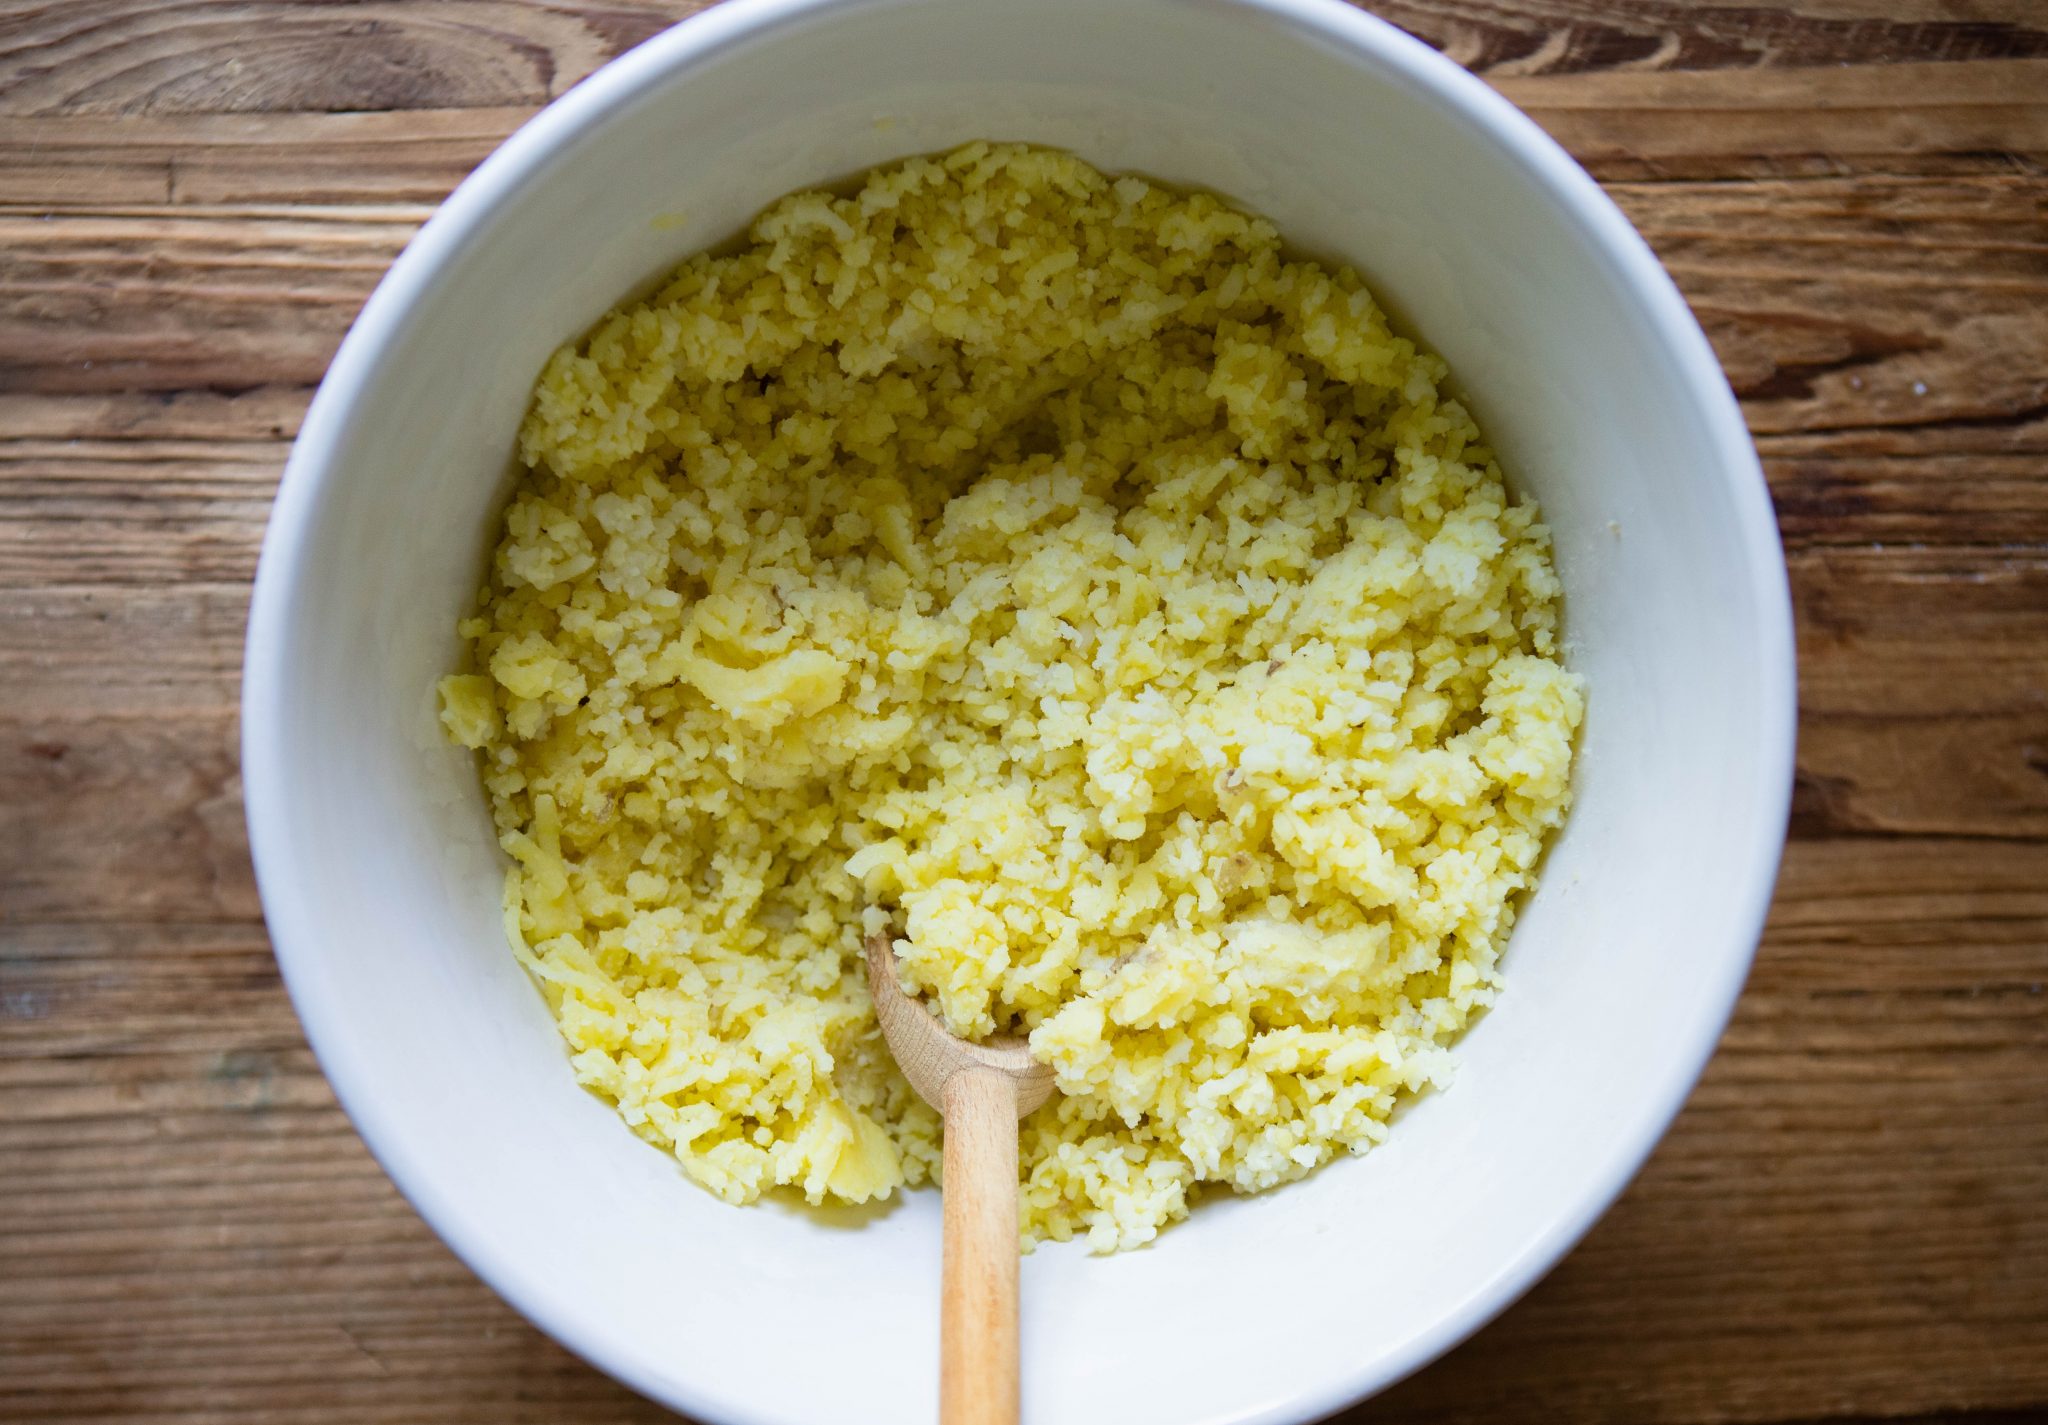
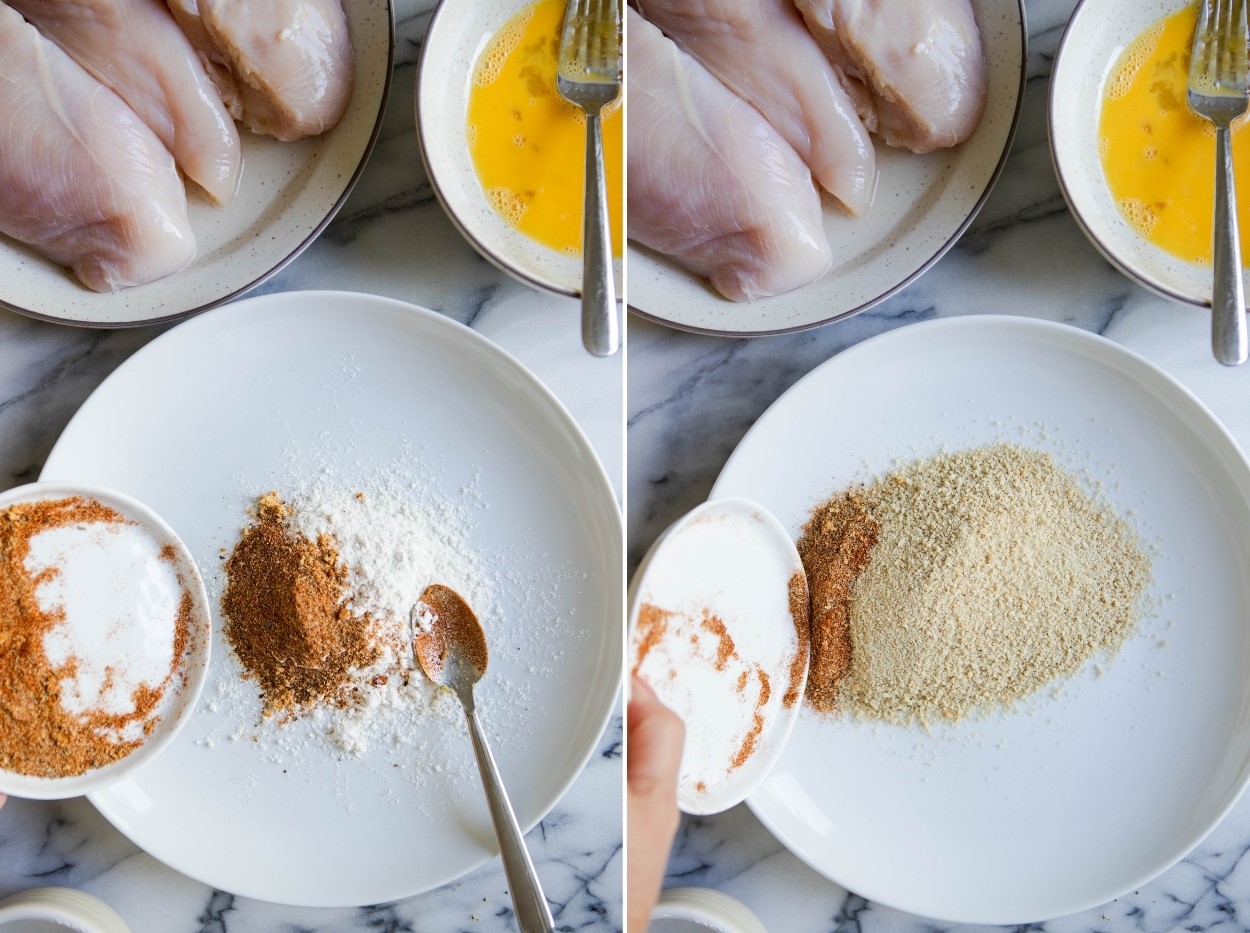
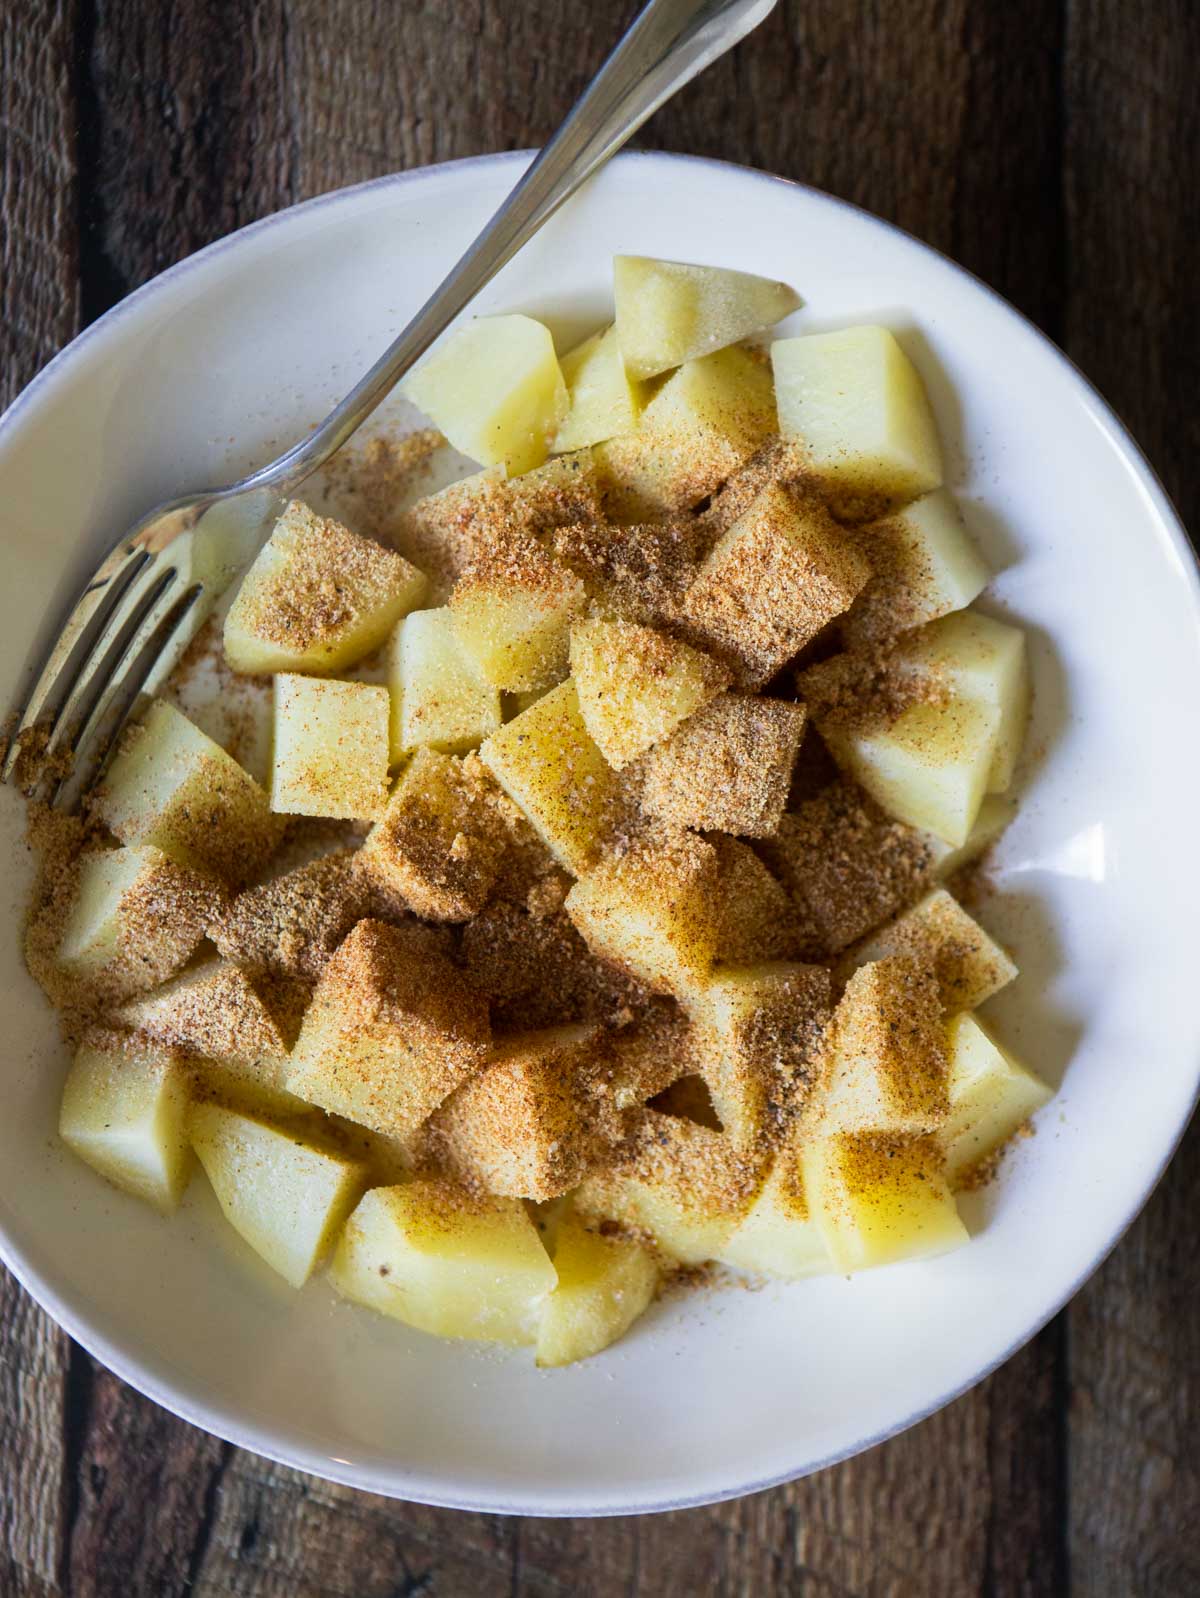
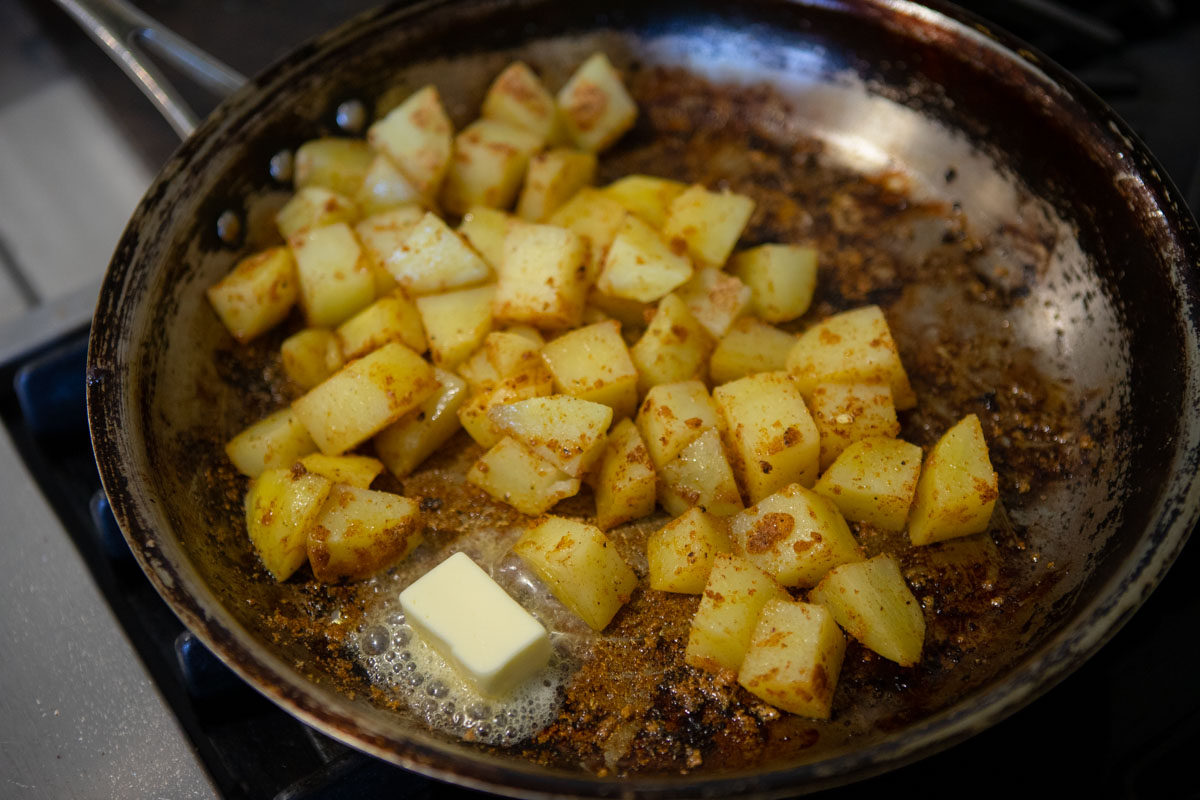
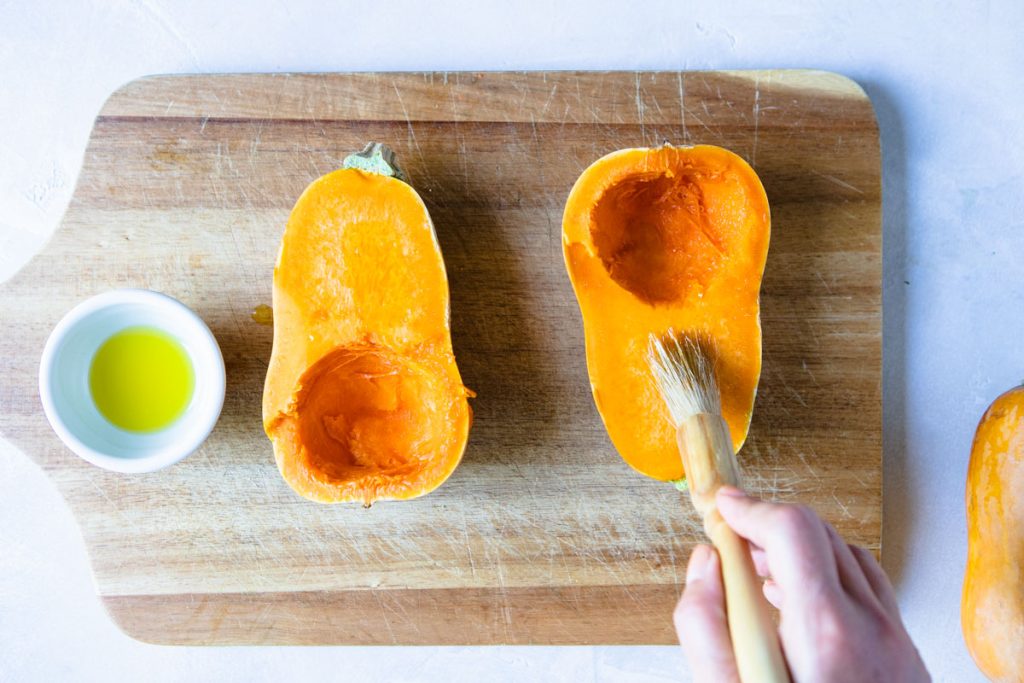
Once dry, toss the potato slices in a bowl, along with about 1 tablespoon of oil and your seasonings. For 2 medium sized potatoes, I added a good pinch of Kosher salt, and a small pinch of pepper. I also added 1 teaspoon of Trader Joe’s Truffle Powder Seasoning. Being this was the first time I was using this seasoning, I wasn’t sure how pungent it was going to be, so I was conservative.
What I did find after making a couple of batches, was that it works wonderfully when sprinkled straight on the air fried chips! So to accommodate personal taste preferences, I advise adding 1 teaspoon to the batch before cooking. This will give you just a hint of truffle flavoring. If you’d like a more intense flavor, sprinkle additional seasoning on after air frying.
Cooking in the air fryer
I have the Breville Smart Oven Air Fryer. There is a big debate whether a basket air fryer cooks as well as an oven air fryer, but from what I’ve read, a lot depends on the brand. With that being said, my Breville air fryer holds heat really well and cooks quickly and efficiently. I experimented and found that cooking them at 335 degrees for about 15 minutes was the ticket. Make sure to check them half way between though, and toss the chips around a bit to ensure even cooking. Remove any smaller sized pieces that have already fried up well.
If this is the first time making potato chips in your air fryer, I suggest you stand close by and keep an eye on them. The first batch I made according to a popular online recipe, overcooked my chips. I then lowered the temperature for the second batch and cooked a few minutes less. All this to say, you may have to experiment to get the exact temp and time for the end result you prefer!
Tips for making homemade potato chips in the air fryer
Like I said, I did a lot of experimenting to get these potato chips just right! Here are a few tips that will help make your batch of air fryer chips come out great!
Why I suggest using Idaho or Russet potatoes
These type of potatoes have a higher starch to water content, so the potato chips will come out crispier. Waxier varieties, such as red and fingerling potatoes, have more water and are unlikely to produce crispy and crunchy results!
I have a basket air fryer. Any suggestions on what time and temperature to use?
From digging around the web, it appears that cooking in a basket air fryer at 350-360 for 15 minutes is a very popular time that produces good results.
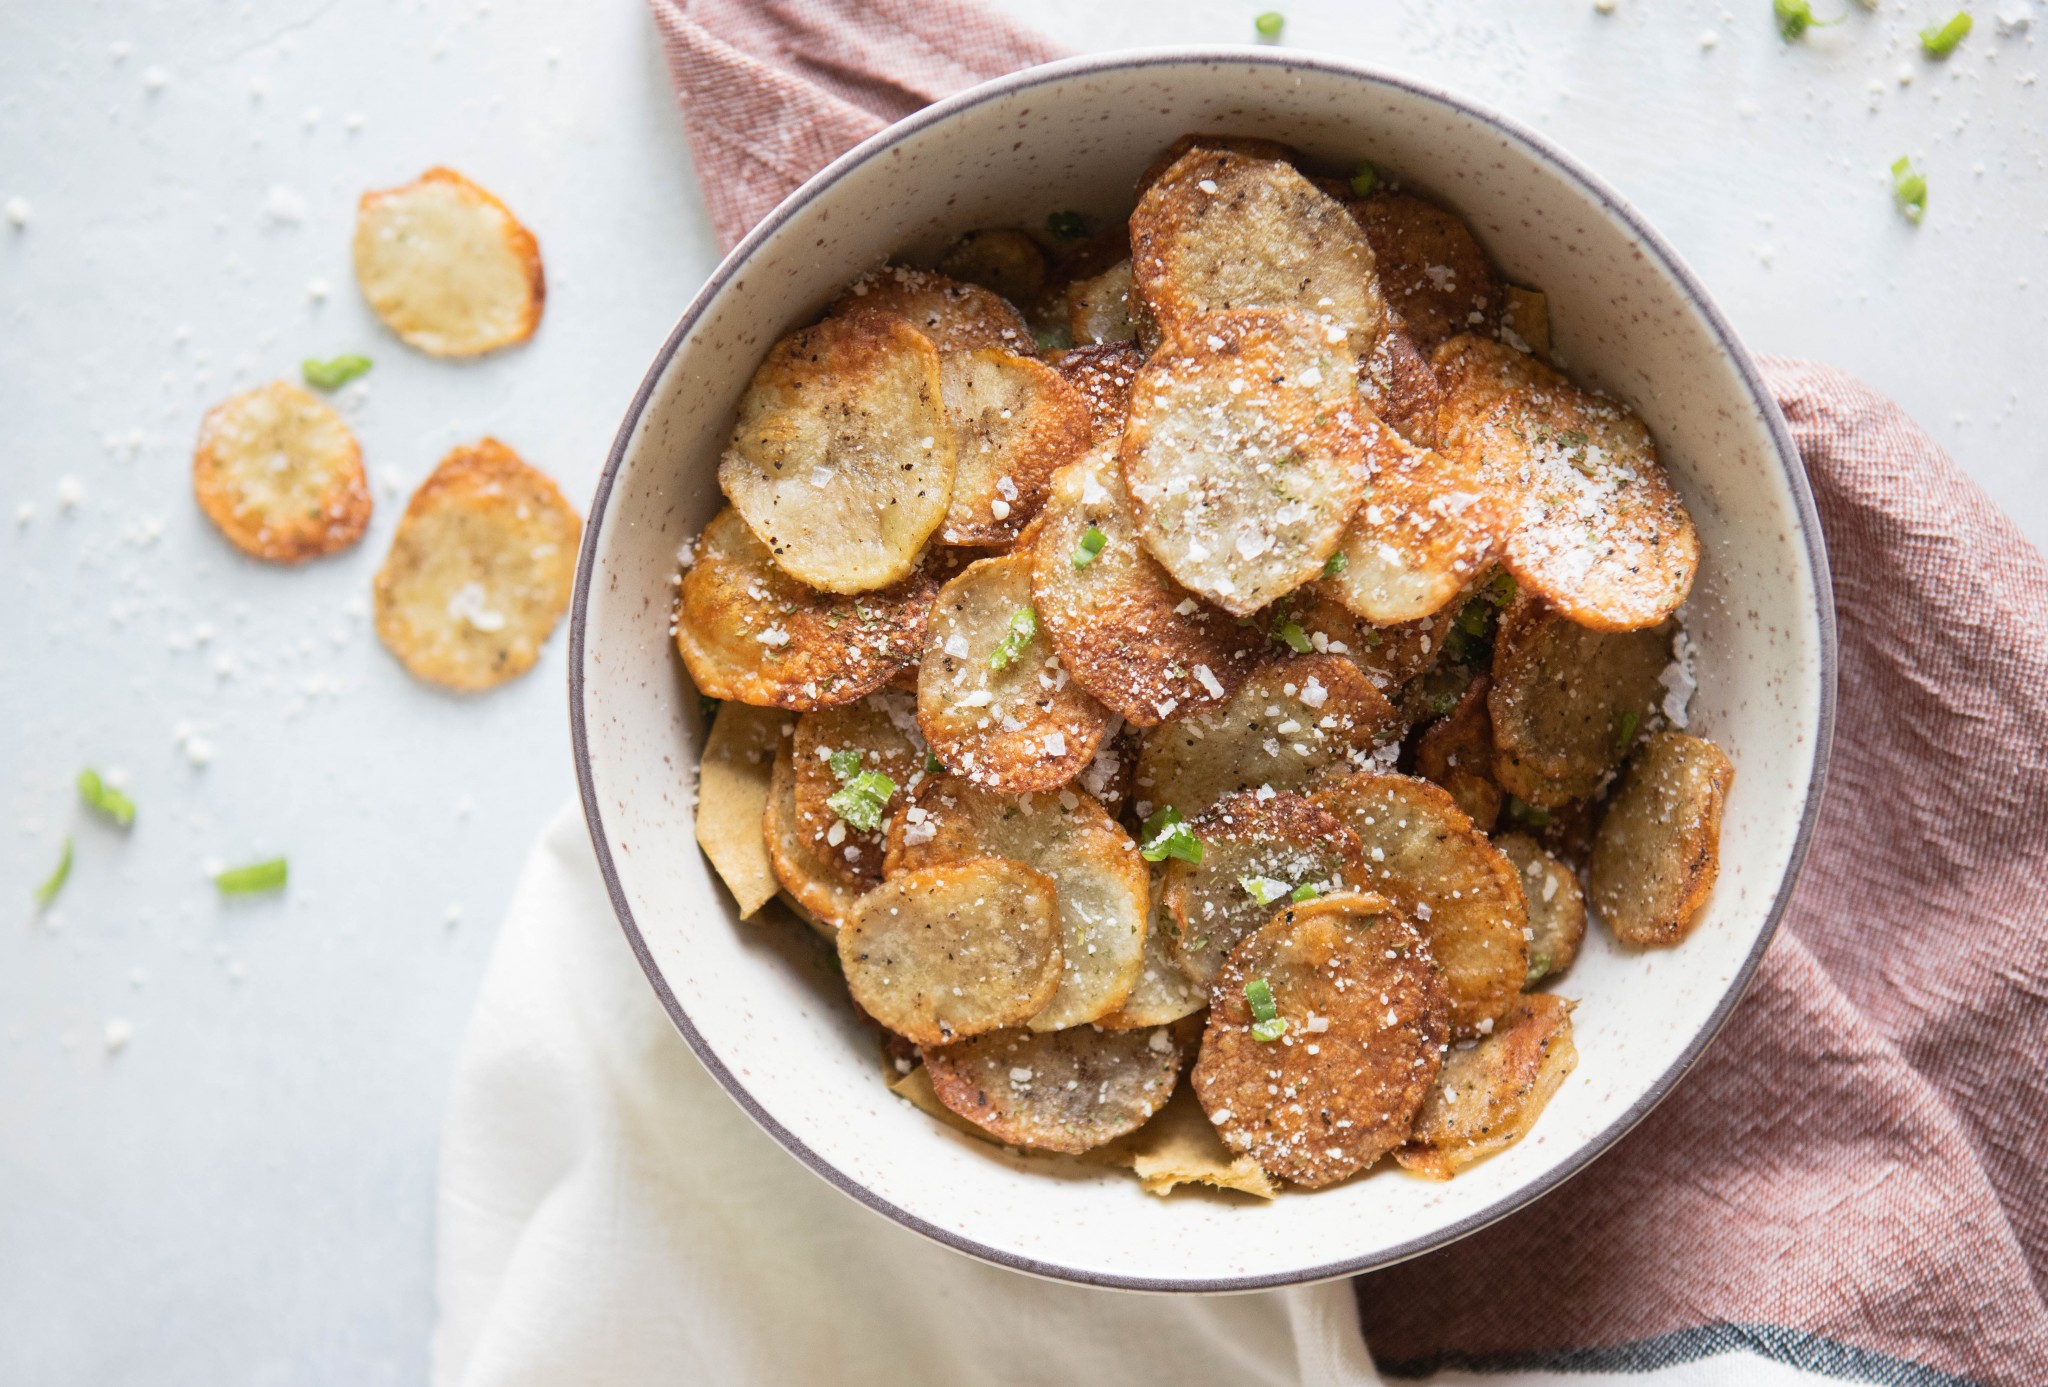
Why do your homemade air fried potato chips look a little uneven in color?
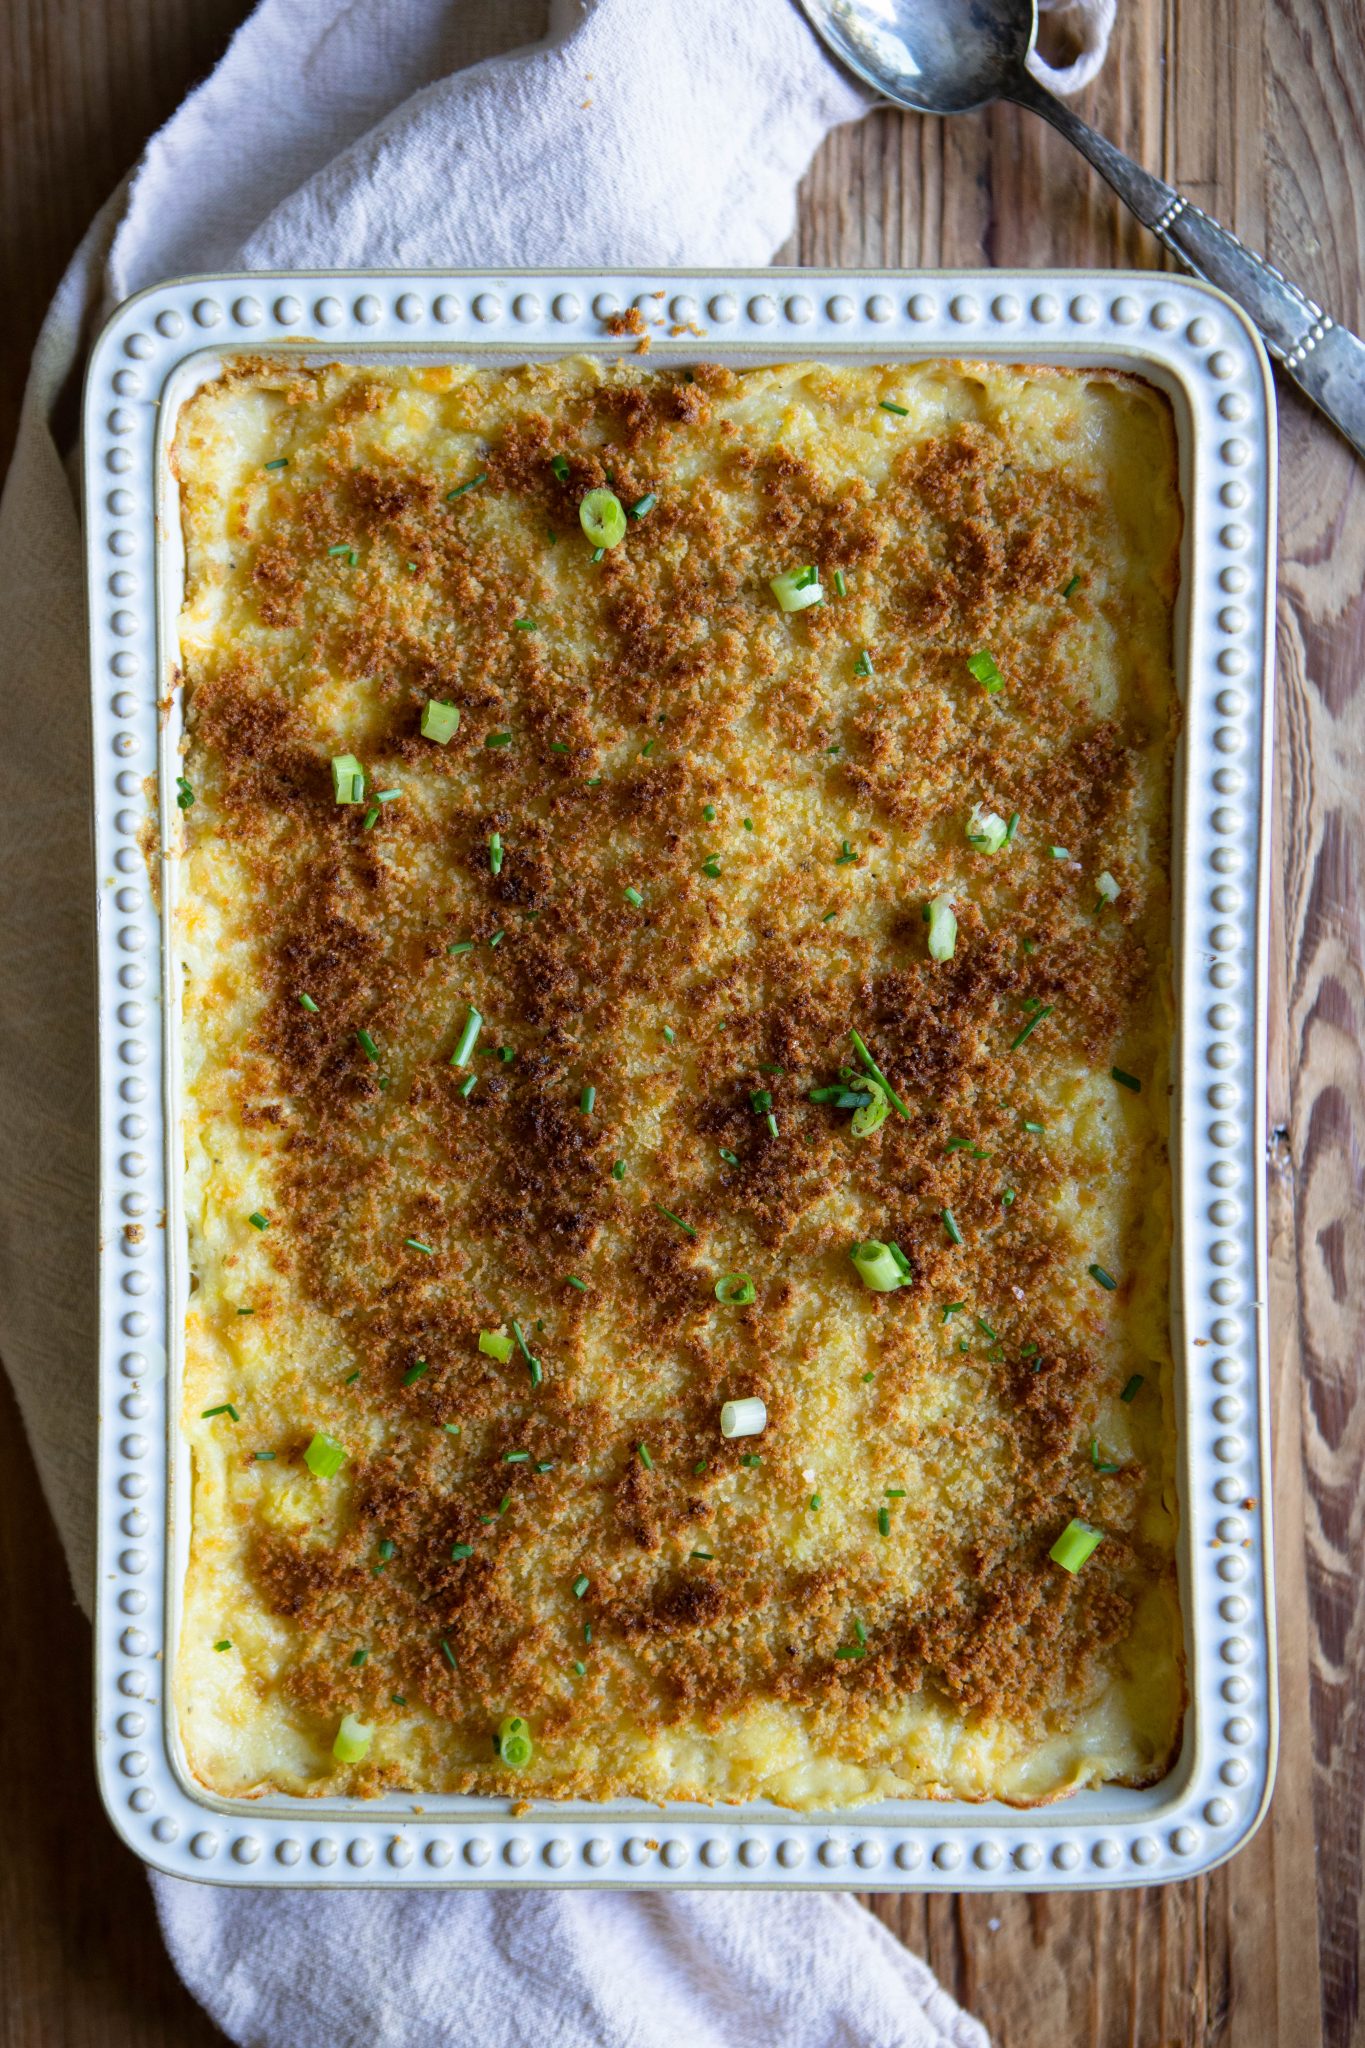
Your end texture should be crispy and slightly golden brown. Don’t be alarmed if the chips become more browned on the edges than in the center. This is totally normal and to be expected. I’ve now made several batches, and I’ve never once had them cook to a perfectly even color.
I’m not sure I’ll like truffle potato chips! Any other seasoning suggestions?
I got the idea to make these because I absolutely LOVE the white truffle potato chips from Trader Joe’s. But I know truffle flavoring is not everyone’s jam! It’s super easy to swap out other seasonings to make a totally different flavor potato chip! Try garlic salt, lemon pepper, or a combo or dried herbs and sea salt. Rosemary and kosher salt would be amazing! Parmesan and garlic salt would also be a winning combination.
Are air fryer potato chips really healthier than deep fried?
Air fryer potato chips have 60 percent less fat than their store-bought counterparts. And according to some research, this cooking method might also cut down on some of the other harmful effects of oil frying. “The reaction that happens when you fry potatoes or other starchy foods makes the chemical acrylamide, which research links to greater chances of getting cancer. One study shows that air frying lowers the amount of acrylamide in fried potatoes by 90%.”
The most important tip for making homemade potato chips in the air fryer
The single most important tip I can tell you, is to keep an eye on your potato chips when you make your first couple of batches, checking on them 2-3 times throughout the cooking process. It seems every air fryer brand cooks a little bit differently, so to get your chips just right for your particular machine, will require monitoring at first.
Even if you set your oven just a bit too high at first, you can always cut down on cooking time if need be. Once you find your perfect cooking combo, make sure to write down the temp and time you found to work best.
The good news is, potatoes are relatively cheap, so even if you overcook one batch, the only thing you’ve really lost is a bit of time 🙂

Store any leftovers (haha, there likely won’t be any!) in a paper bag in a cool dry place.
Potato Chips in the Air Fryer

Potato Chips In the Air Fryer (optional truffle flavoring)
Equipment
- Air Fryer
Ingredients
- 2 Idaho potatoes or Russet, thinly sliced, with or without peel
- 1 tablespoon Canola oil
- 2 tablespoon Kosher salt plus more for seasoning
- ½ quart Water
- Large pinch of kosher salt and small pinch of pepper
- 2 teaspoon Truffle powder optional
- 1 tablespoon Grated parmesan cheese optional
- Cooking spray
Instructions
- Wash potatoes and peel if you wish. Thinly slice in a food processor or mandolin. Add to a medium bowl, and fill with water. Add 3 tablespoon of kosher salt and allow to soak for at least 30 minutes.
- Rinse potatoes thoroughly and thoroughly pat dry.
- Toss dry potato slices in a medium bowl with 1 tablespoon of oil, and a large pinch of kosher salt and small pinch of pepper. Add 1 teaspoon of the truffle powder if using.
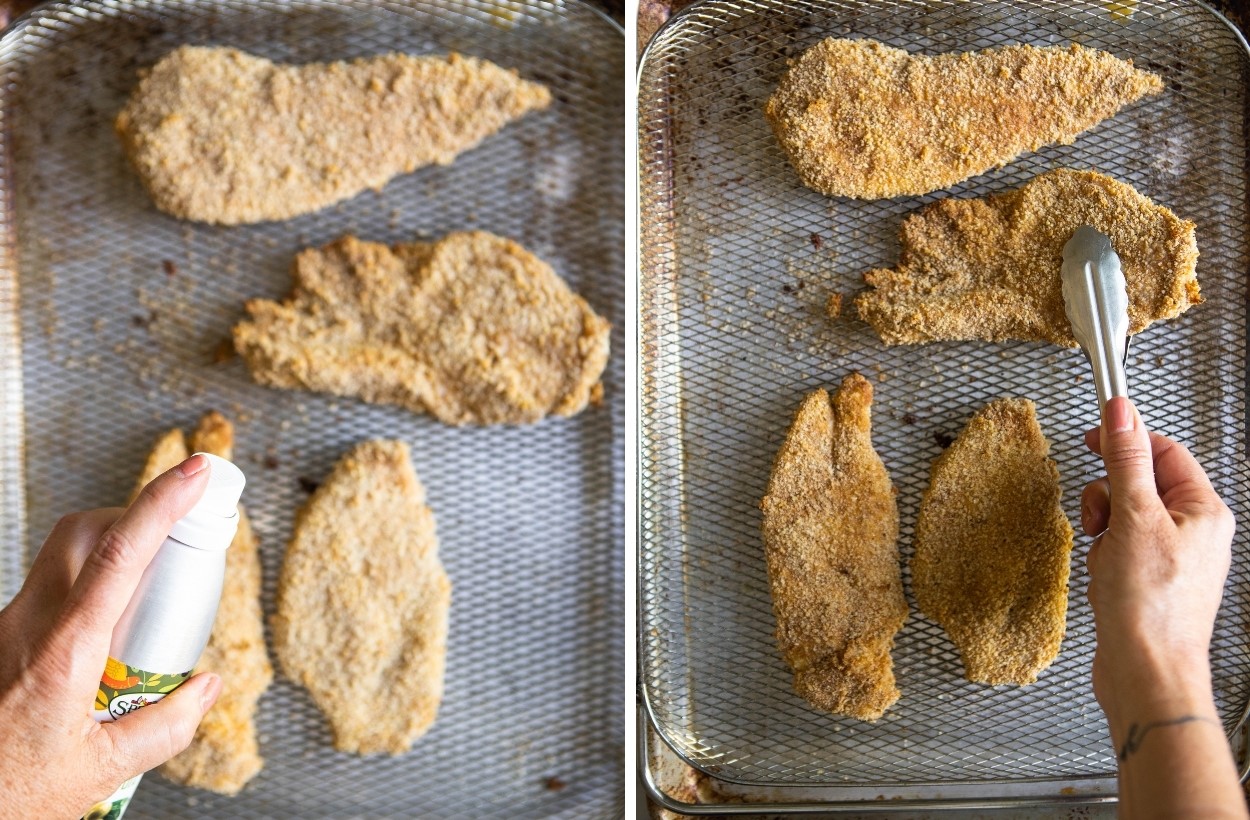
- Lightly spray the basket or tray of your air fryer, and place potatoes in a single layer.
- Cook at 335 for approximately 15 minutes, making sure to check potatoes 2-3 times throughout the cooking process. Gently toss any slices that may be getting stuck together, and remove any pieces that are getting overcooked.
- When air frying is complete, toss with more truffle powder to your liking, and add parmesan cheese and more salt to taste. Serve immediately.


 Tips and tricks for this DIY

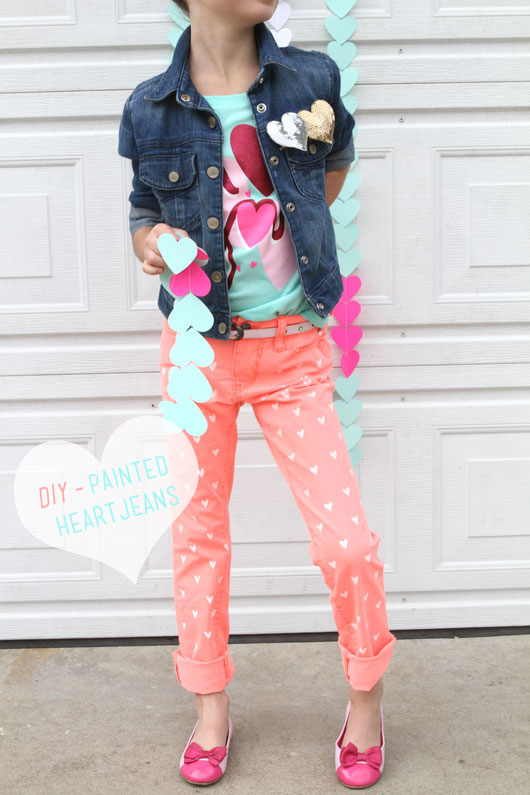 It doesn’t look like brightly colored denim is going away anytime soon, especially for the little ones, and so I recently bought another pair on sale last week. I was struck by a bit of inspiration over today and decided to add some stenciled hearts to them. They’re great for Valentine’s Day, but of course ladies can get away with wearing hearts on their pants all year long!
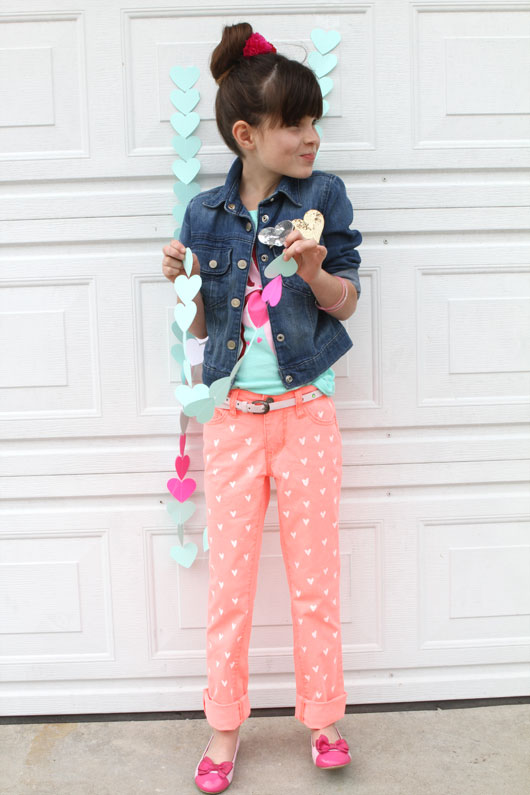 Supplies needed for this heart craft
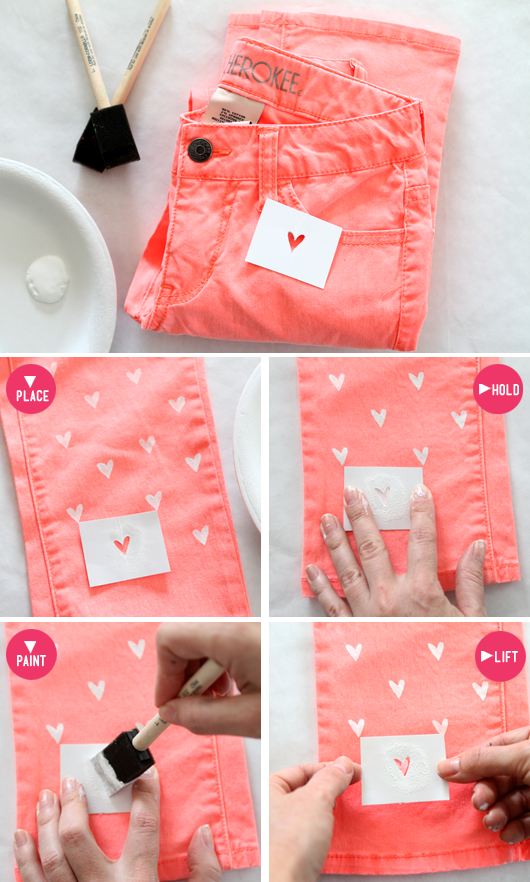

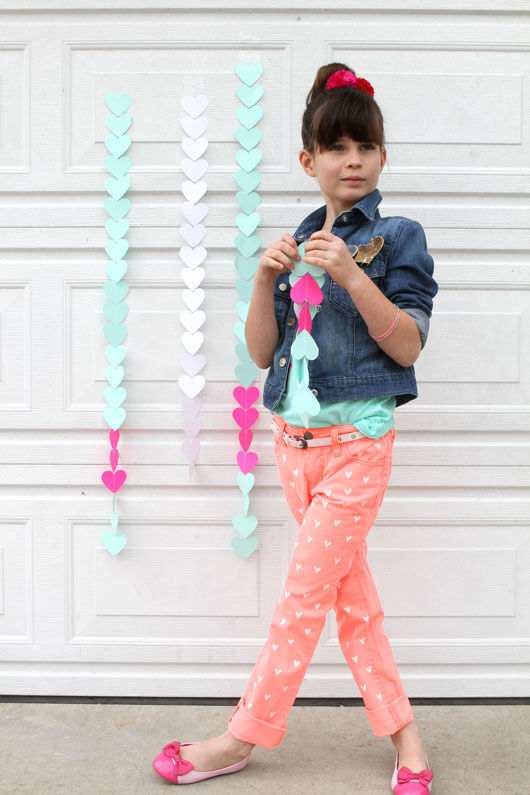
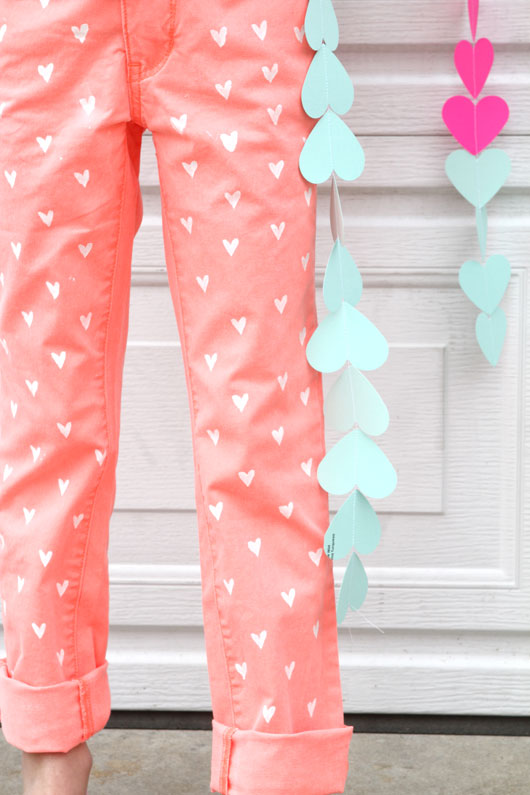 Taylor is pretty much in love with her heart jeans, and I pretty much want a pair for myself now. Because honestly, the only thing better than faded neon denim, is faded neon denim with hearts painted on them. Am I right, or am I right? Enjoy, and please let me know if you follow this heart craft and make a pair!


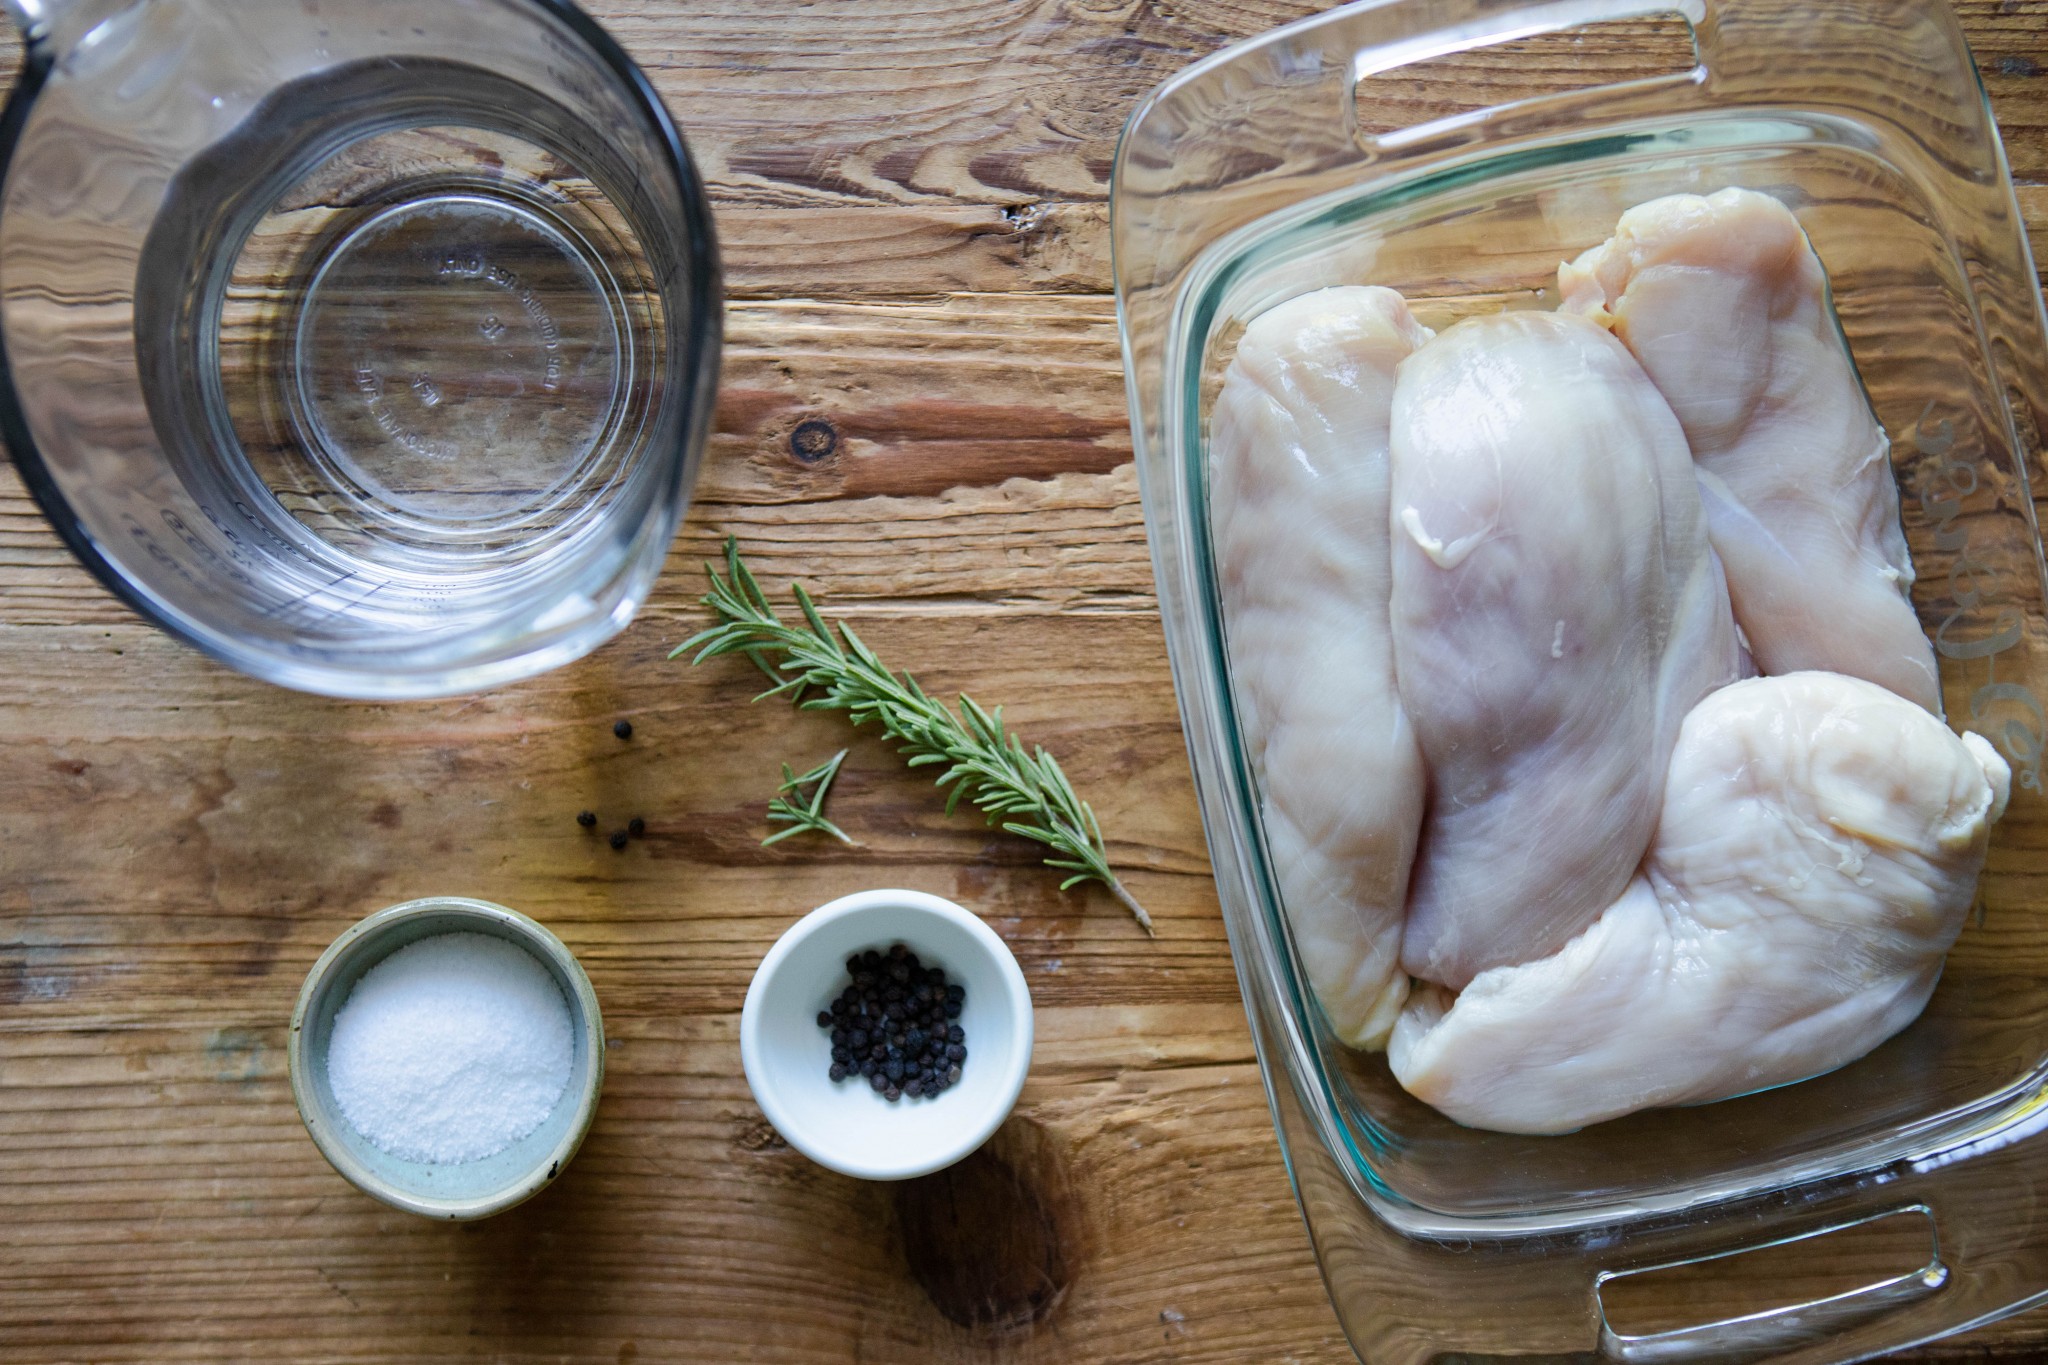


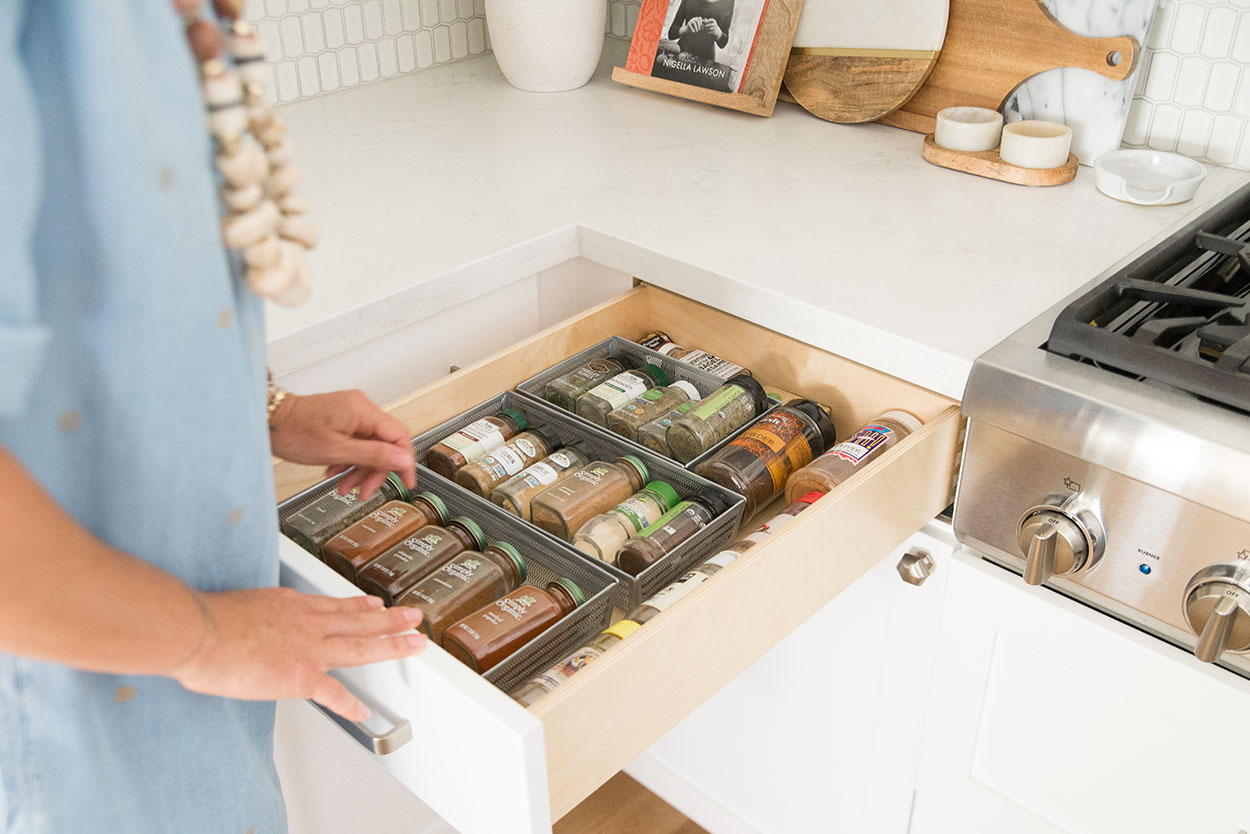 Herbs & Spices:
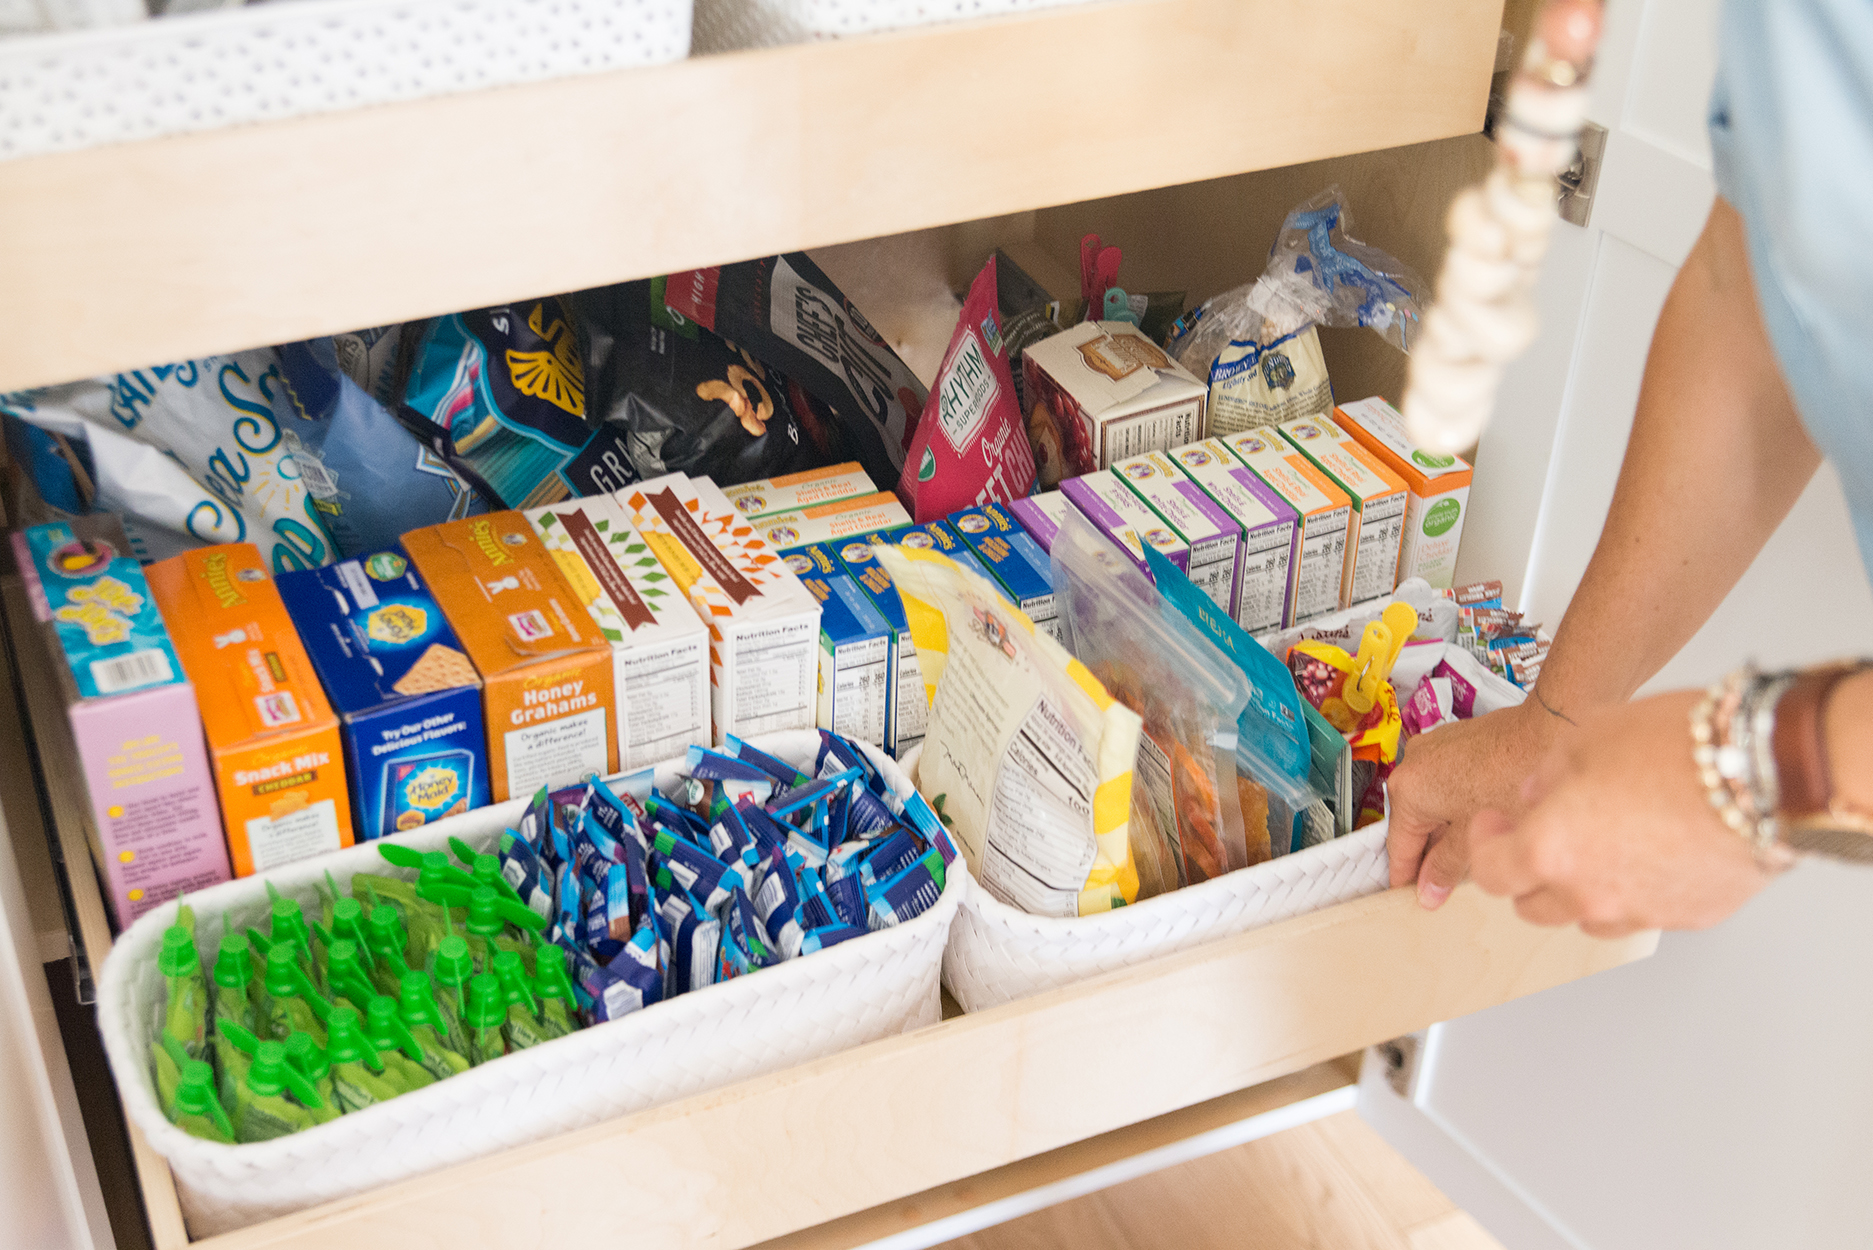


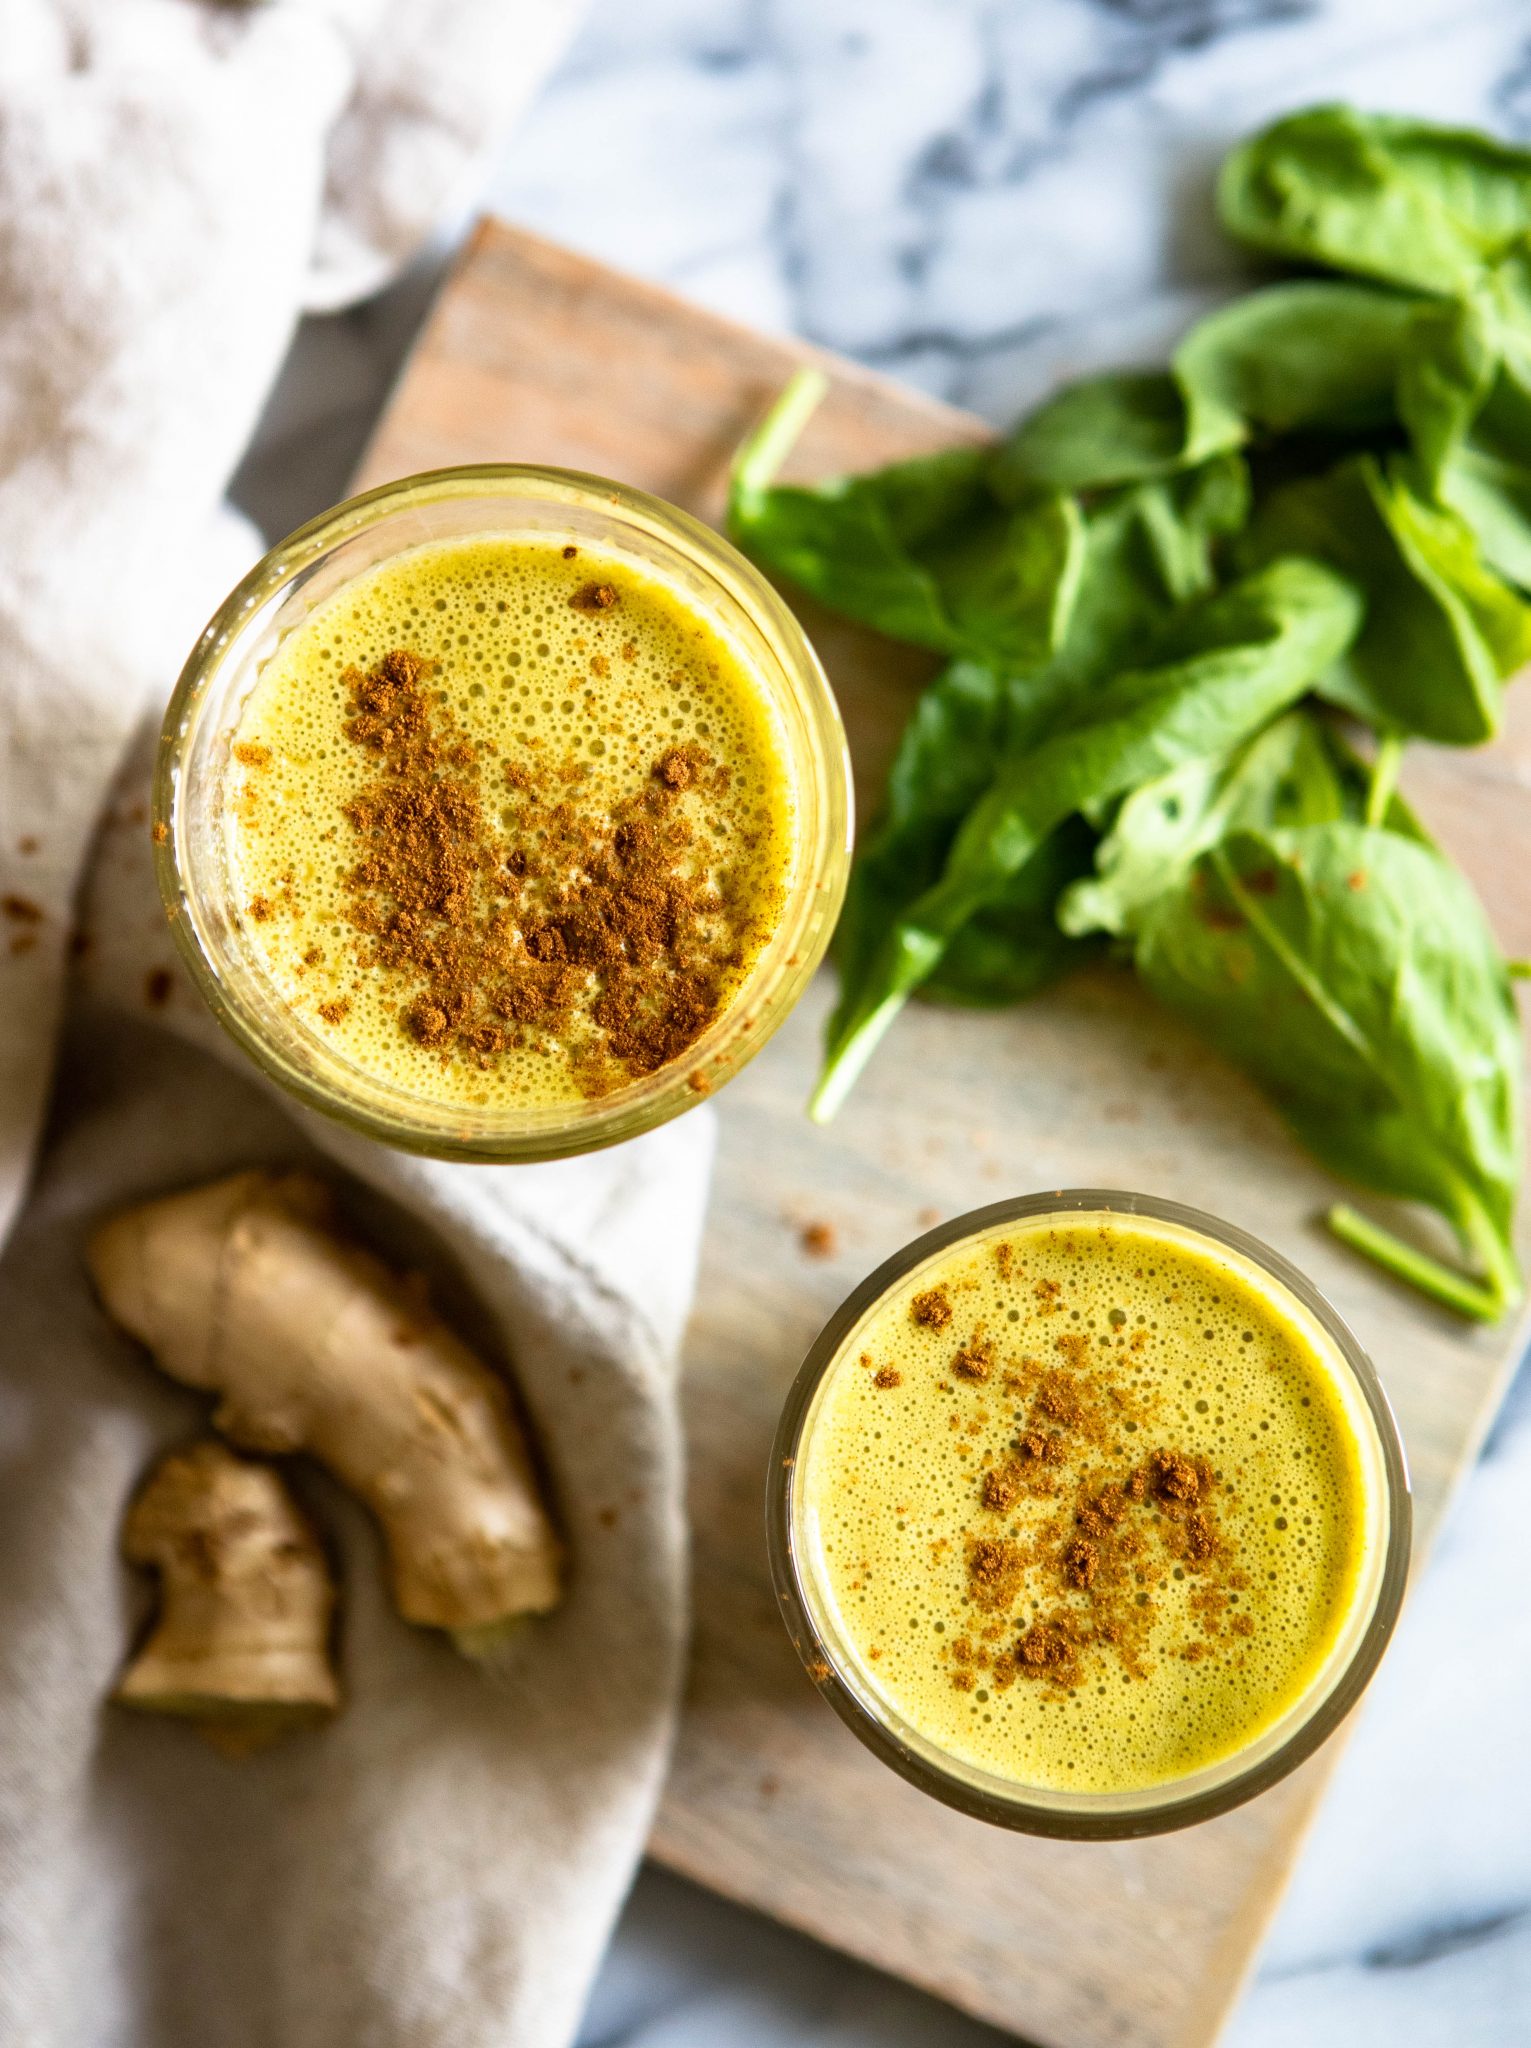


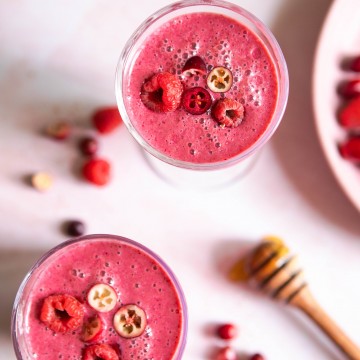
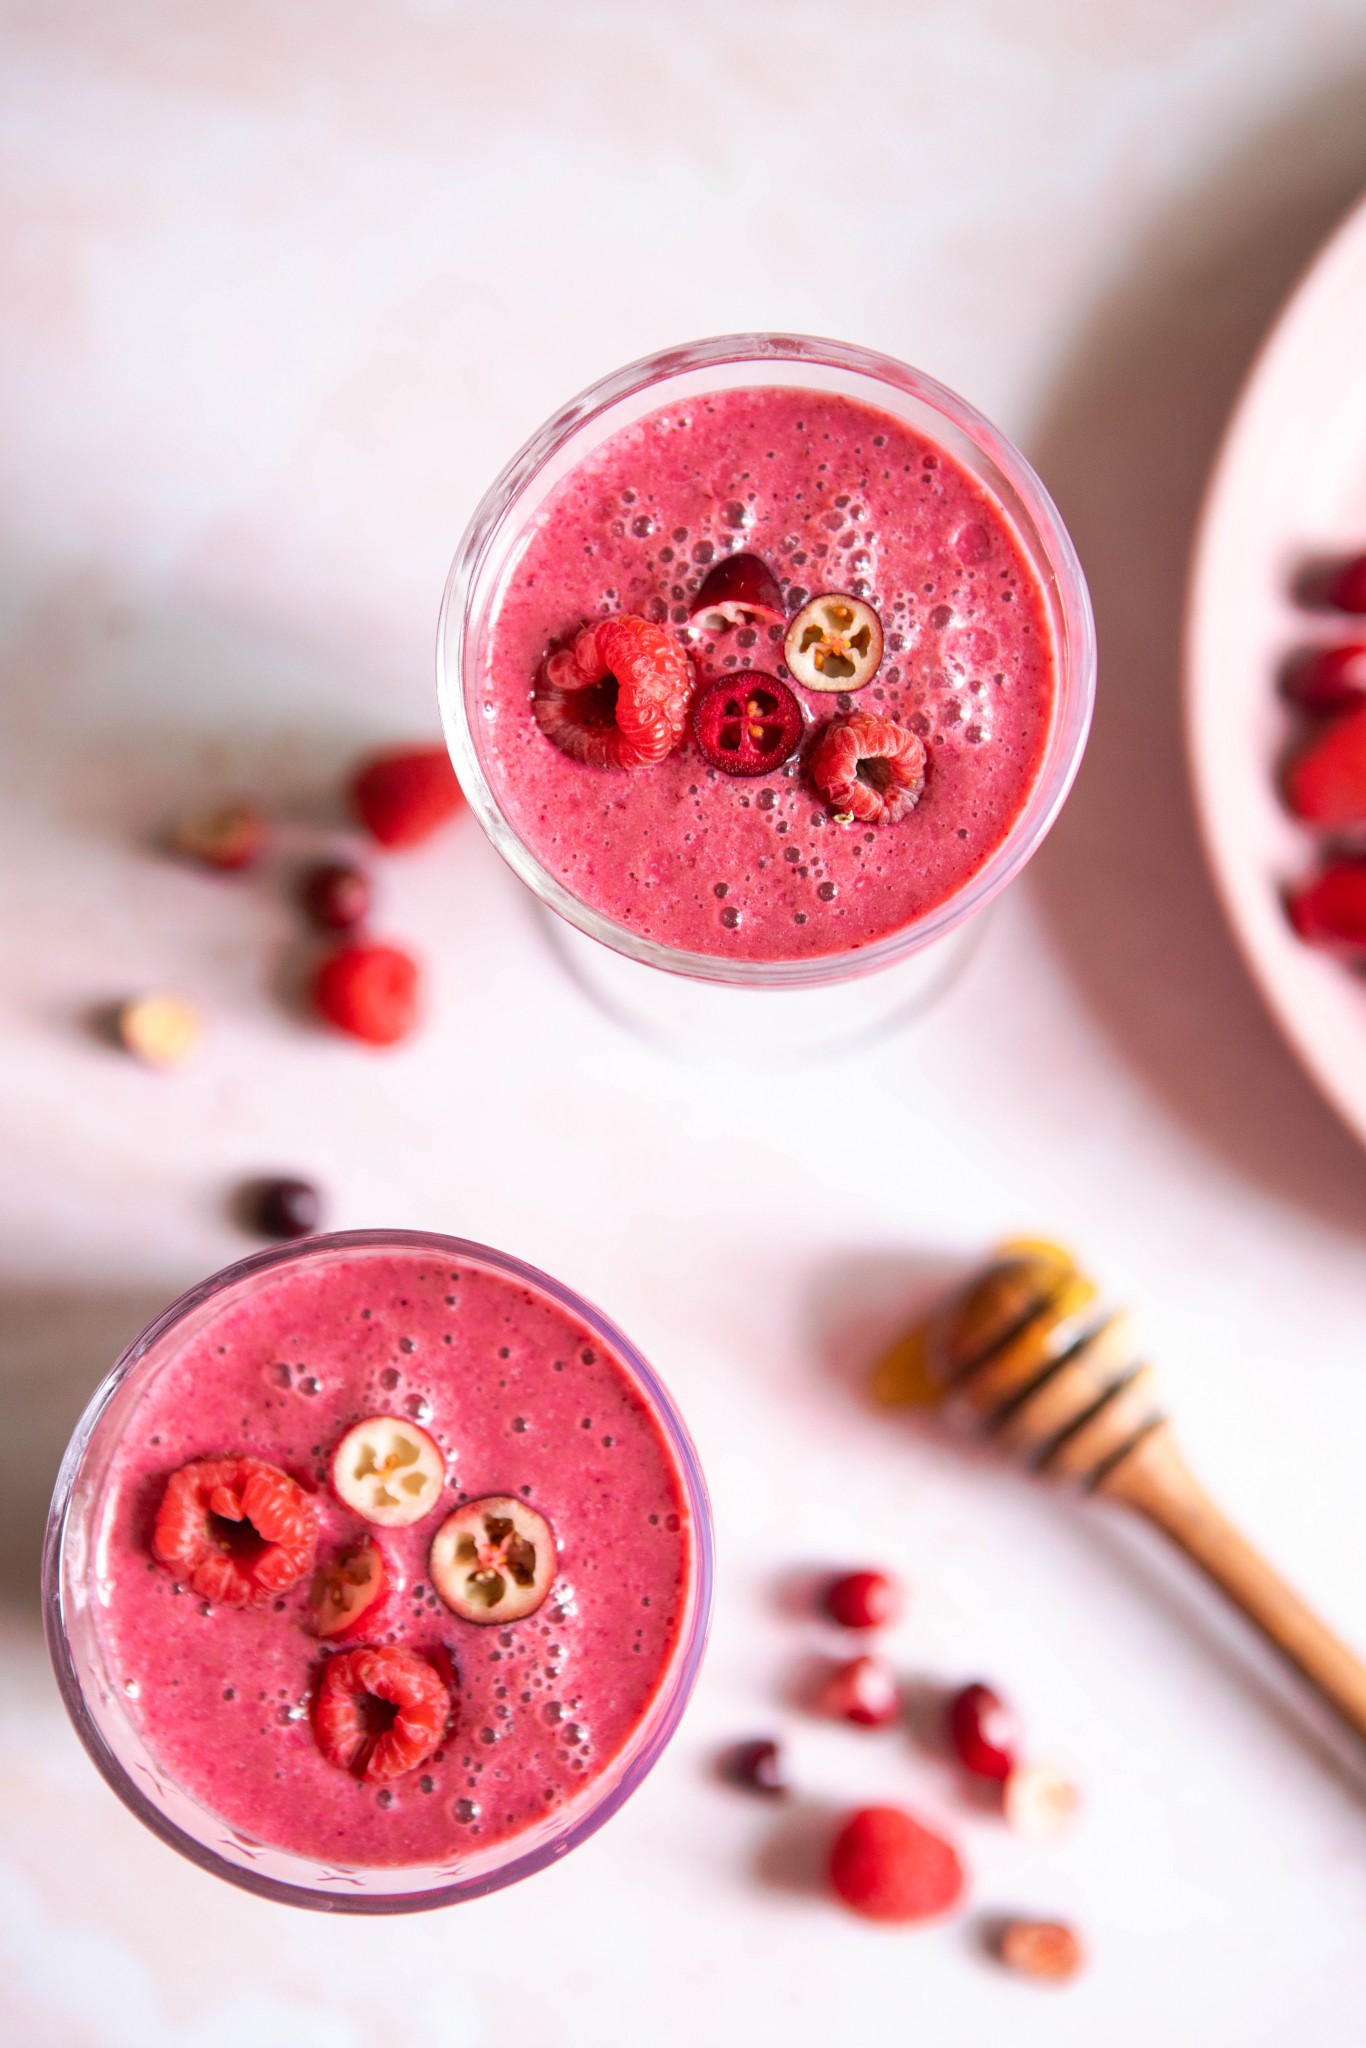
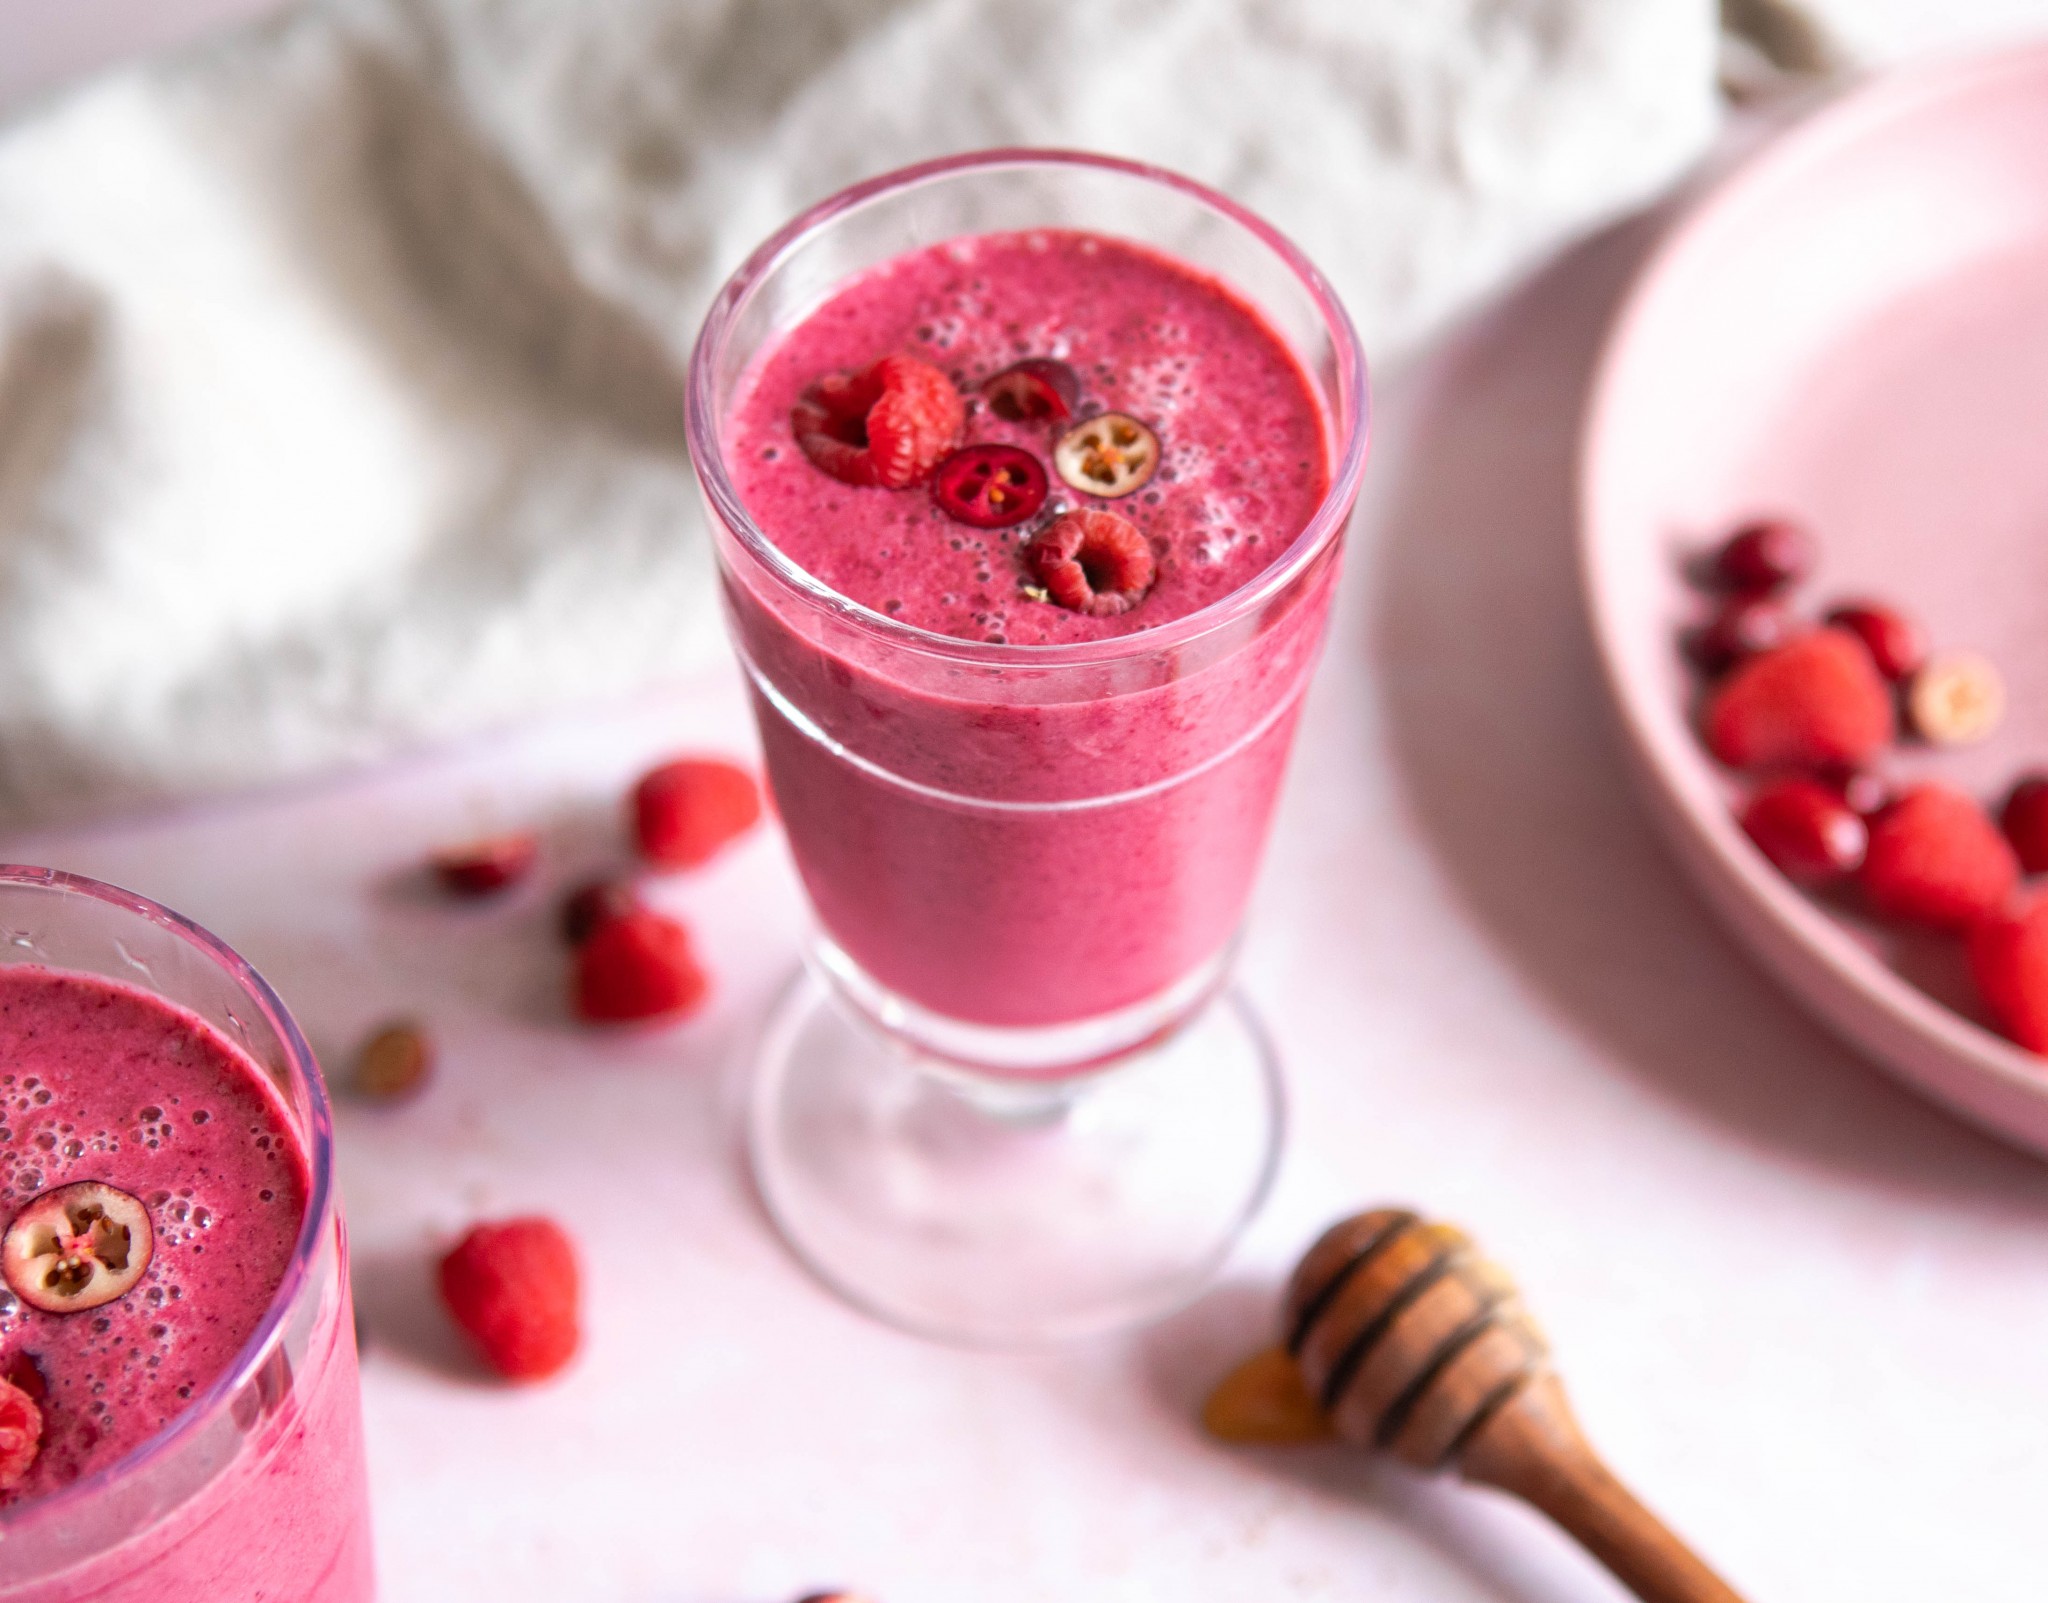
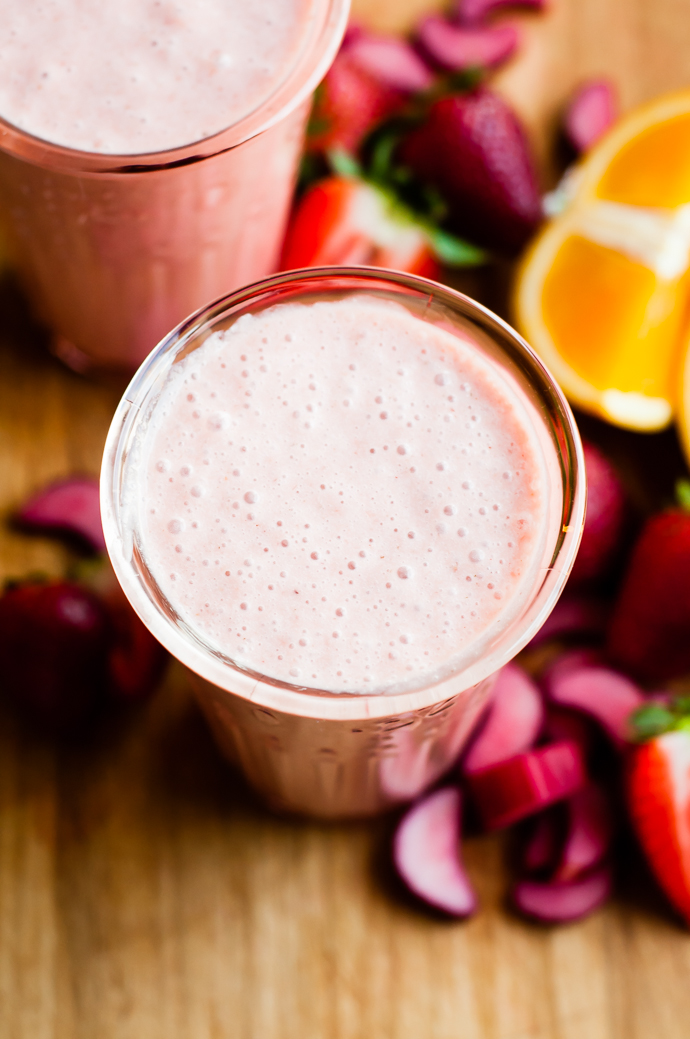
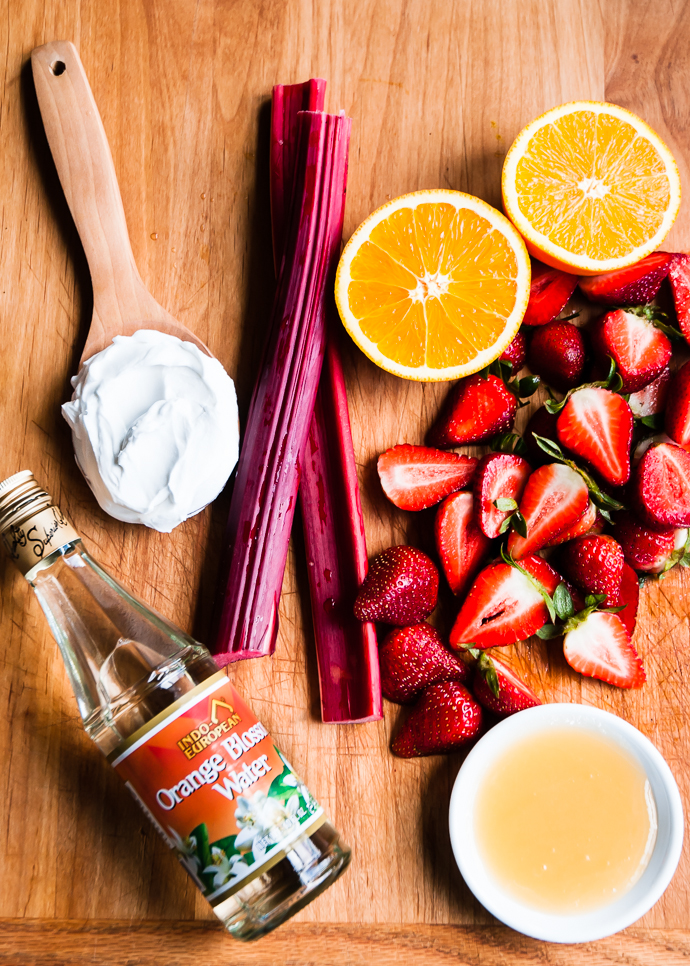
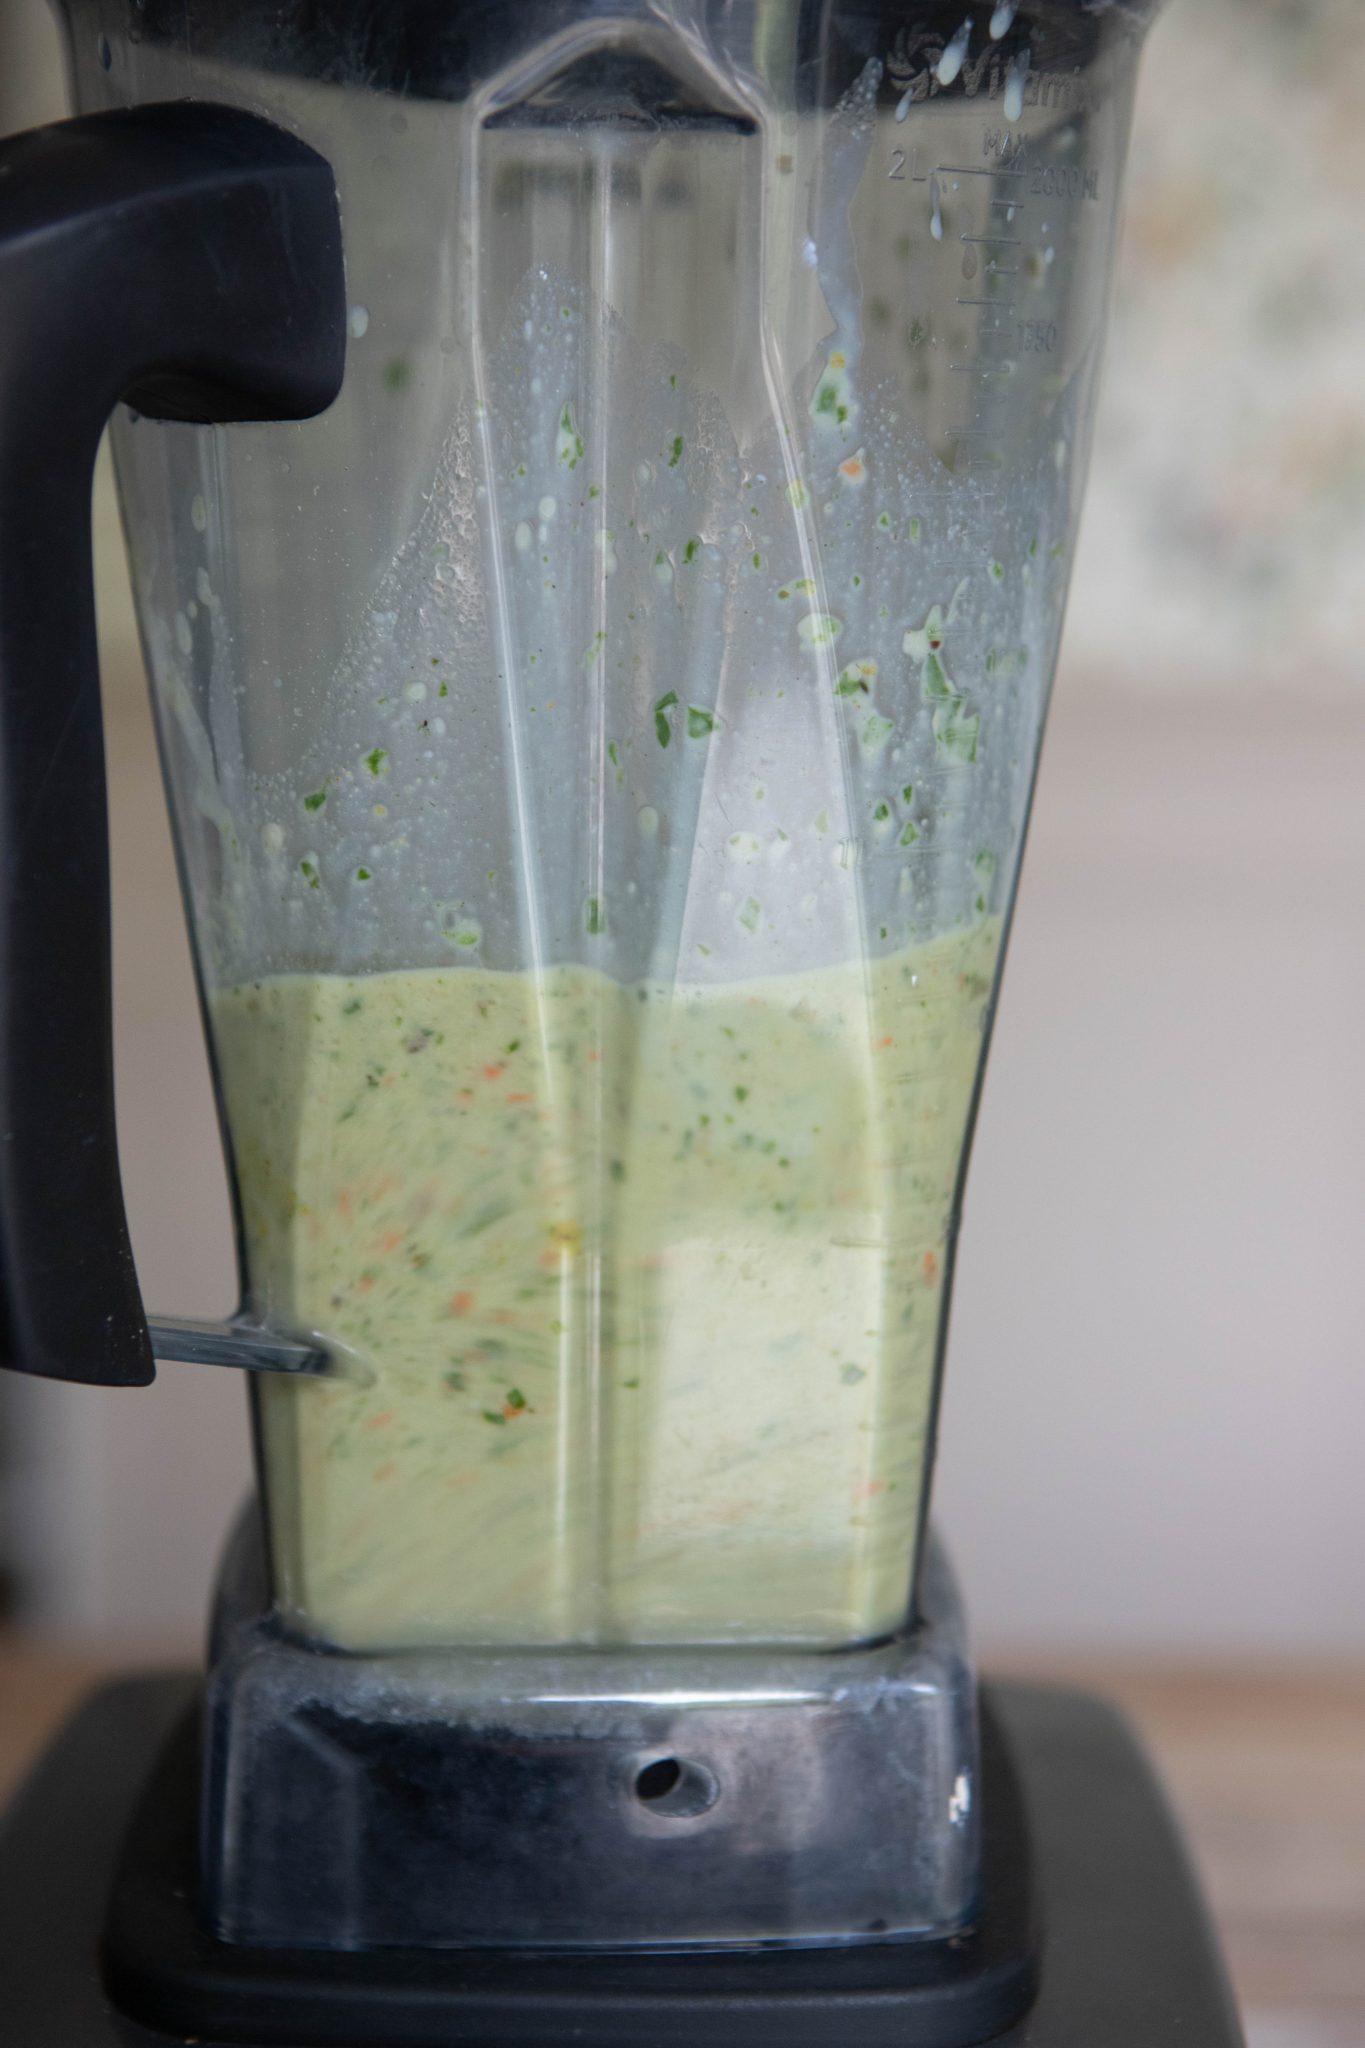 Are smoothies best with milk or water?
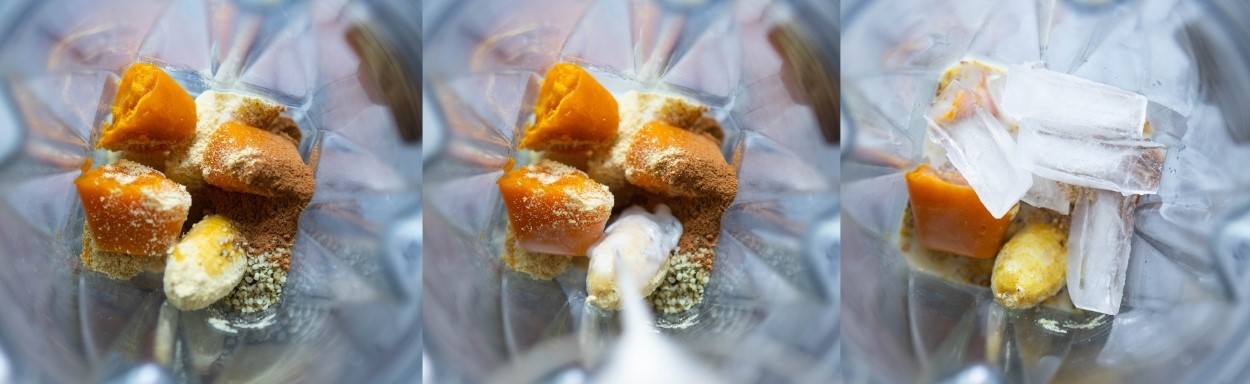
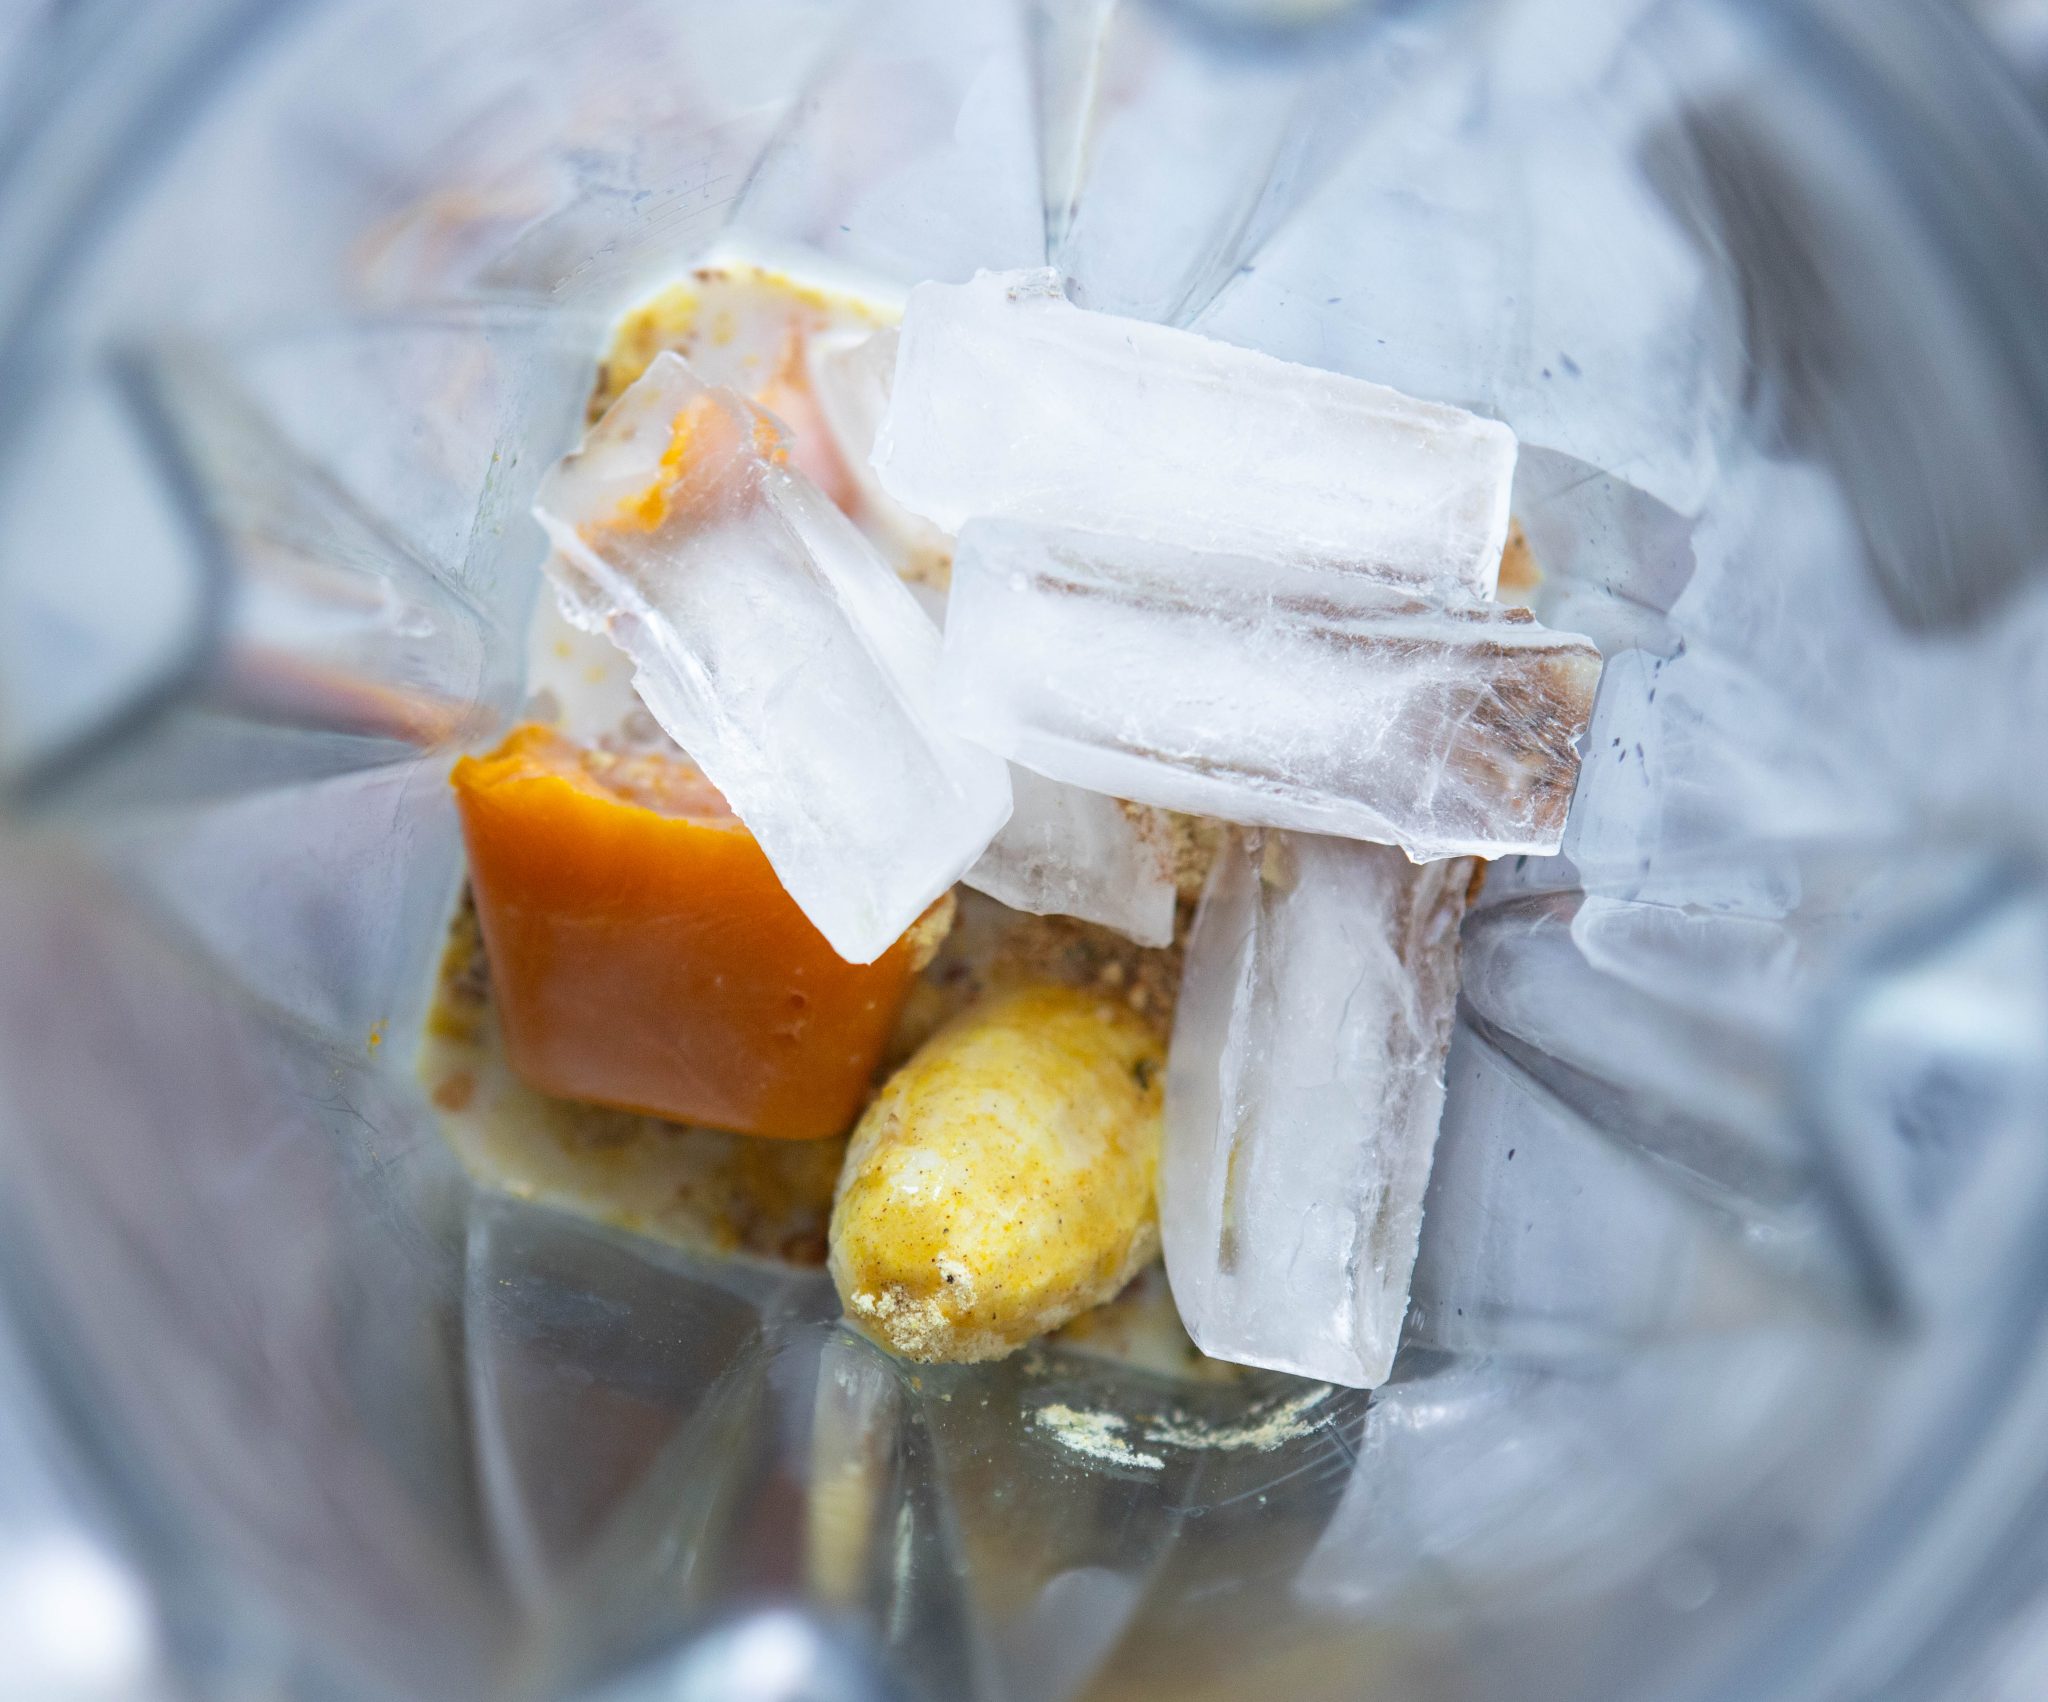 Should I use ice in my smoothie?
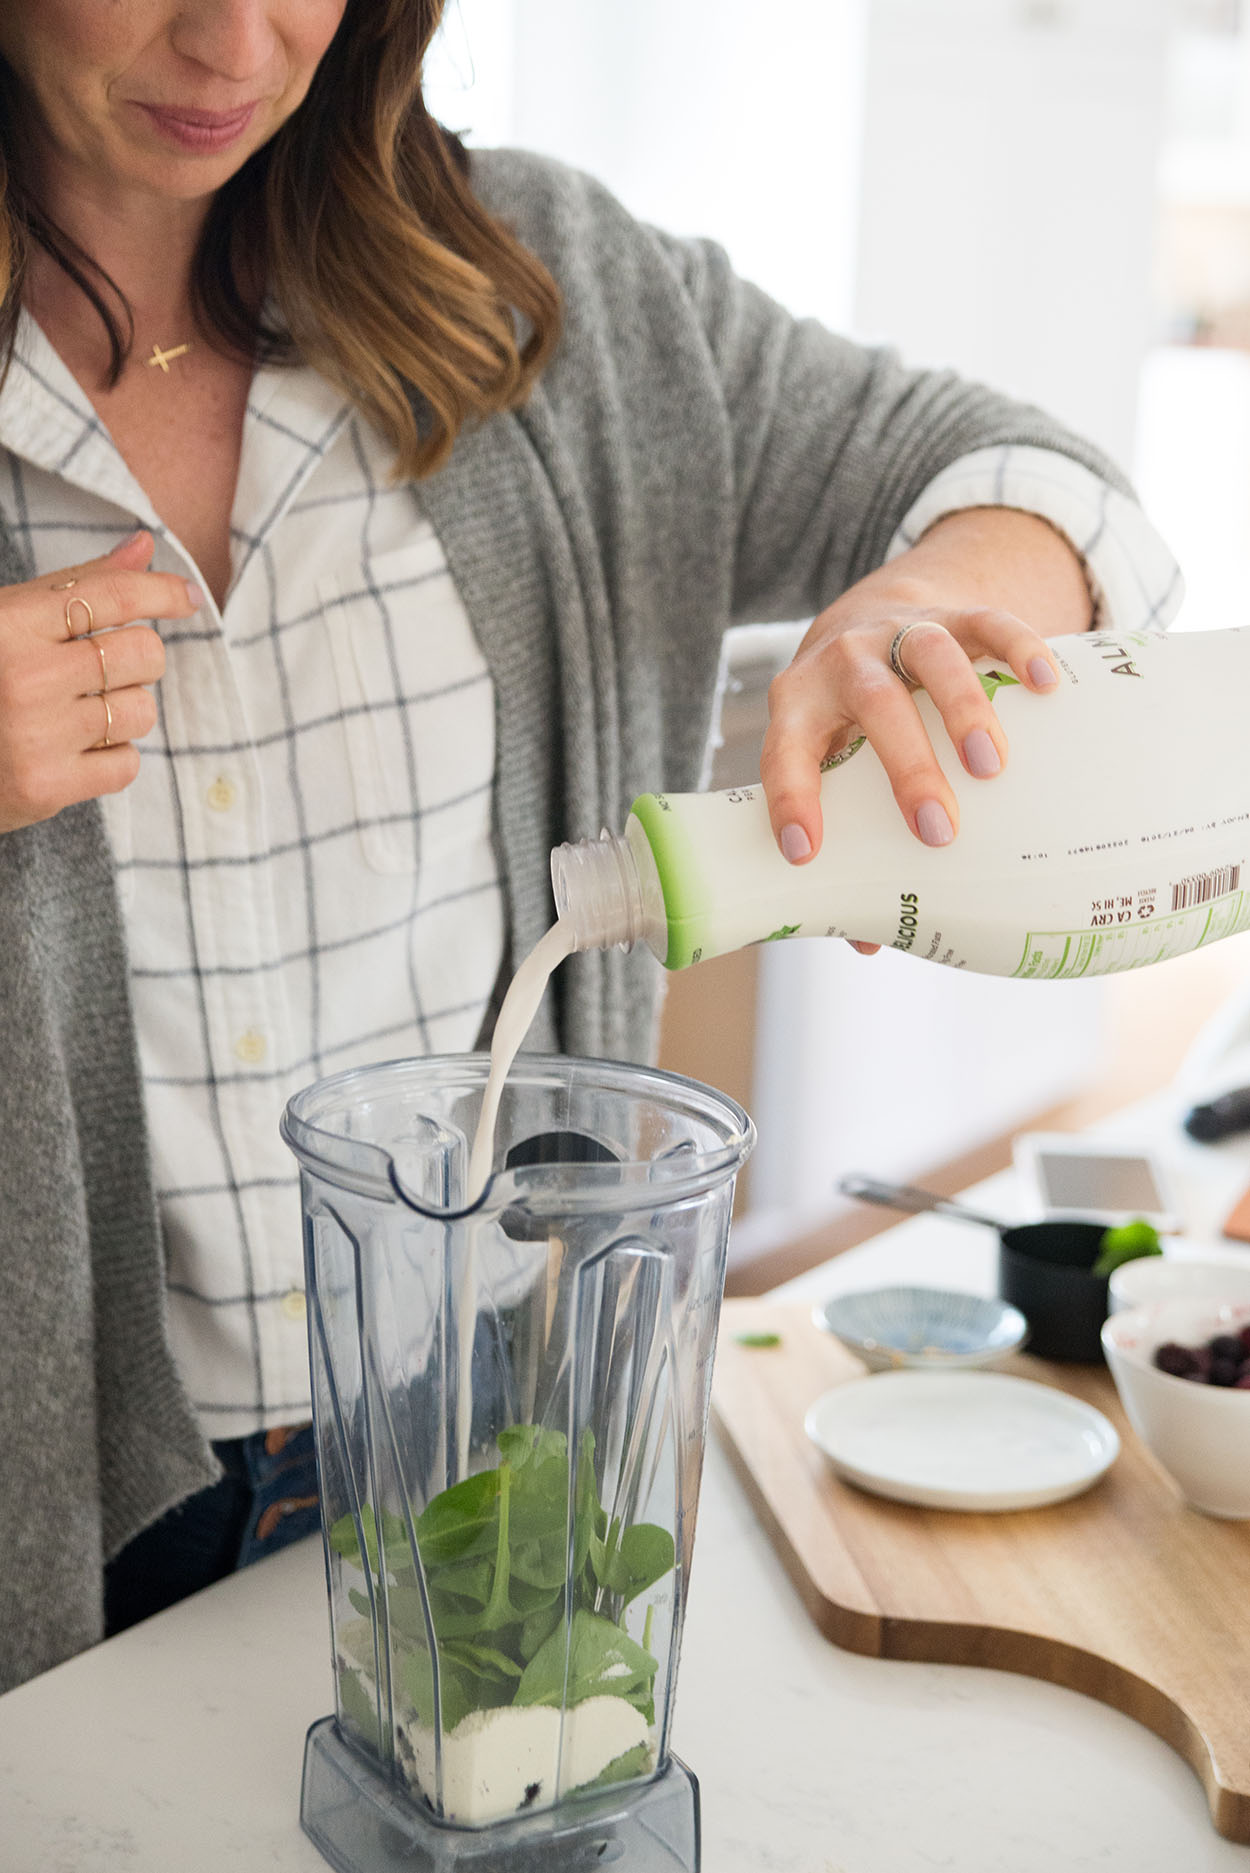 Liquids To Add To Your Smoothies
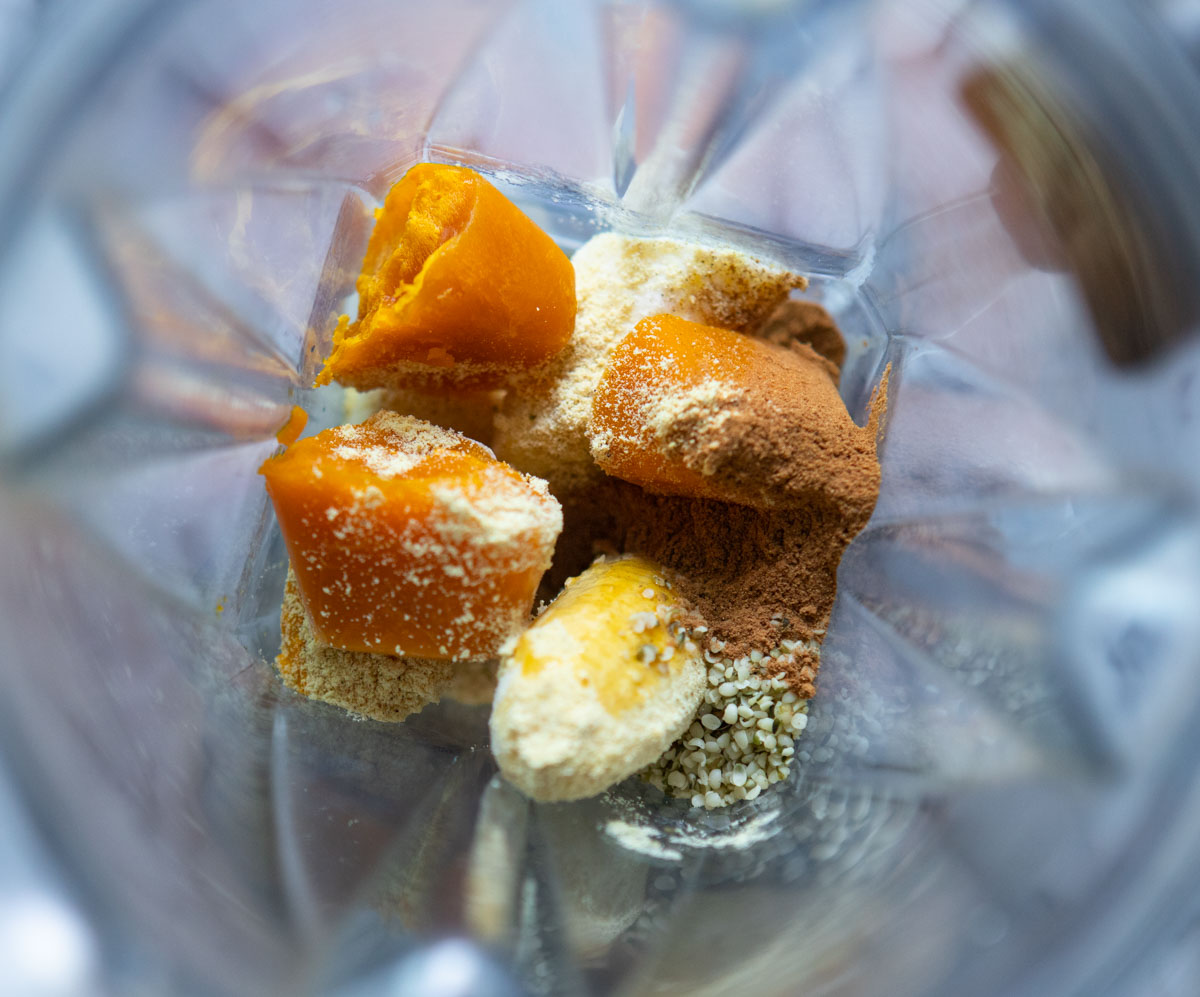
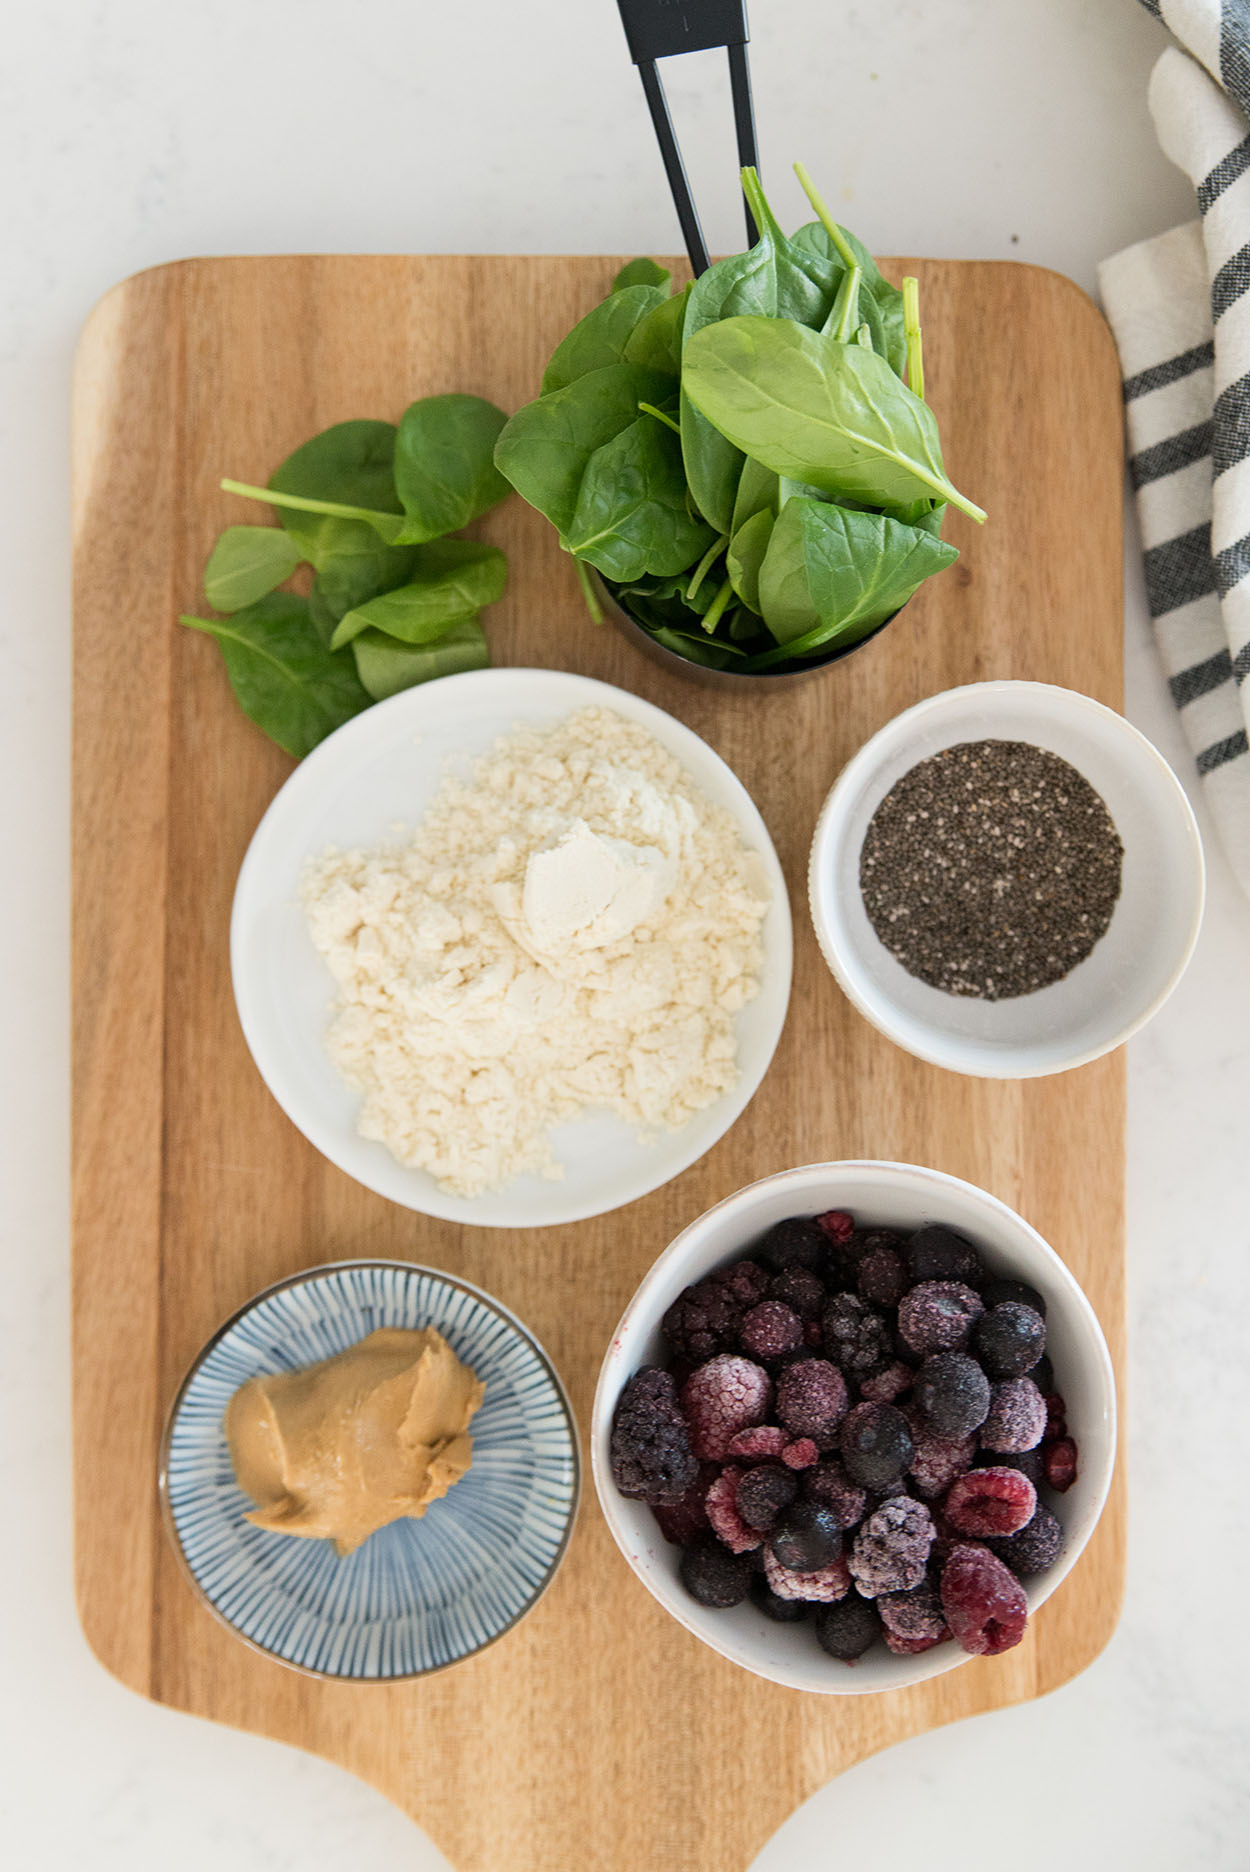
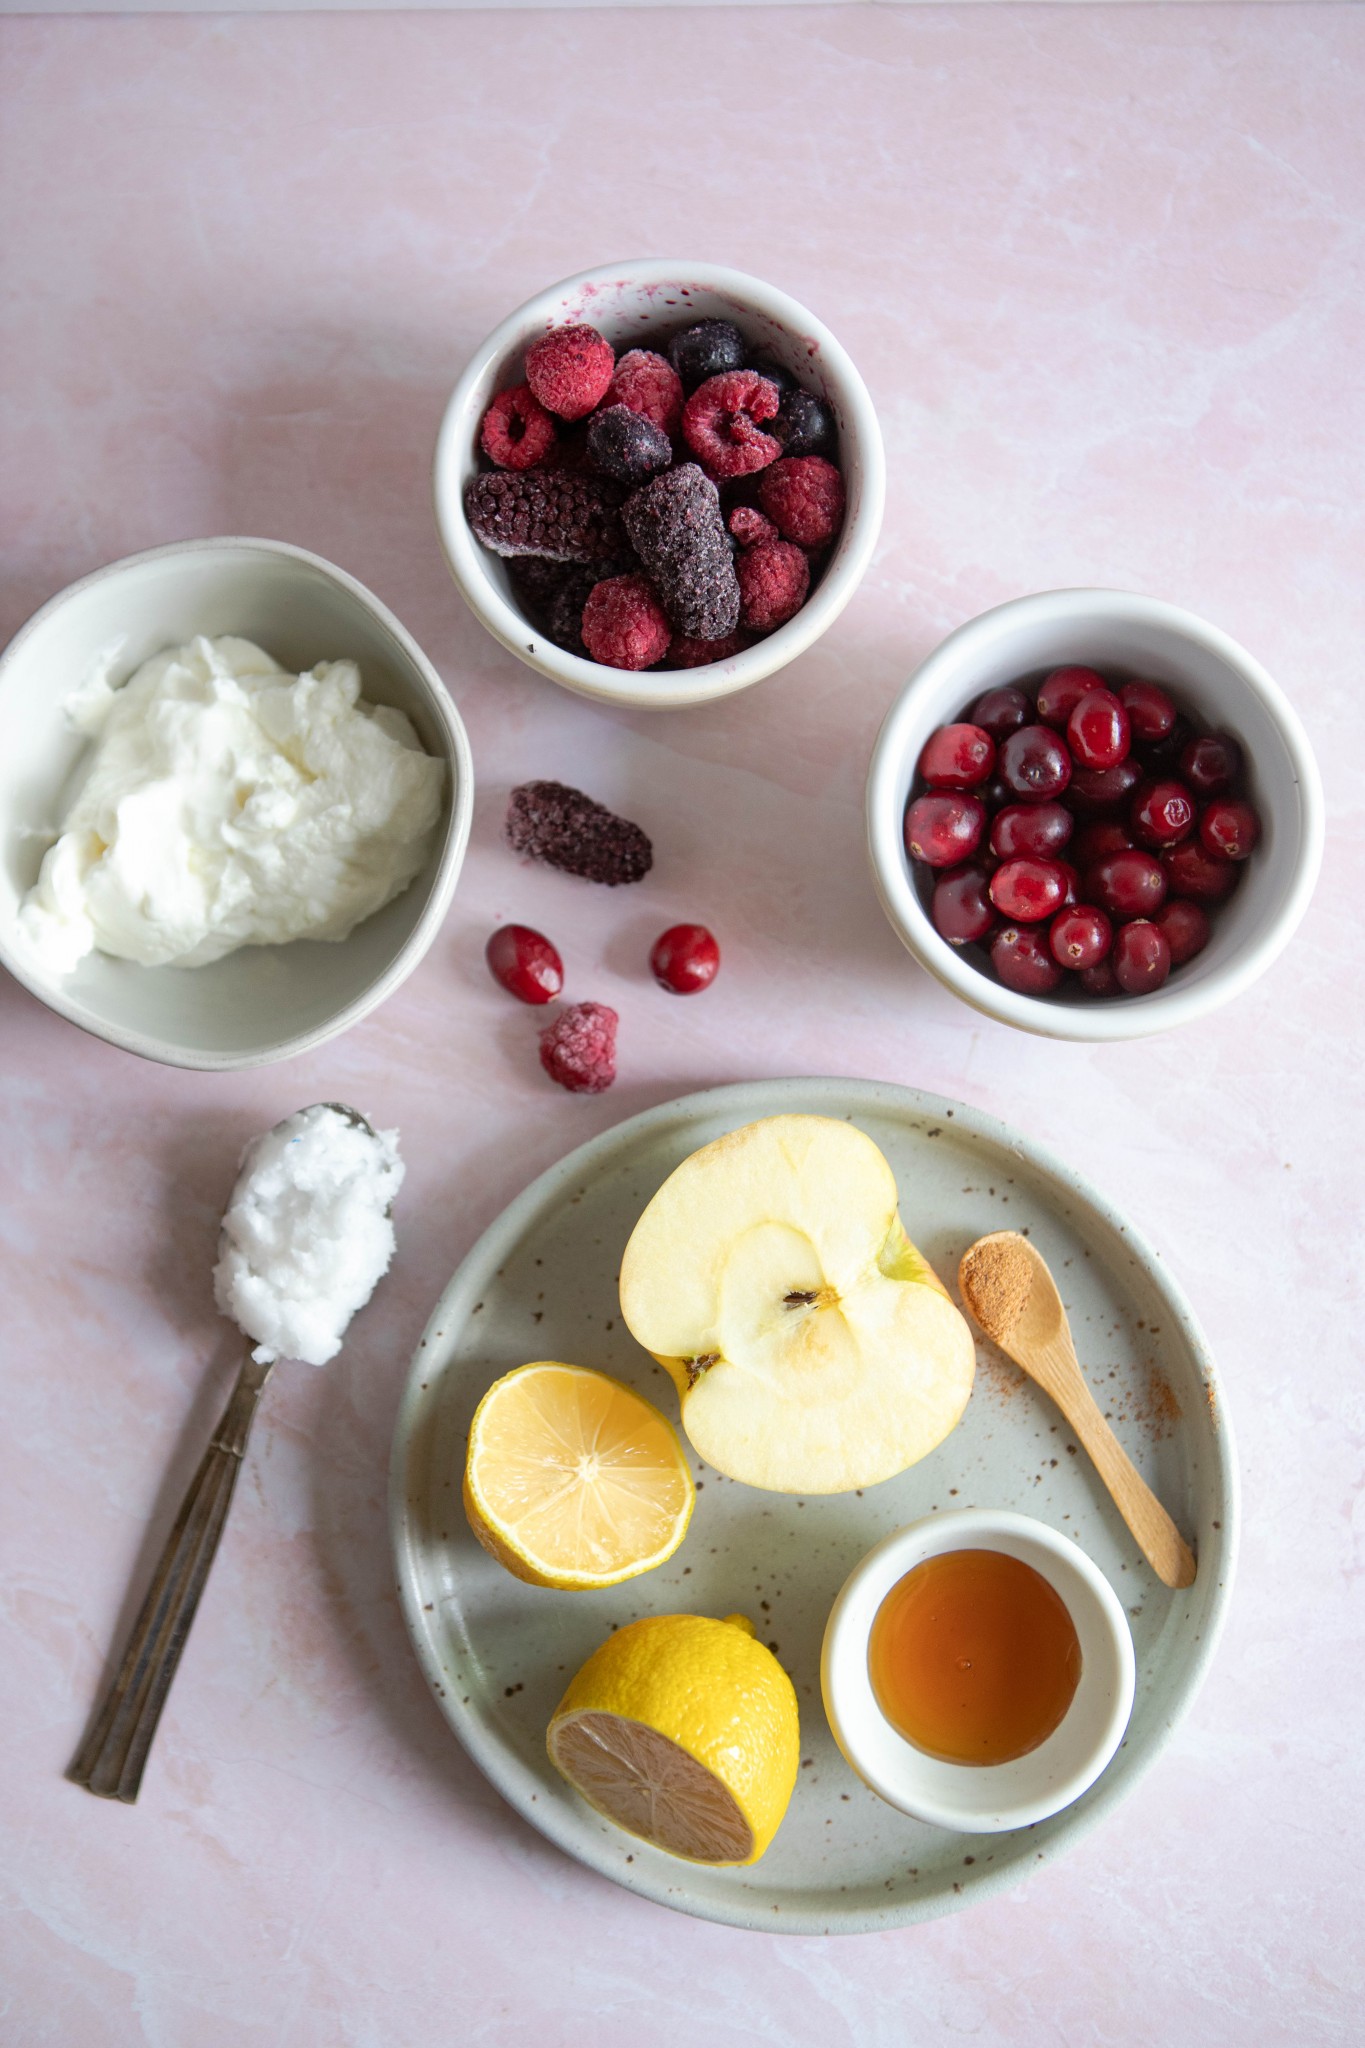
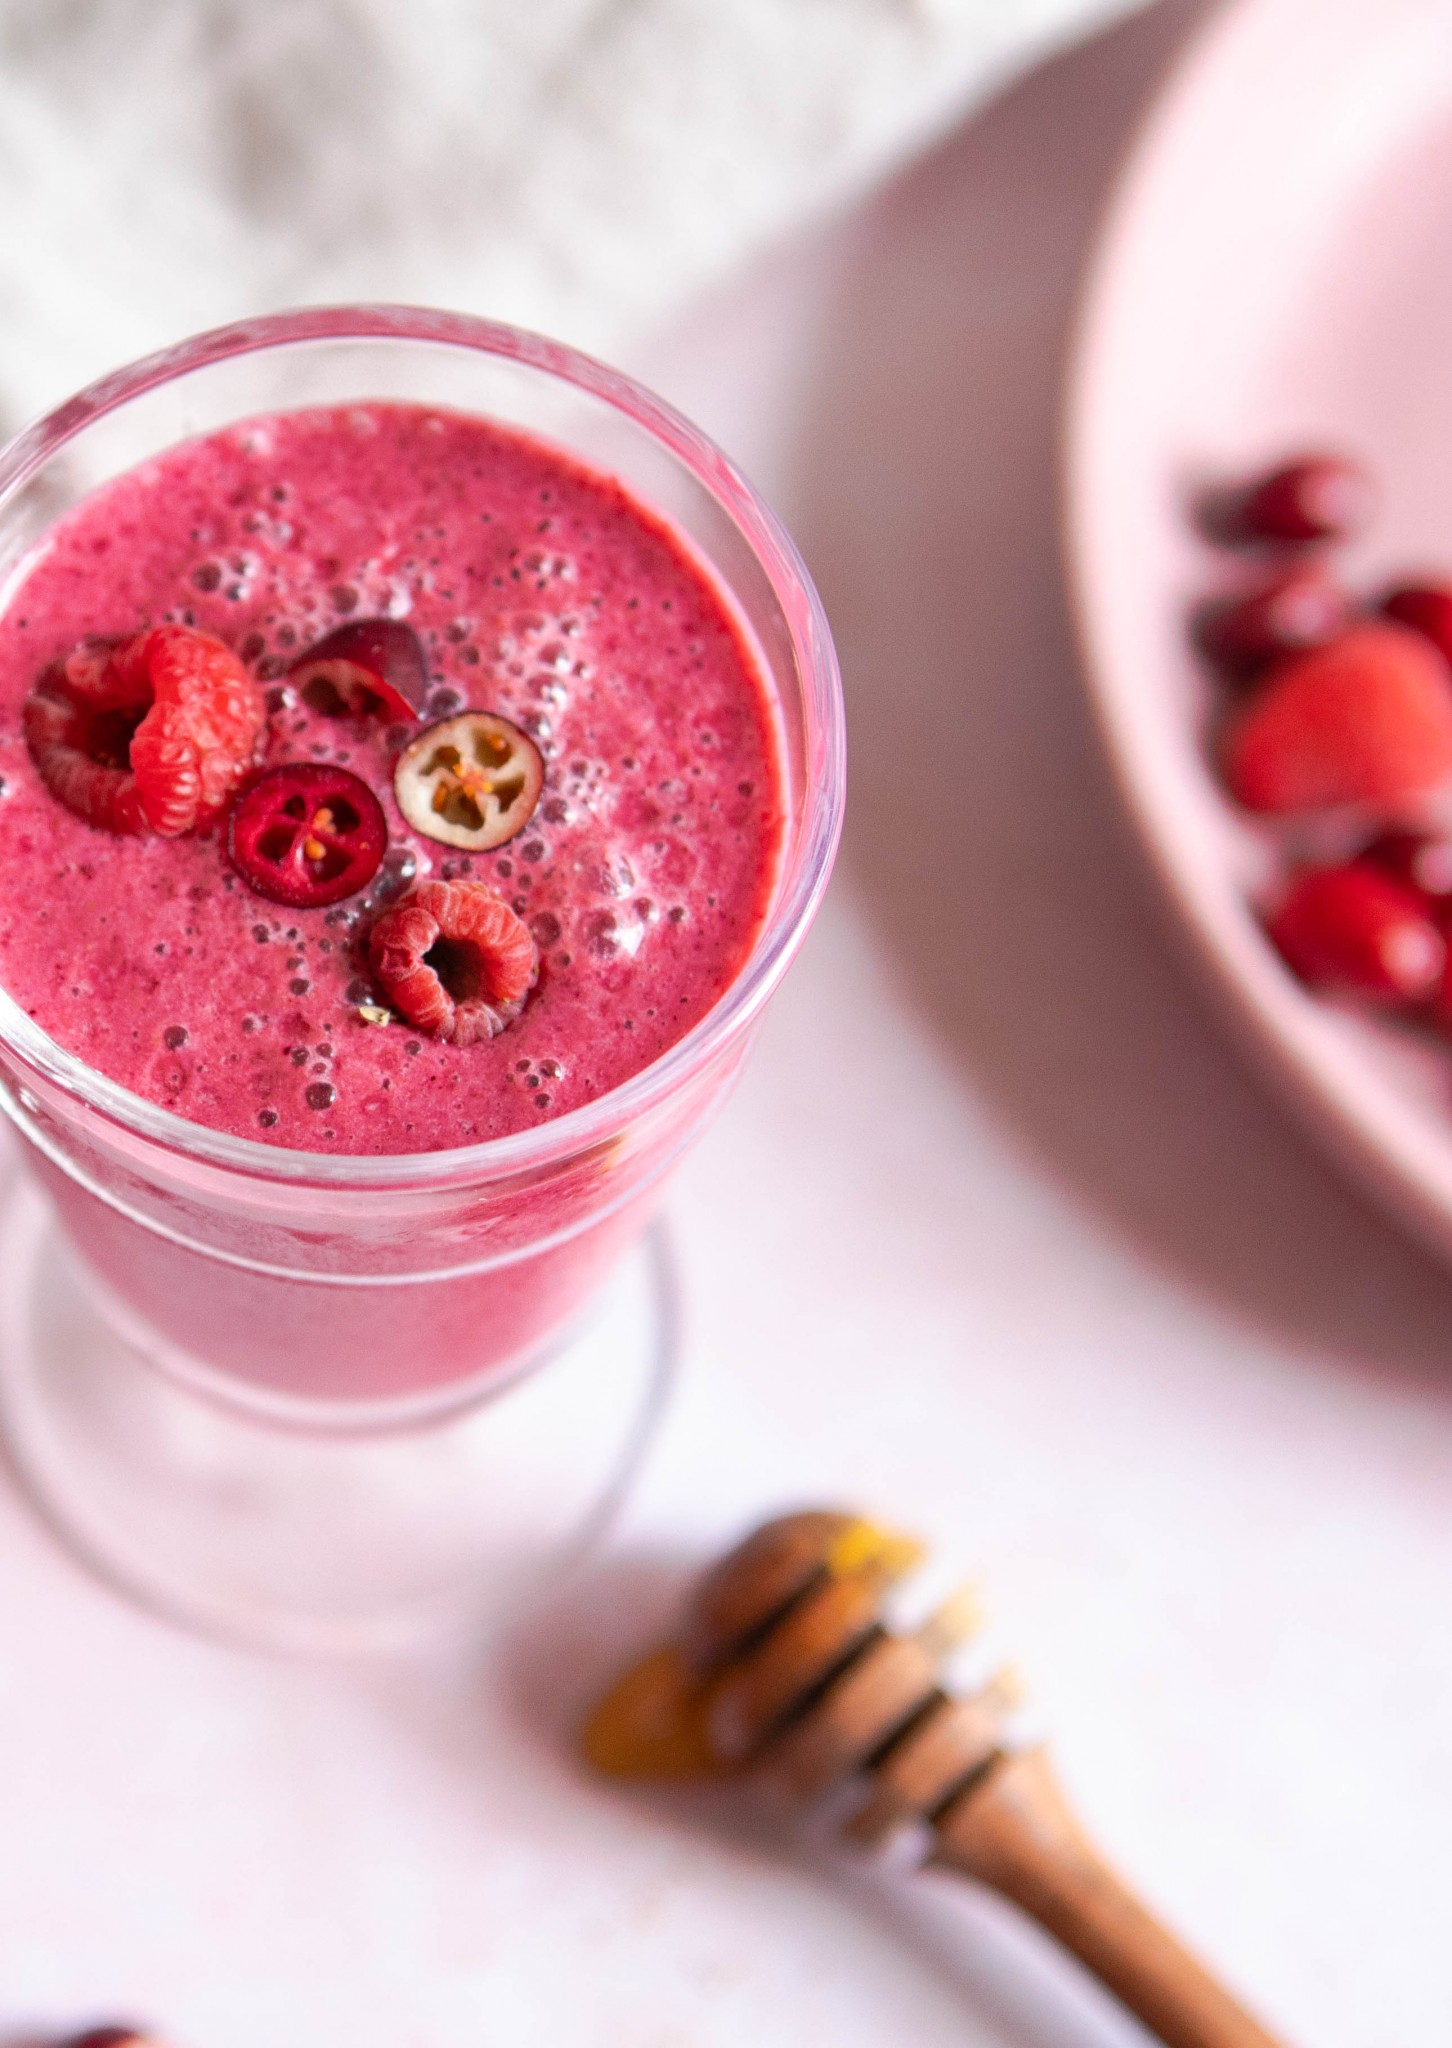
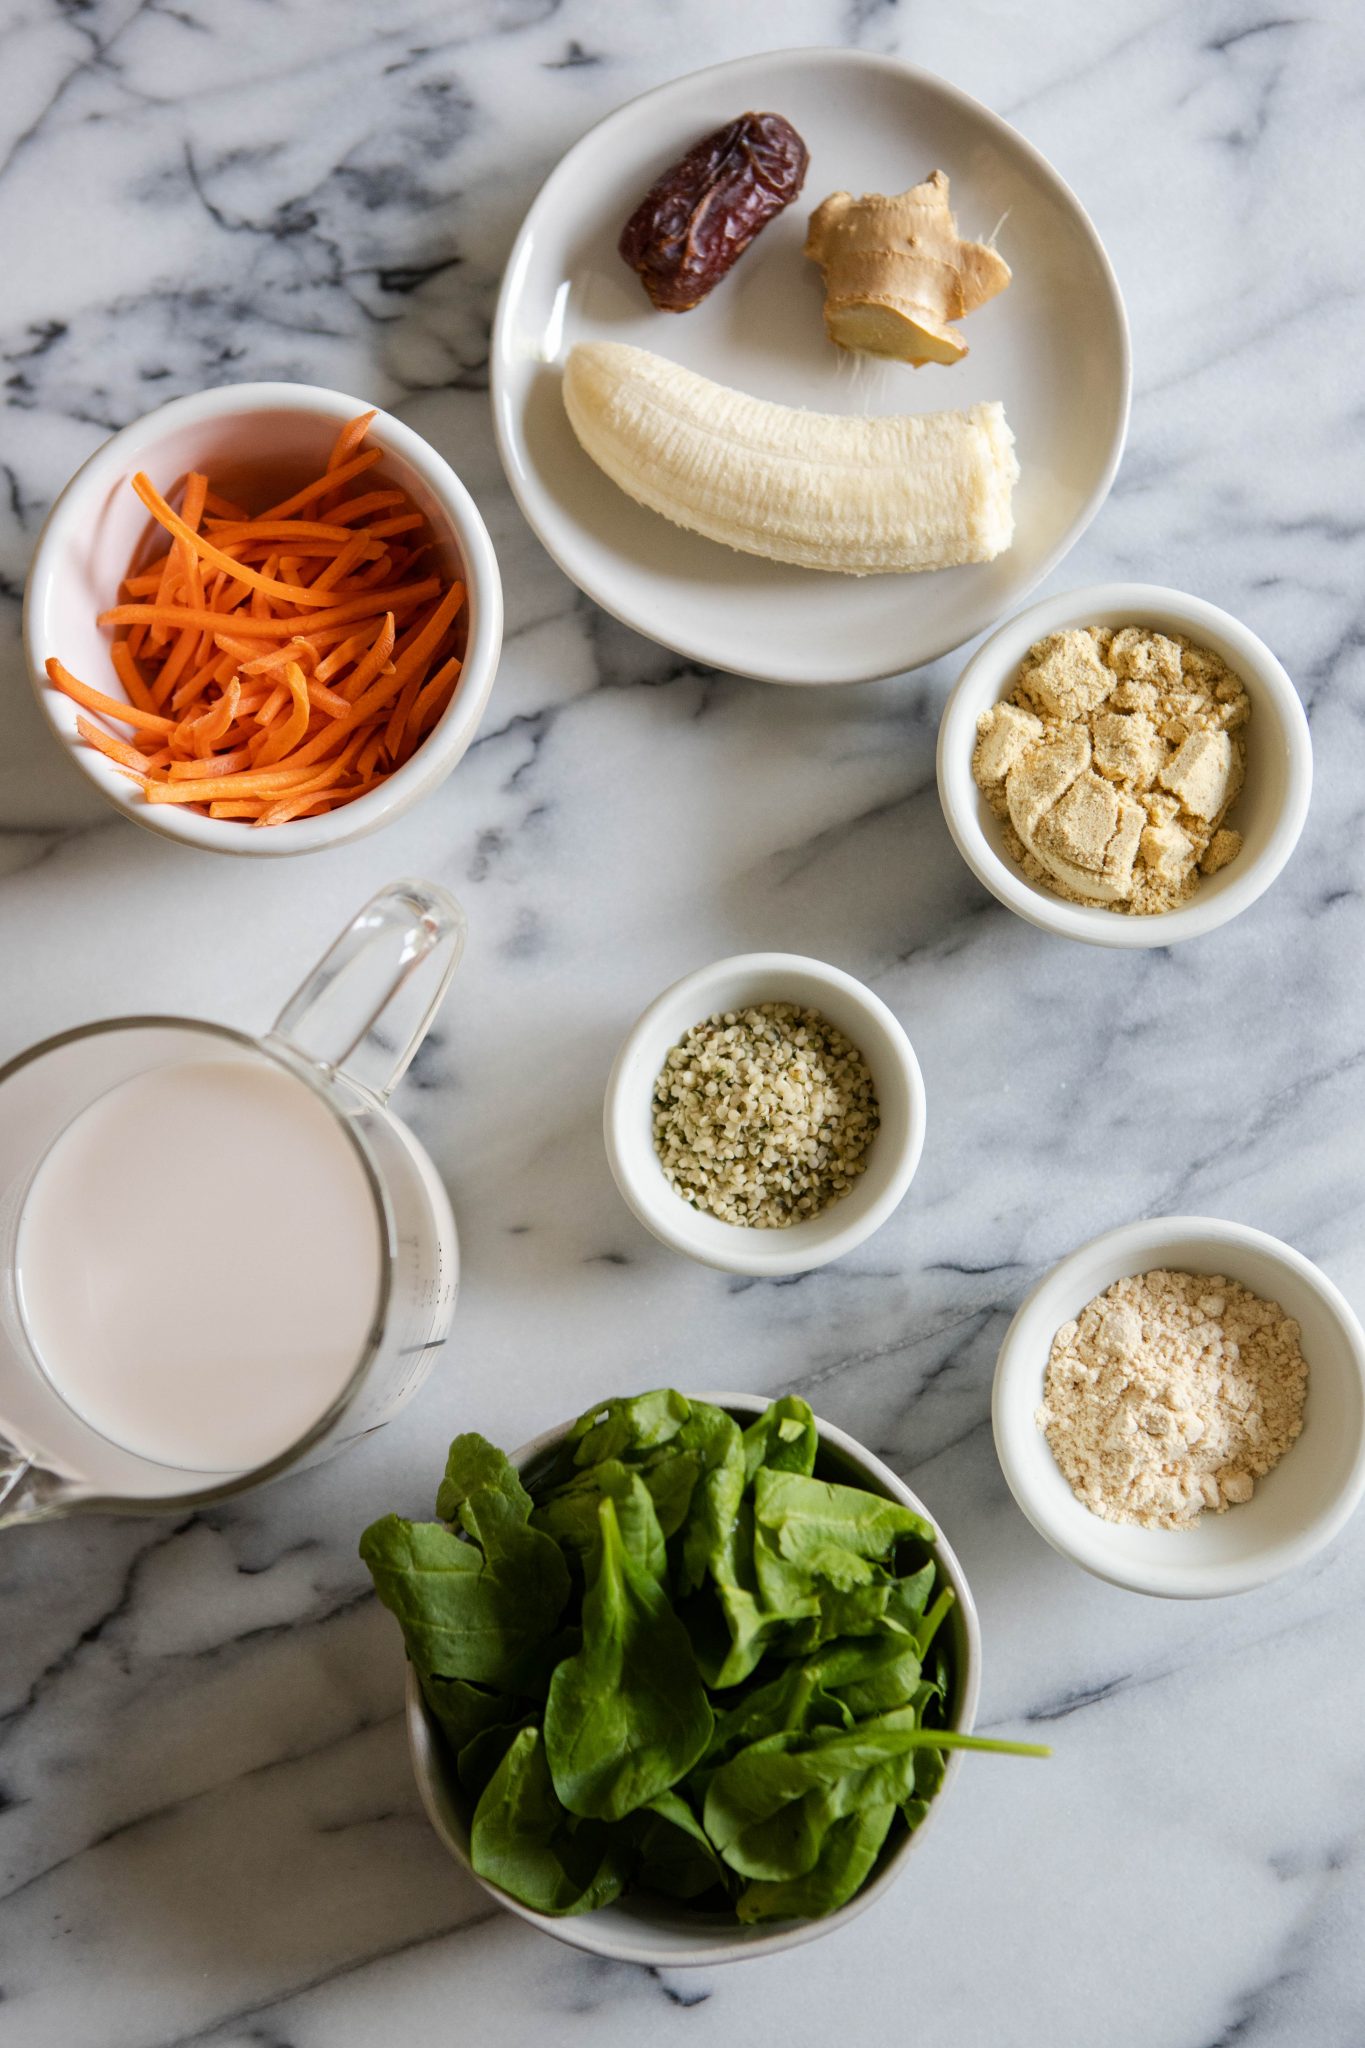
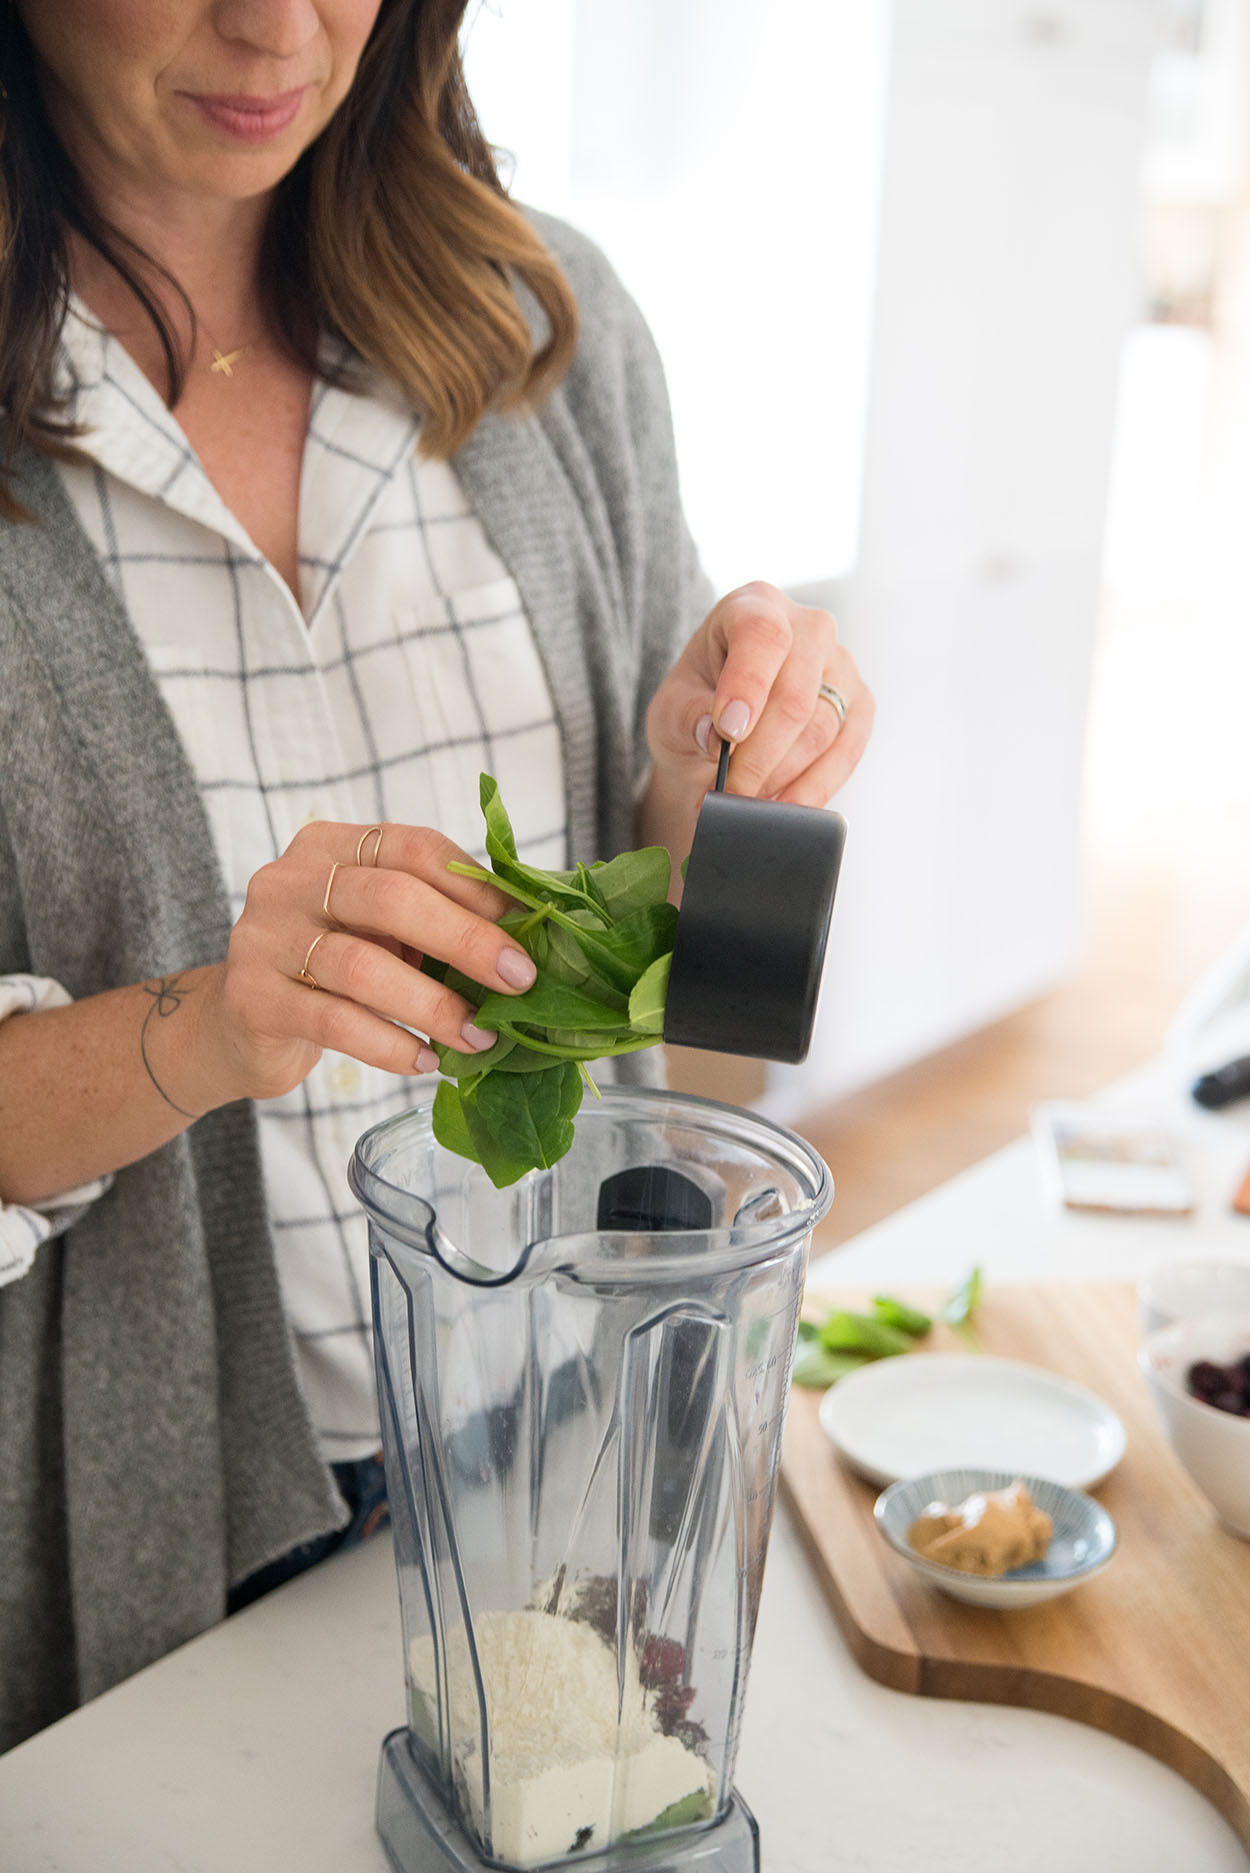 Adding vegetables
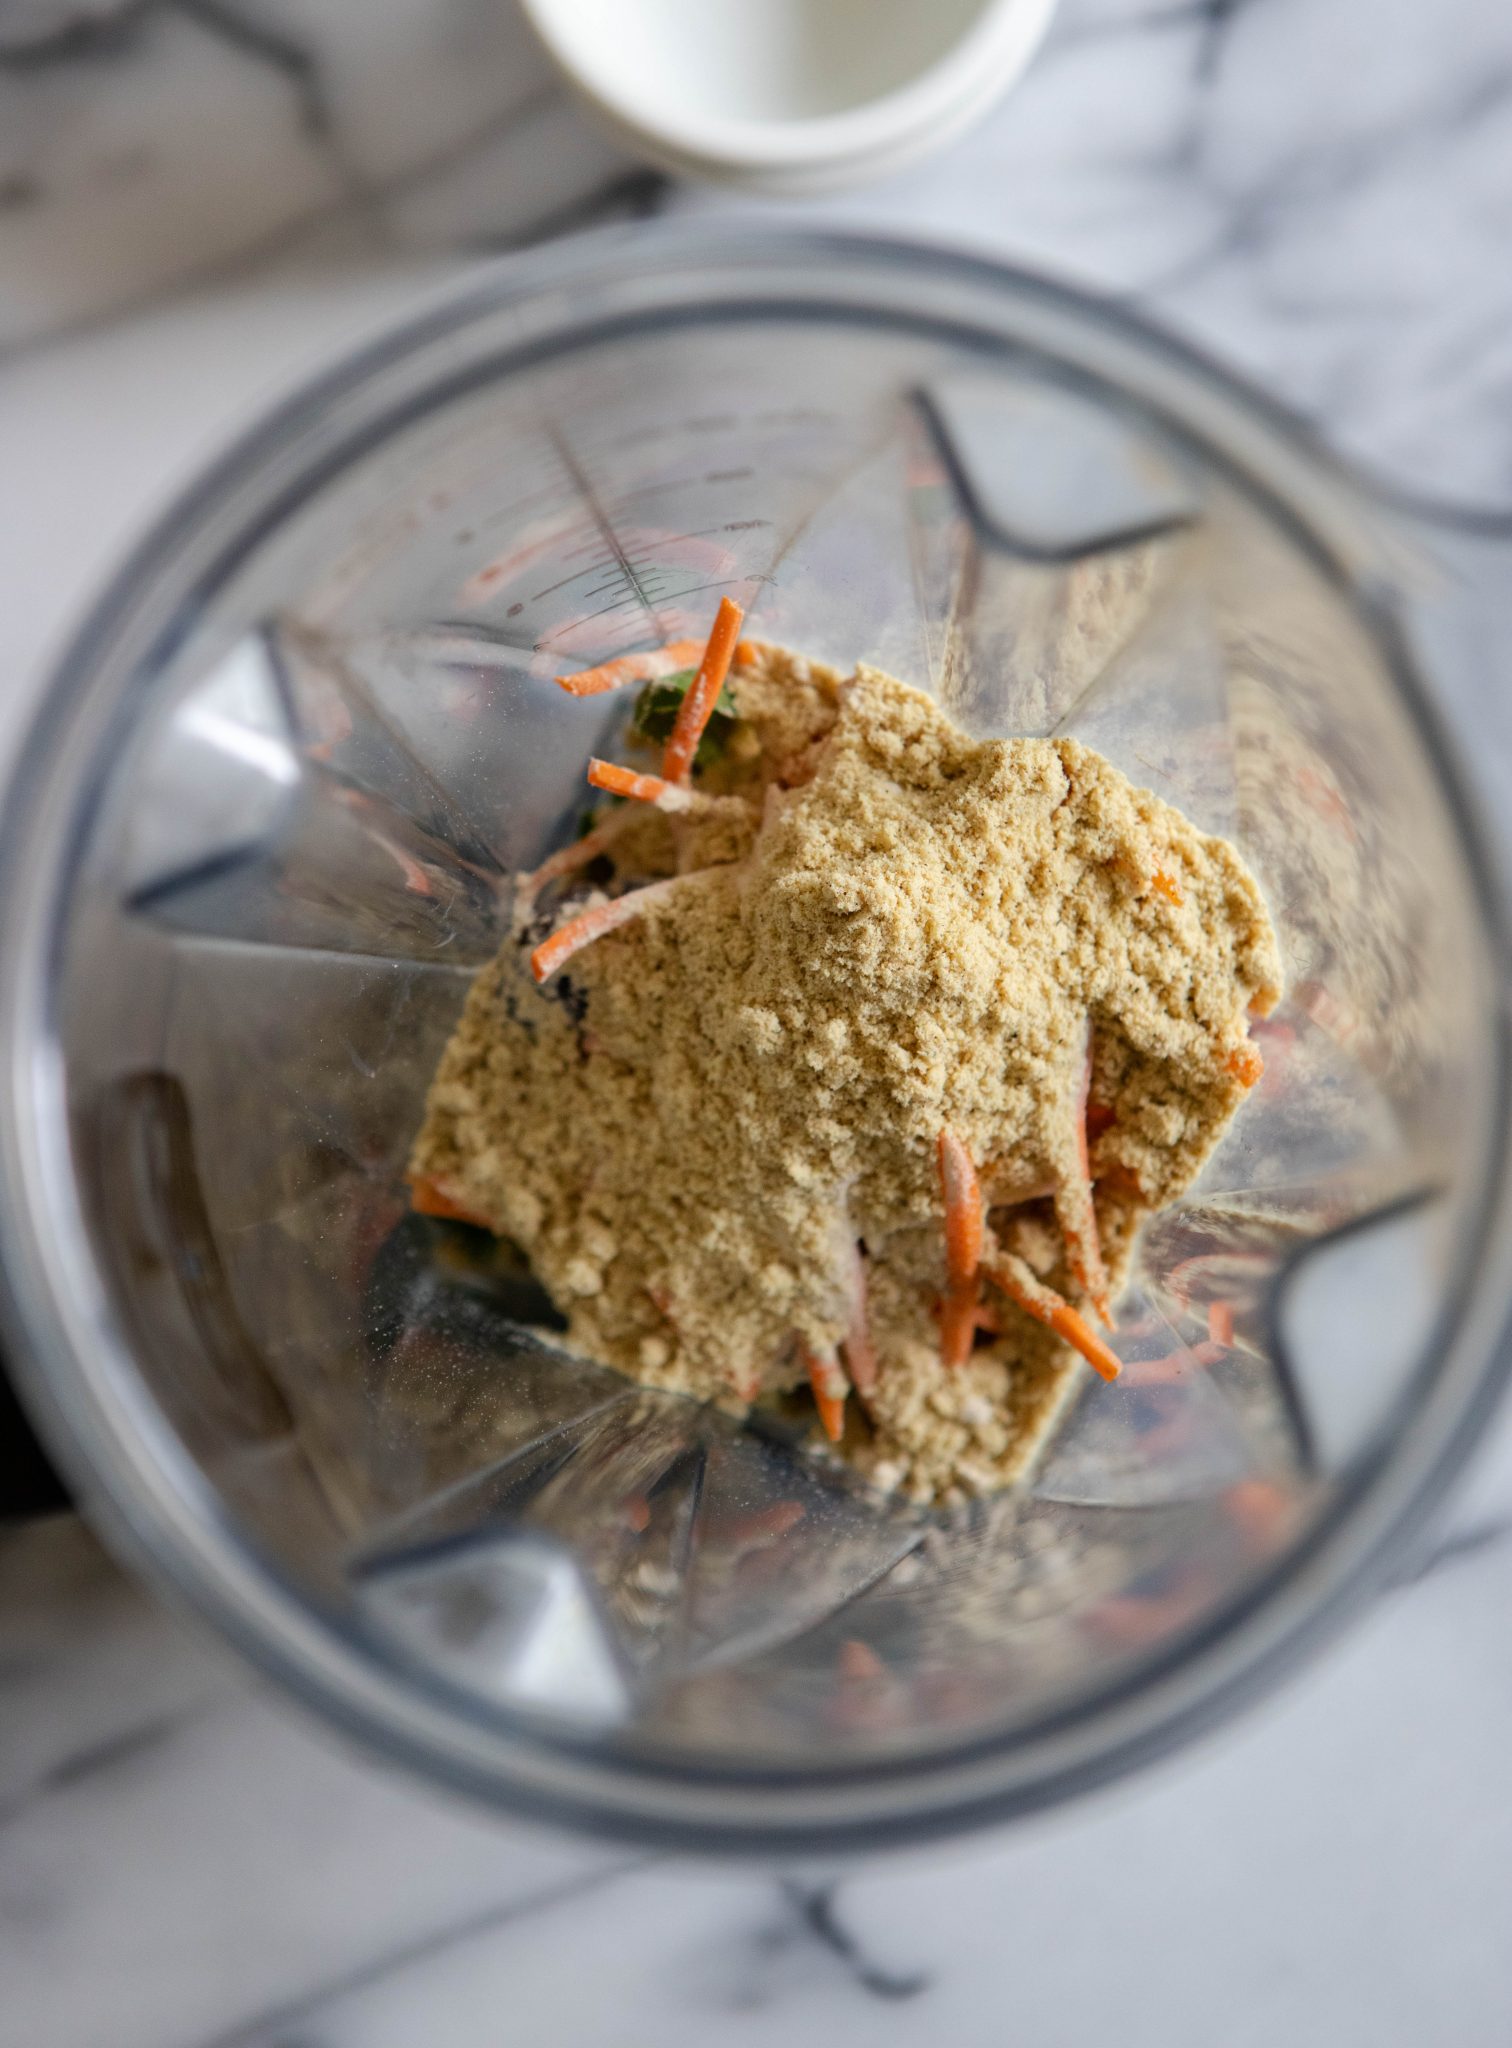 Protein Sources For Your Smoothie
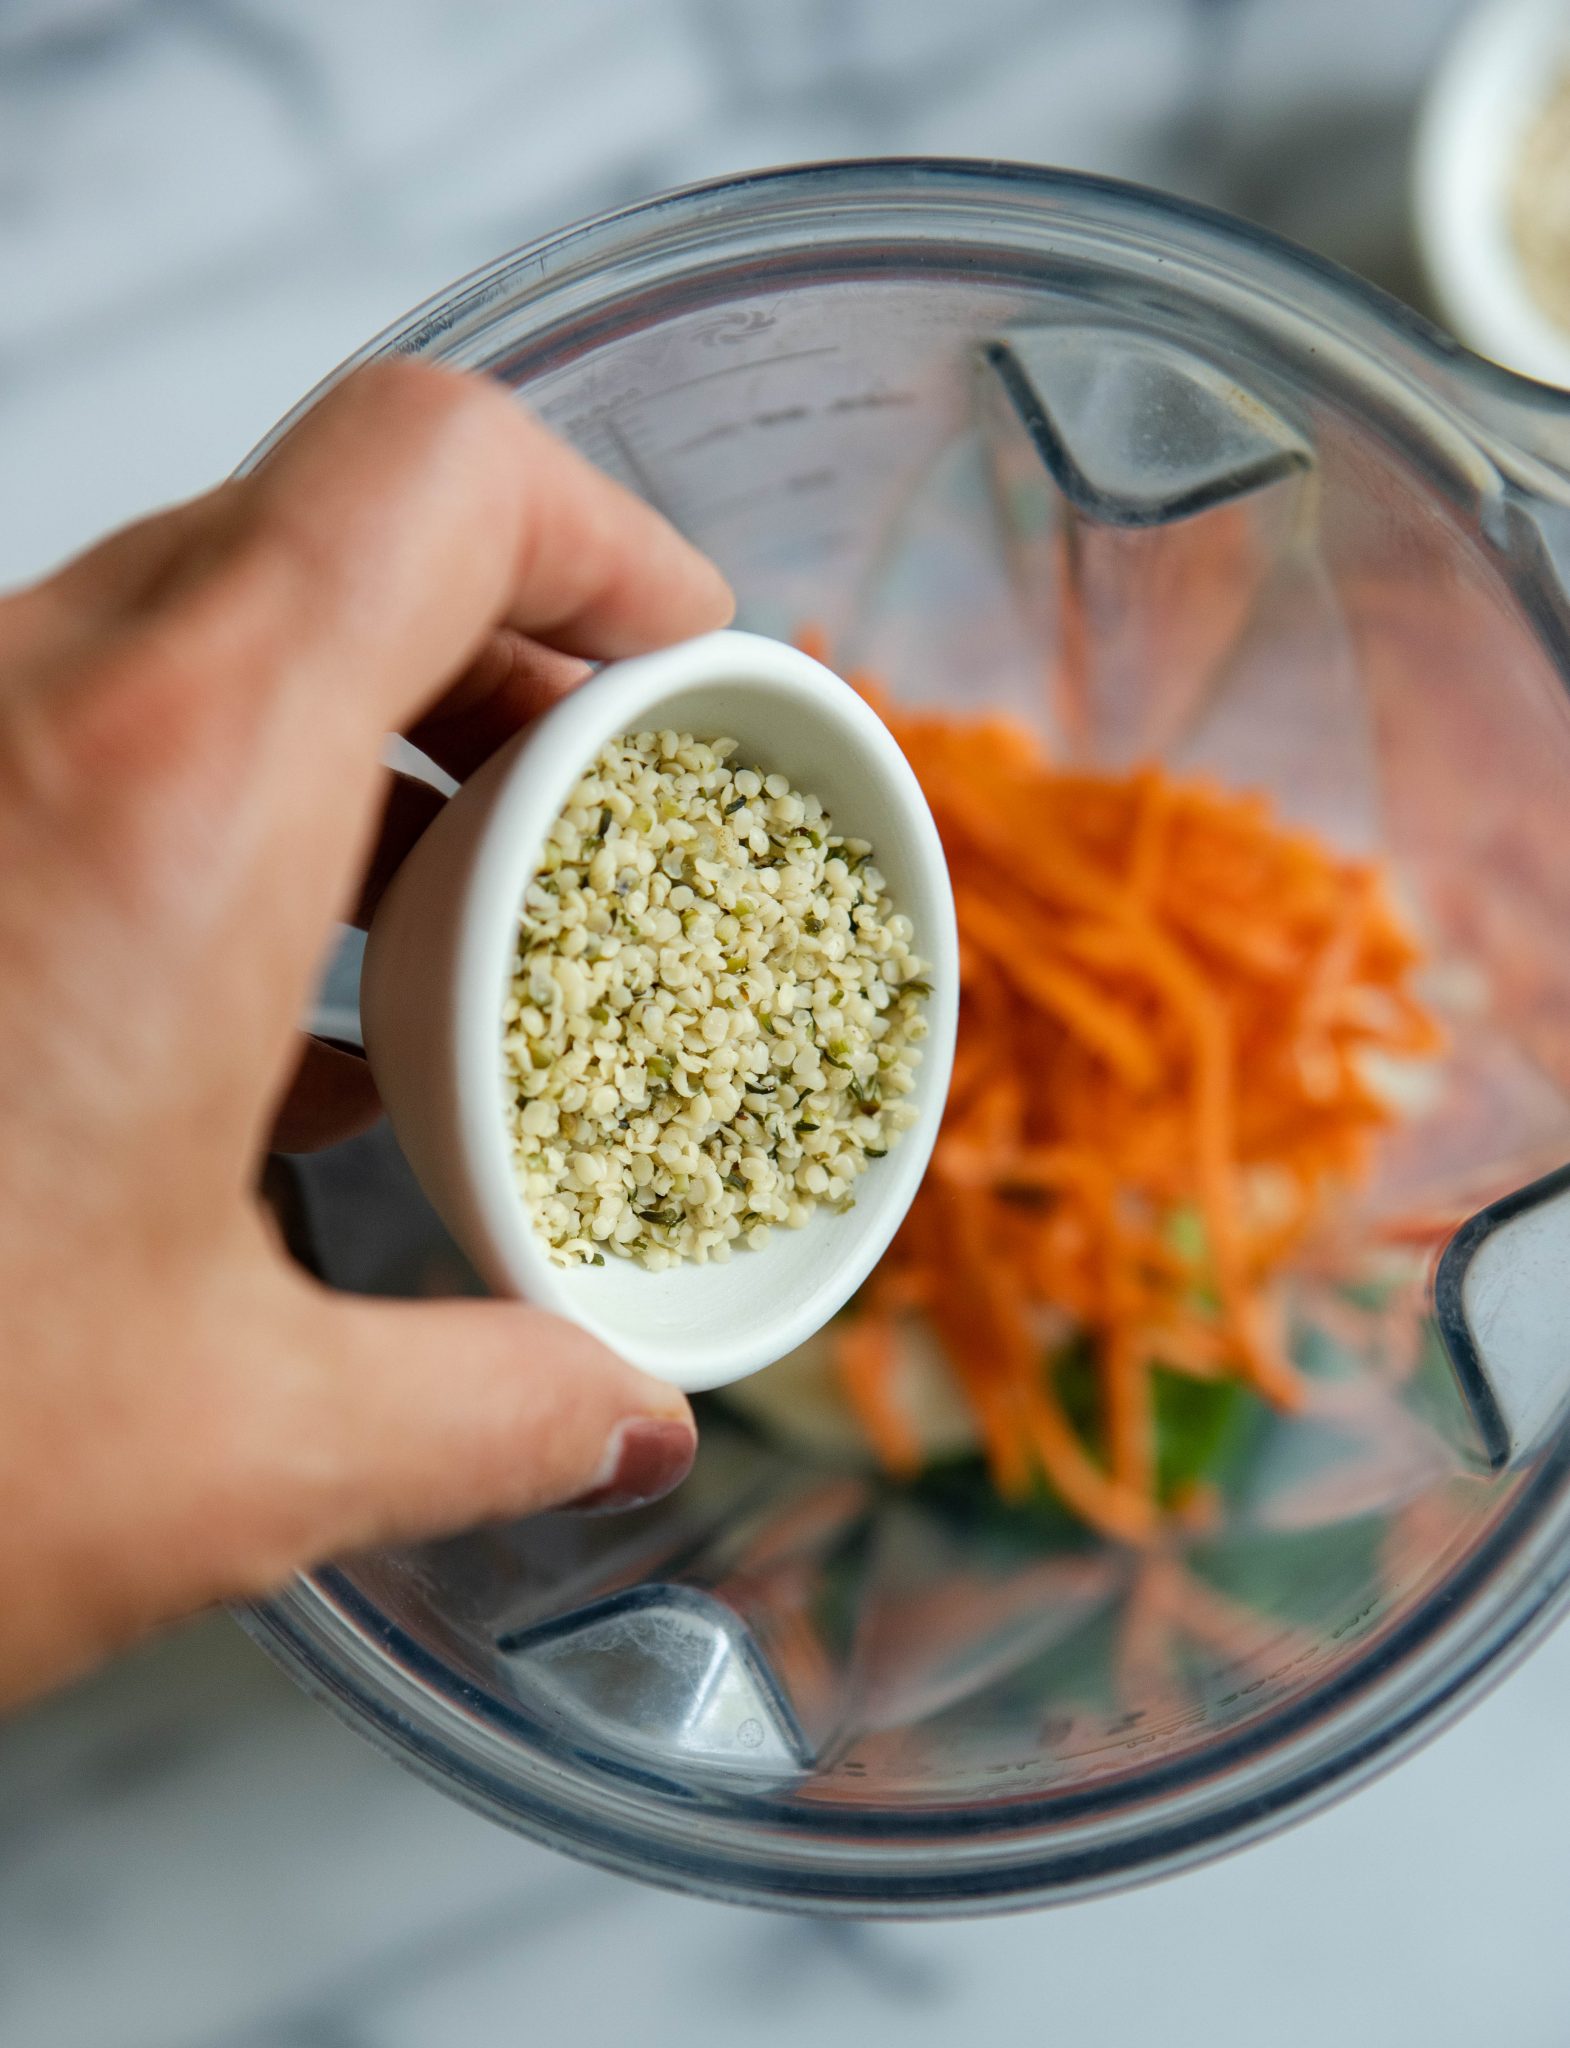 Additional Add-Ins For A Boost Of Flavor And Nutrition
 Sweeten It Up!
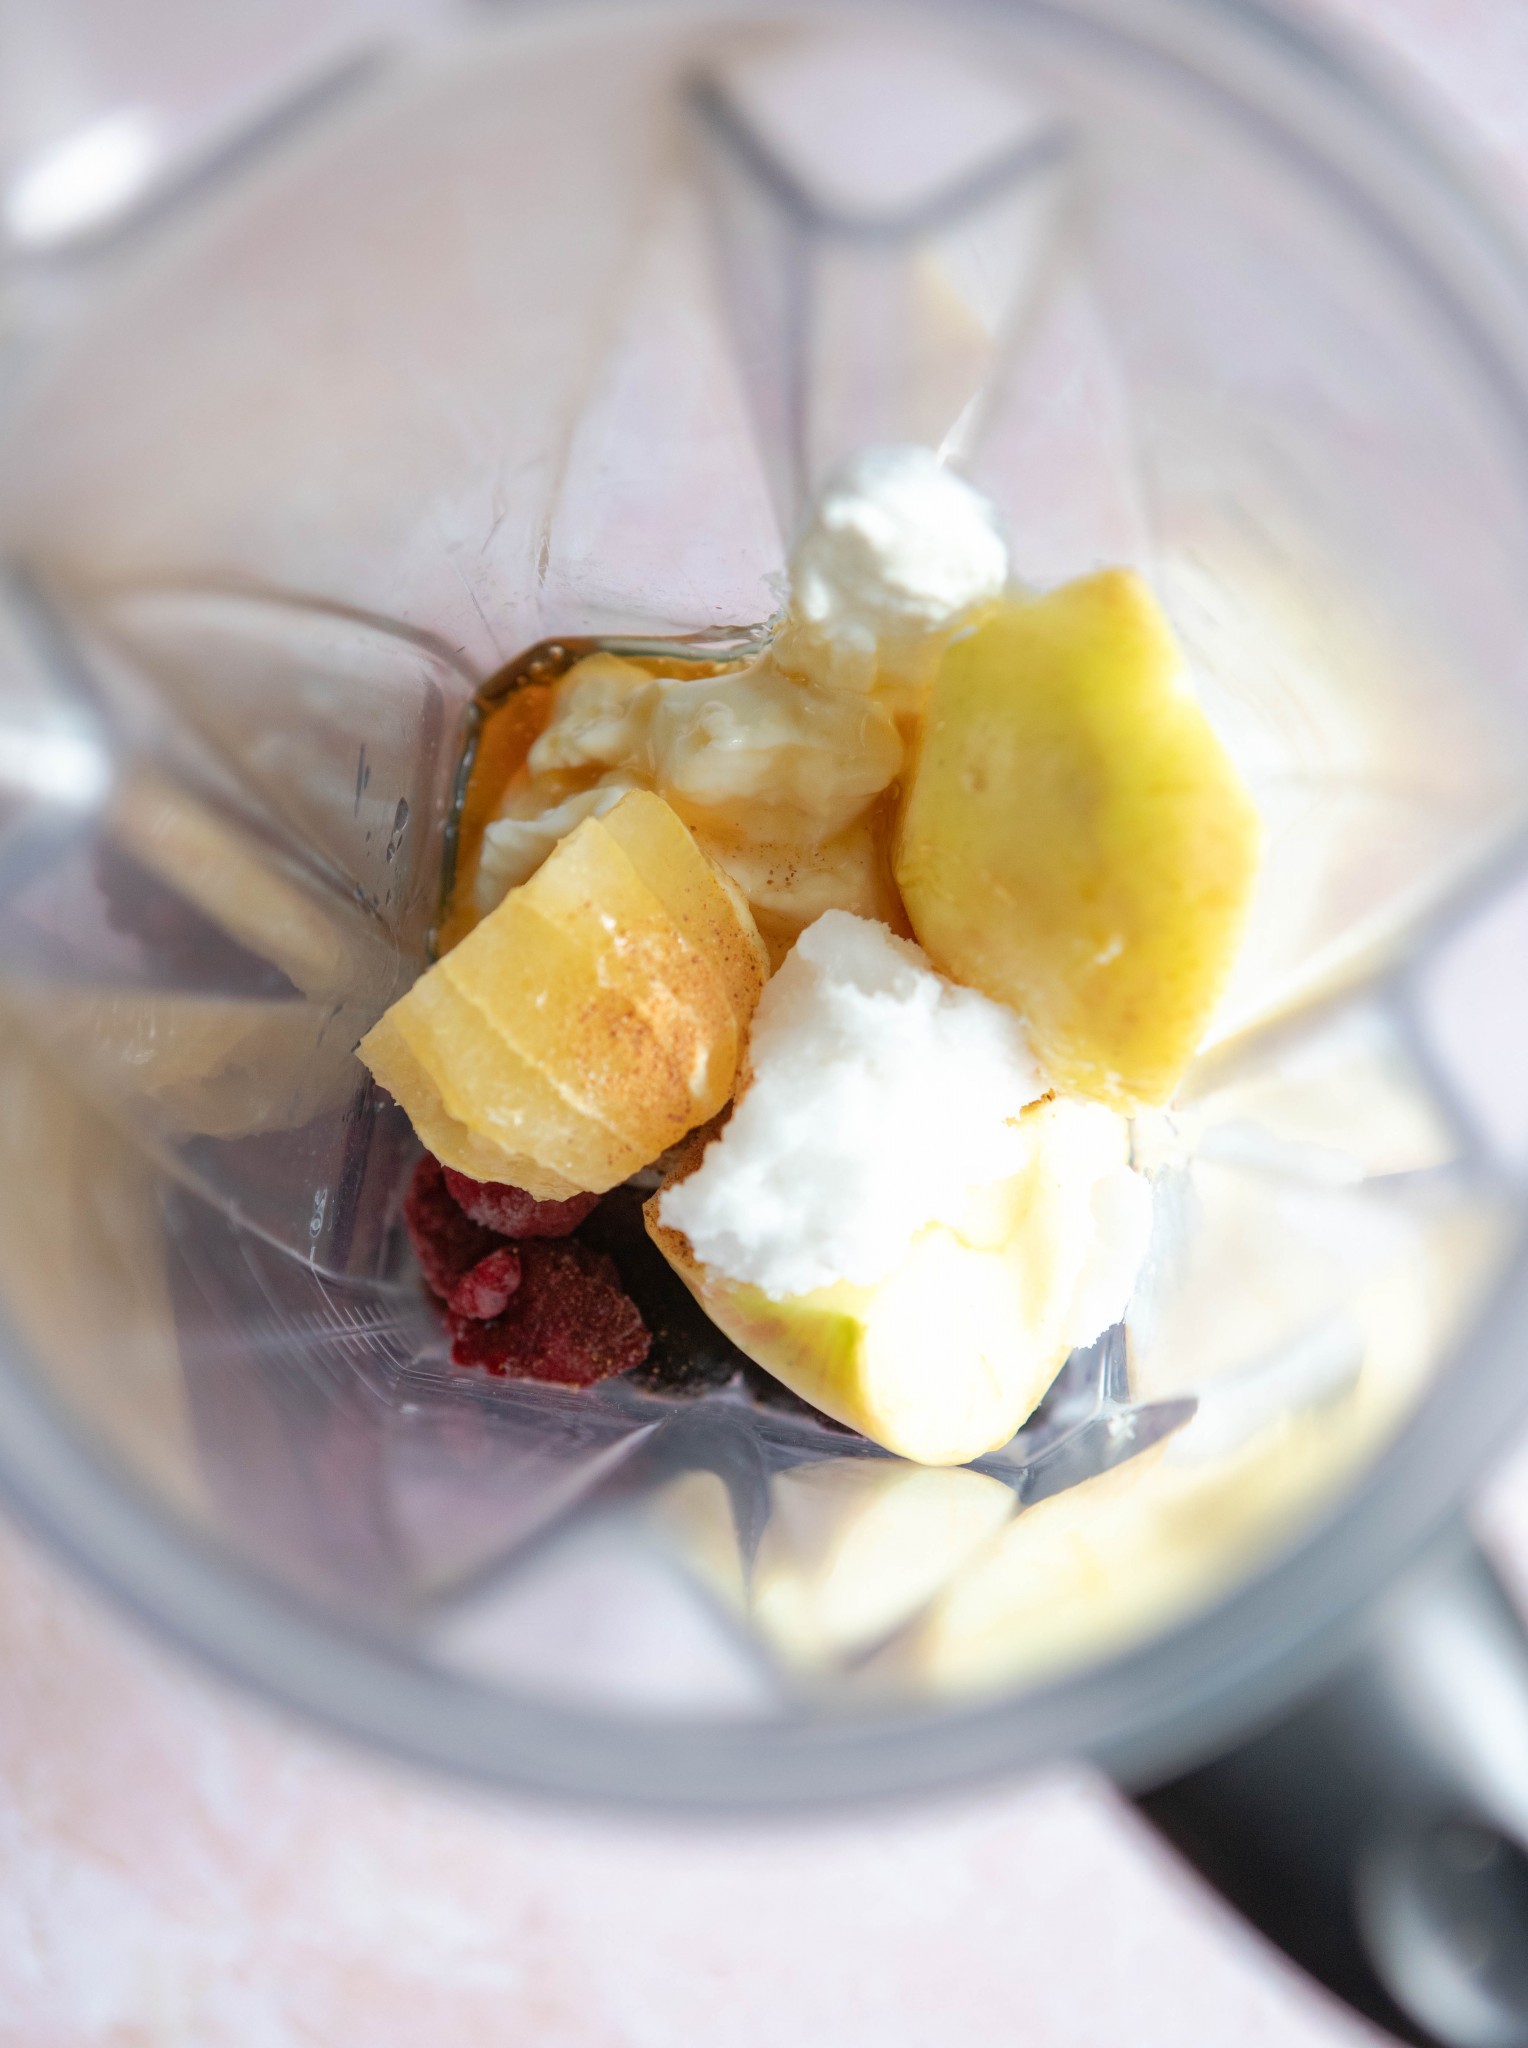
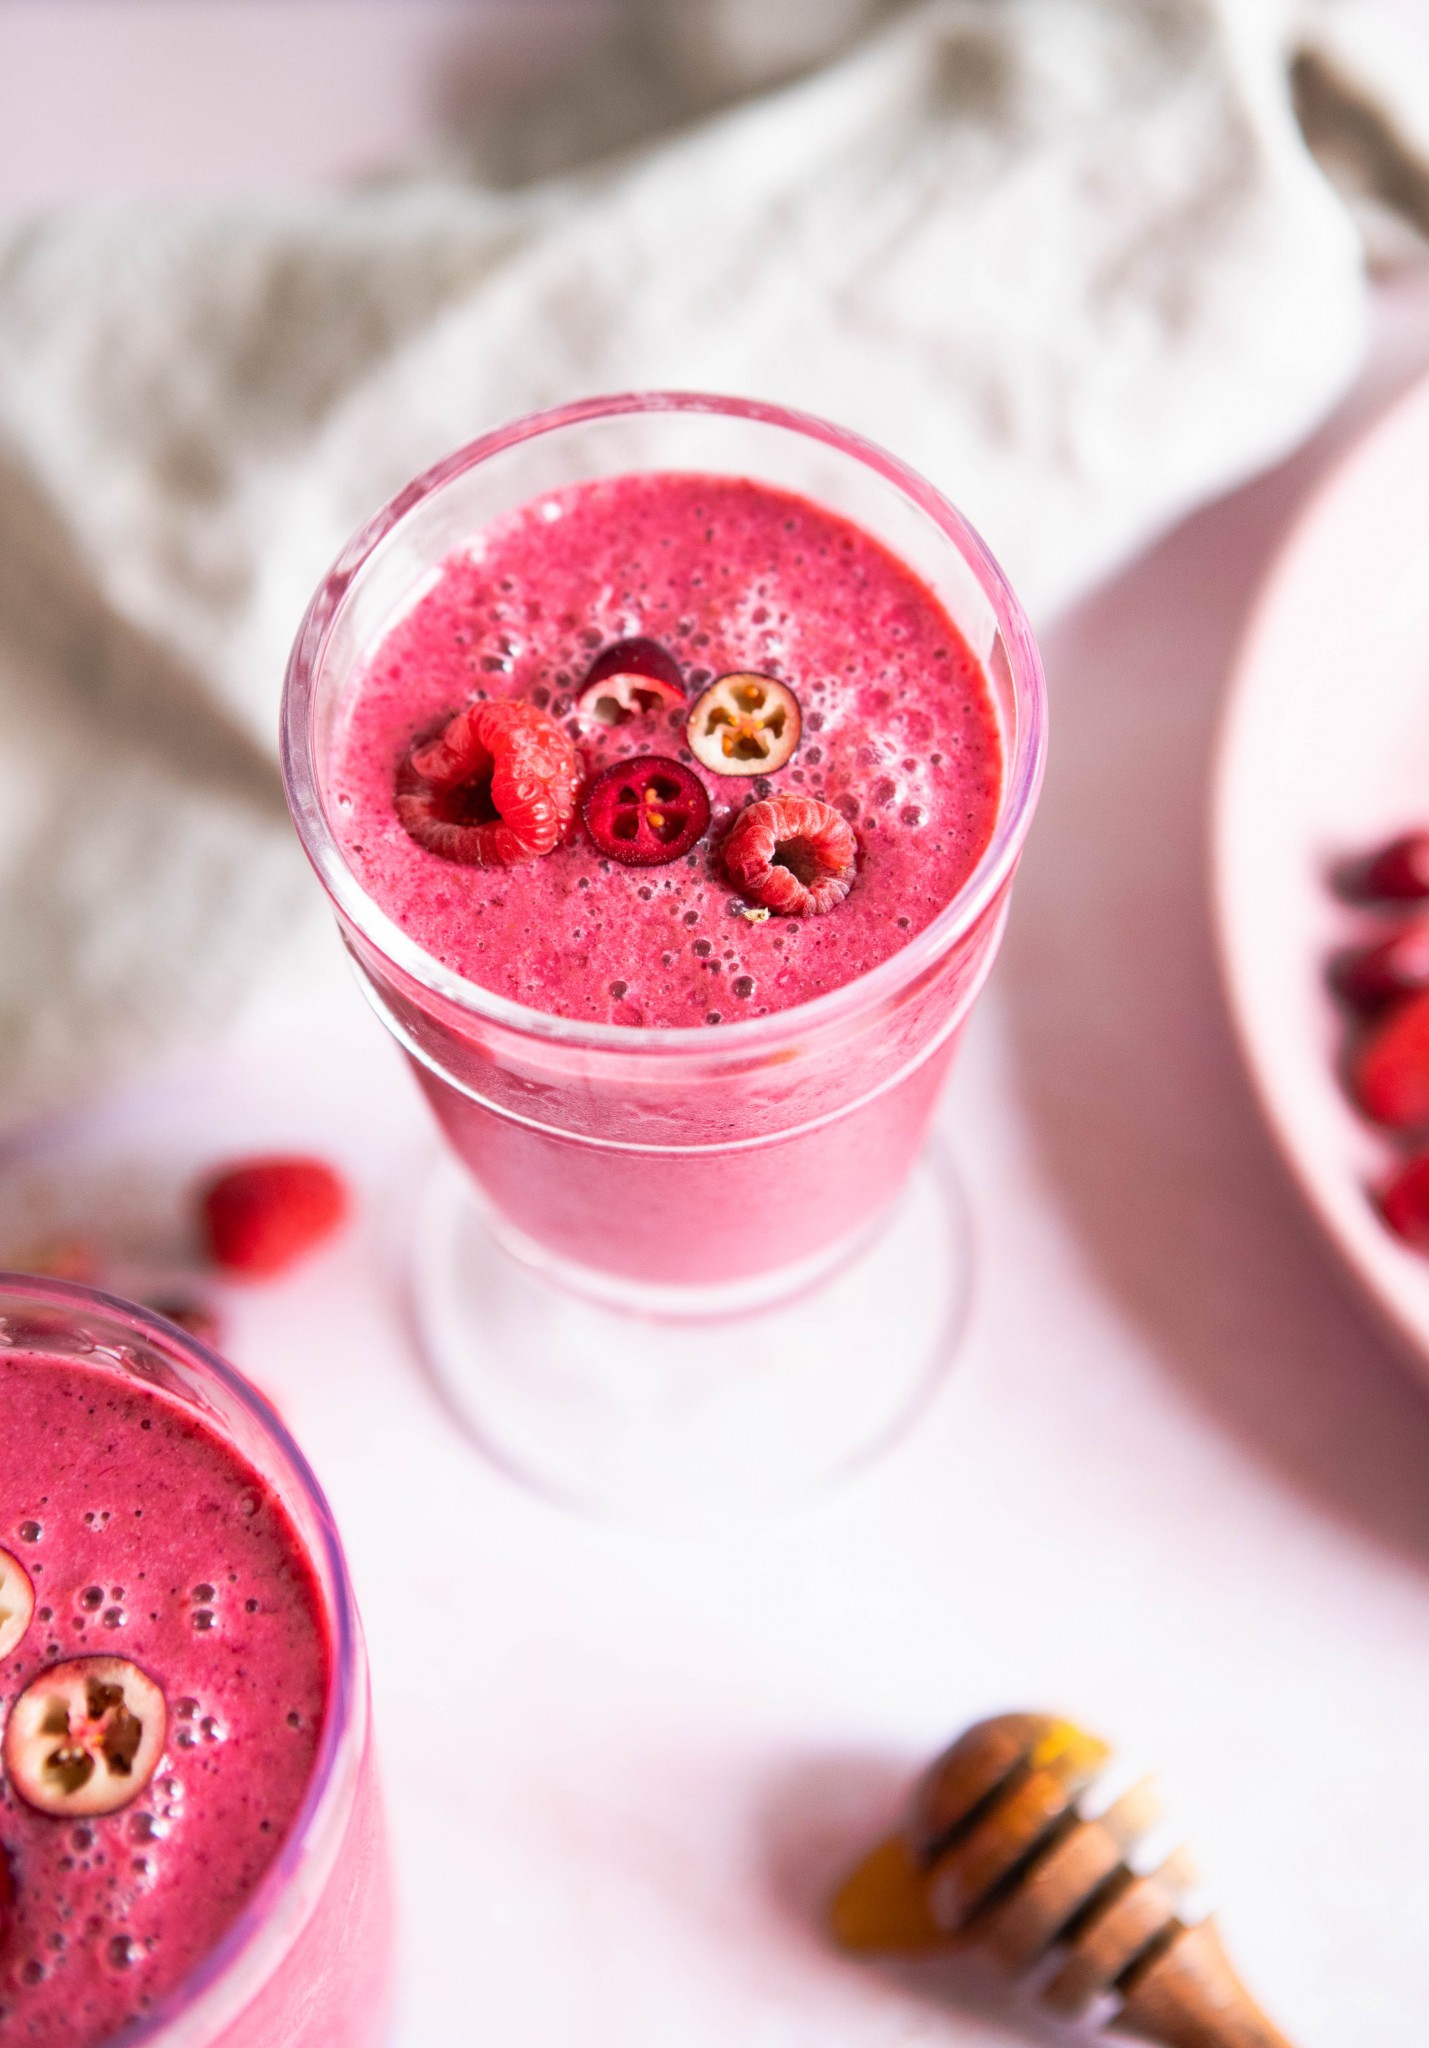
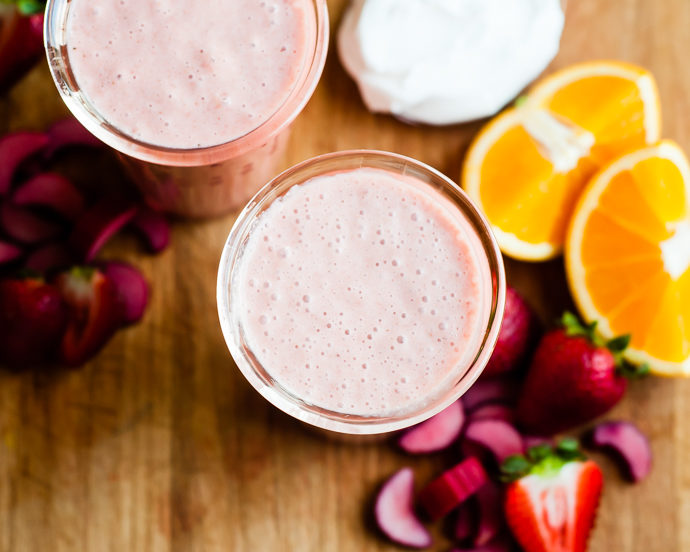
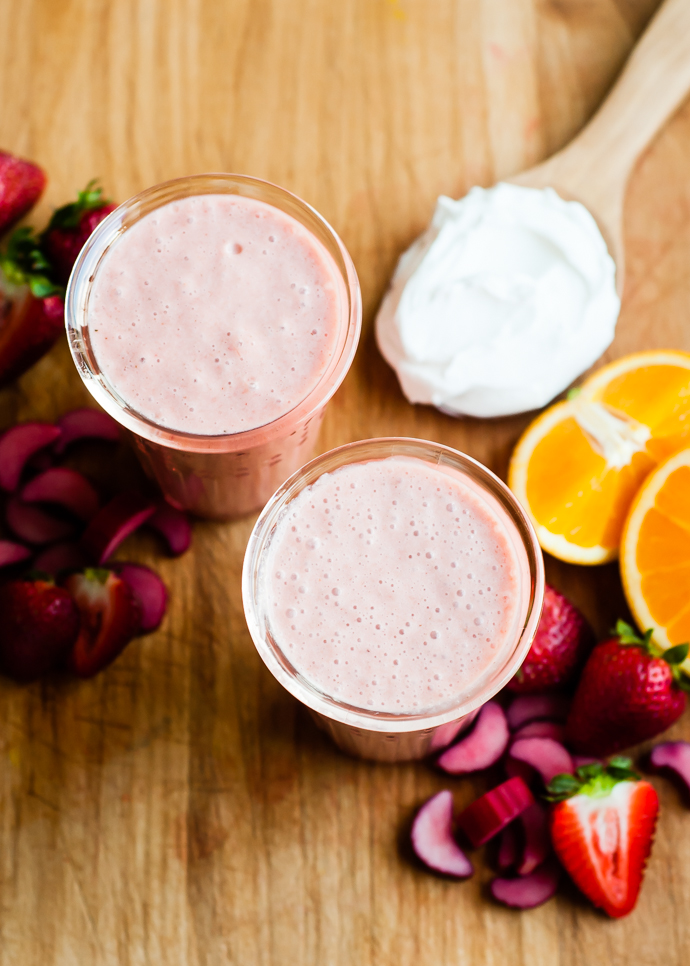
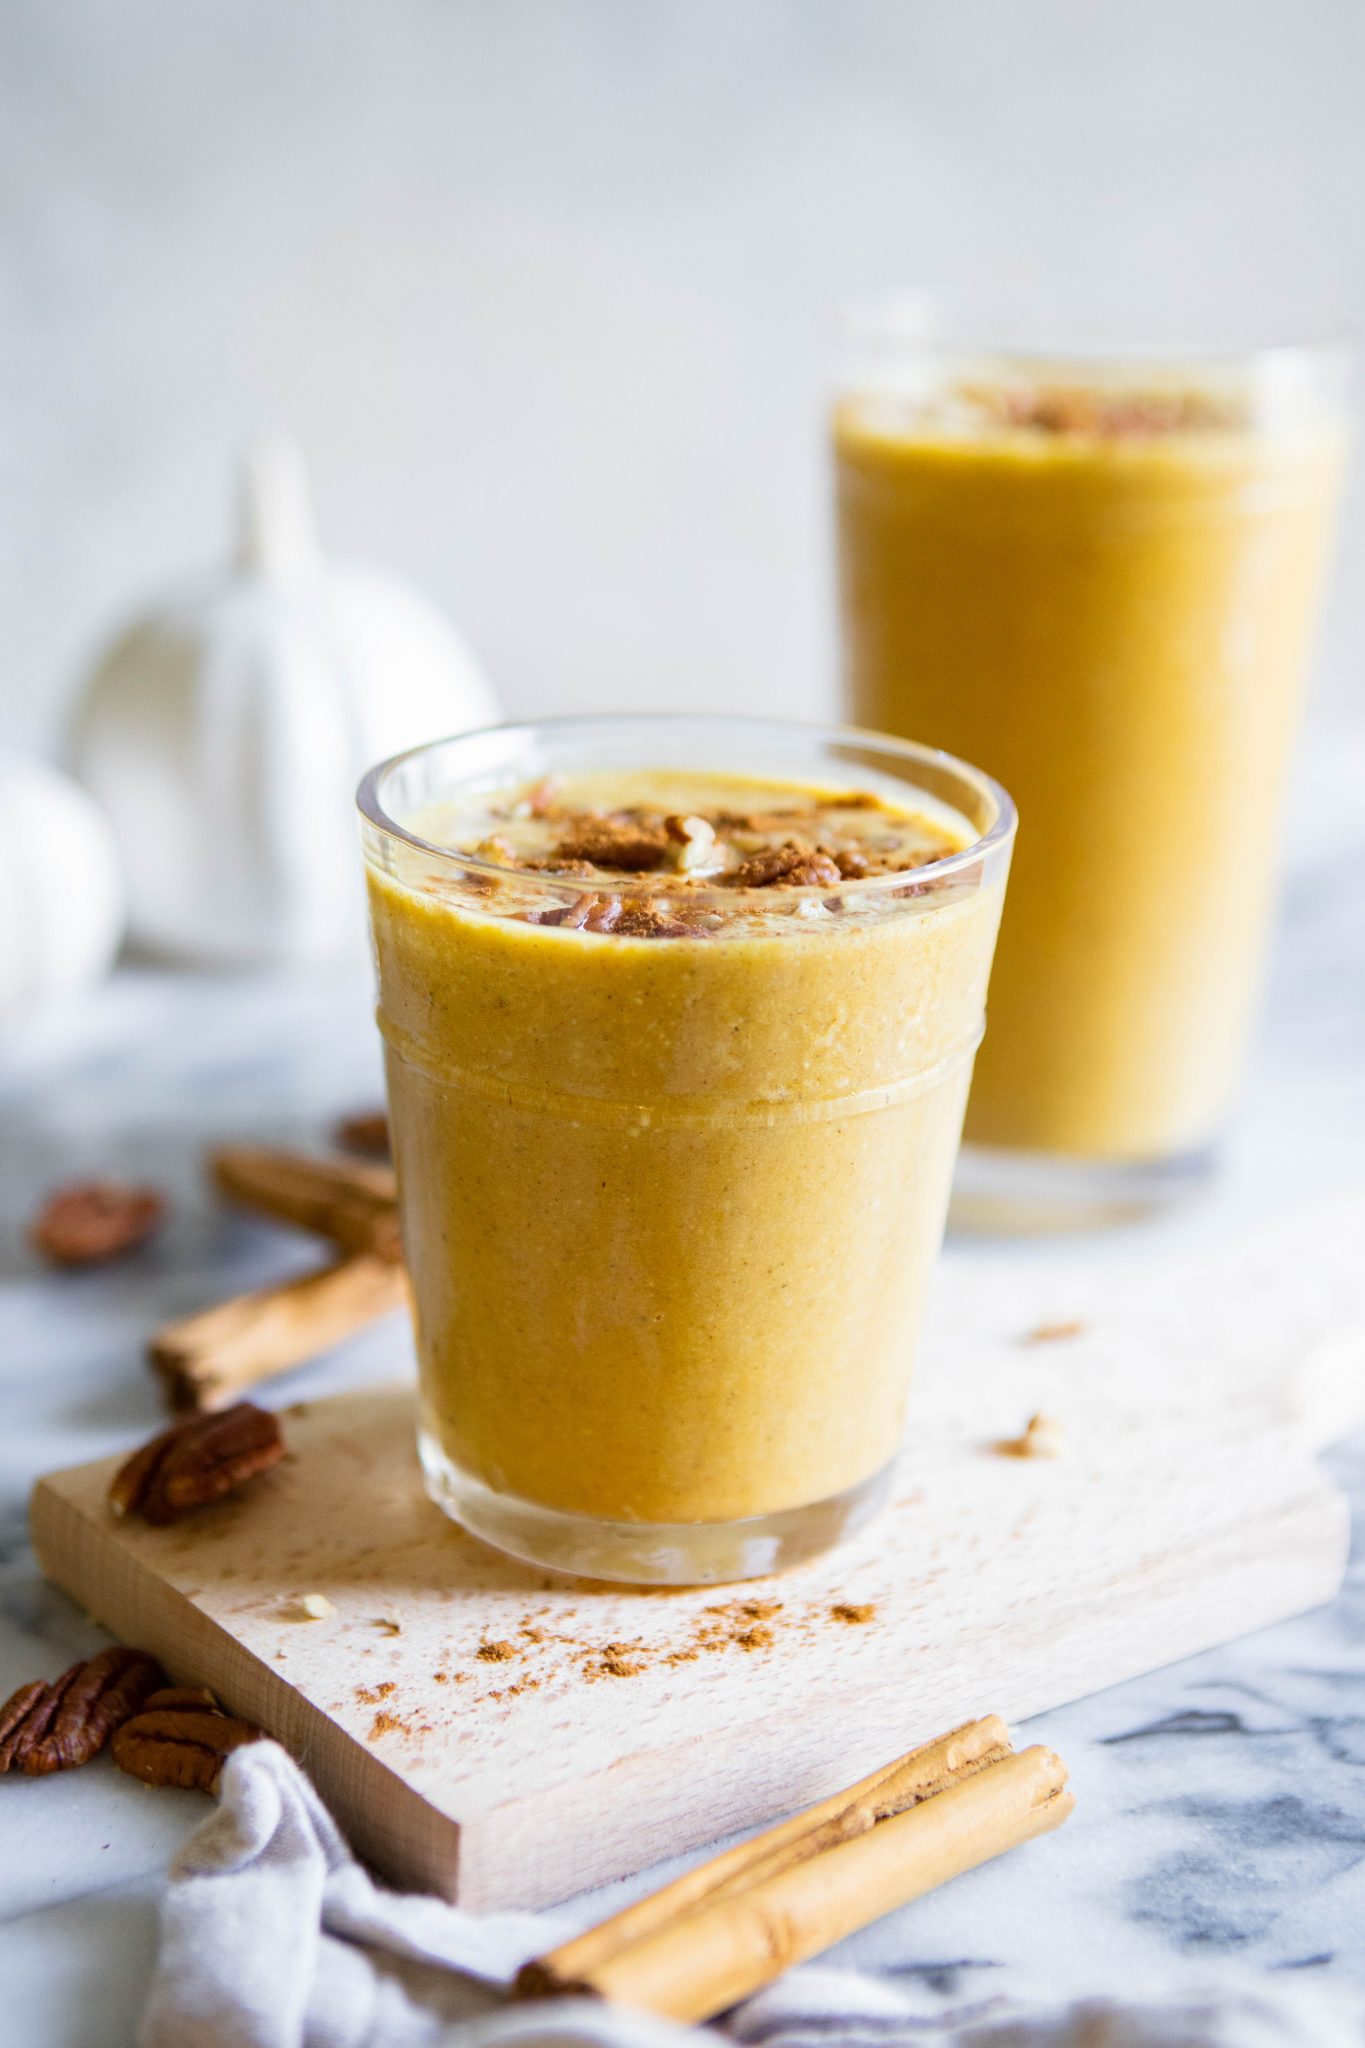
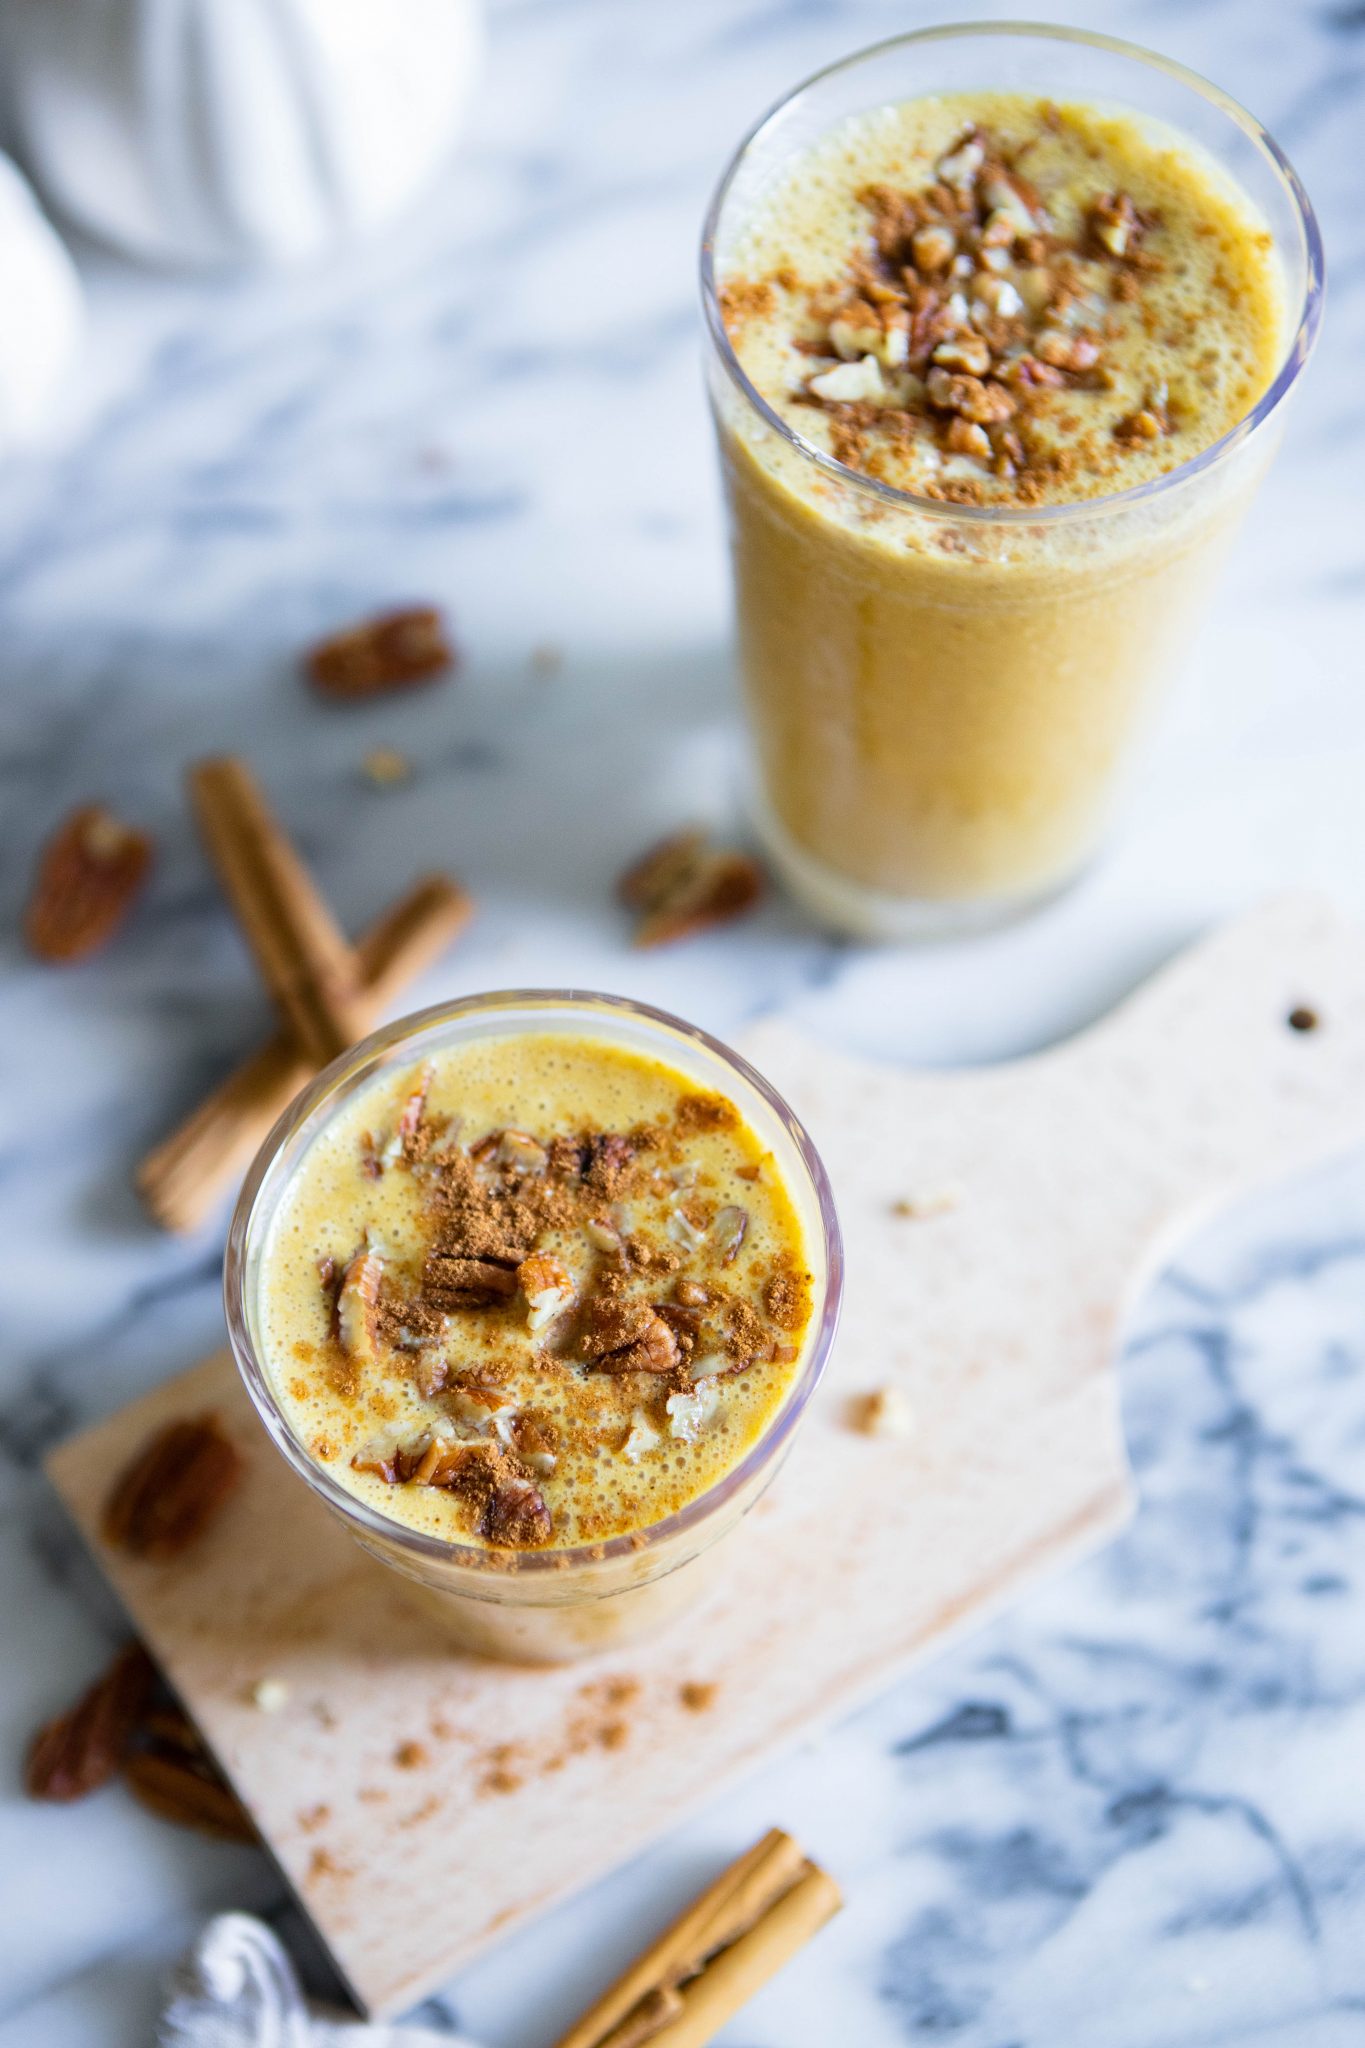 9 Smoothie Recipes To Try At Home
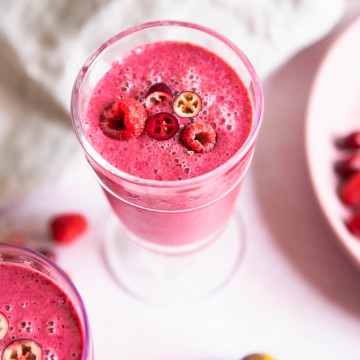
 The Blender I Use And Recommend
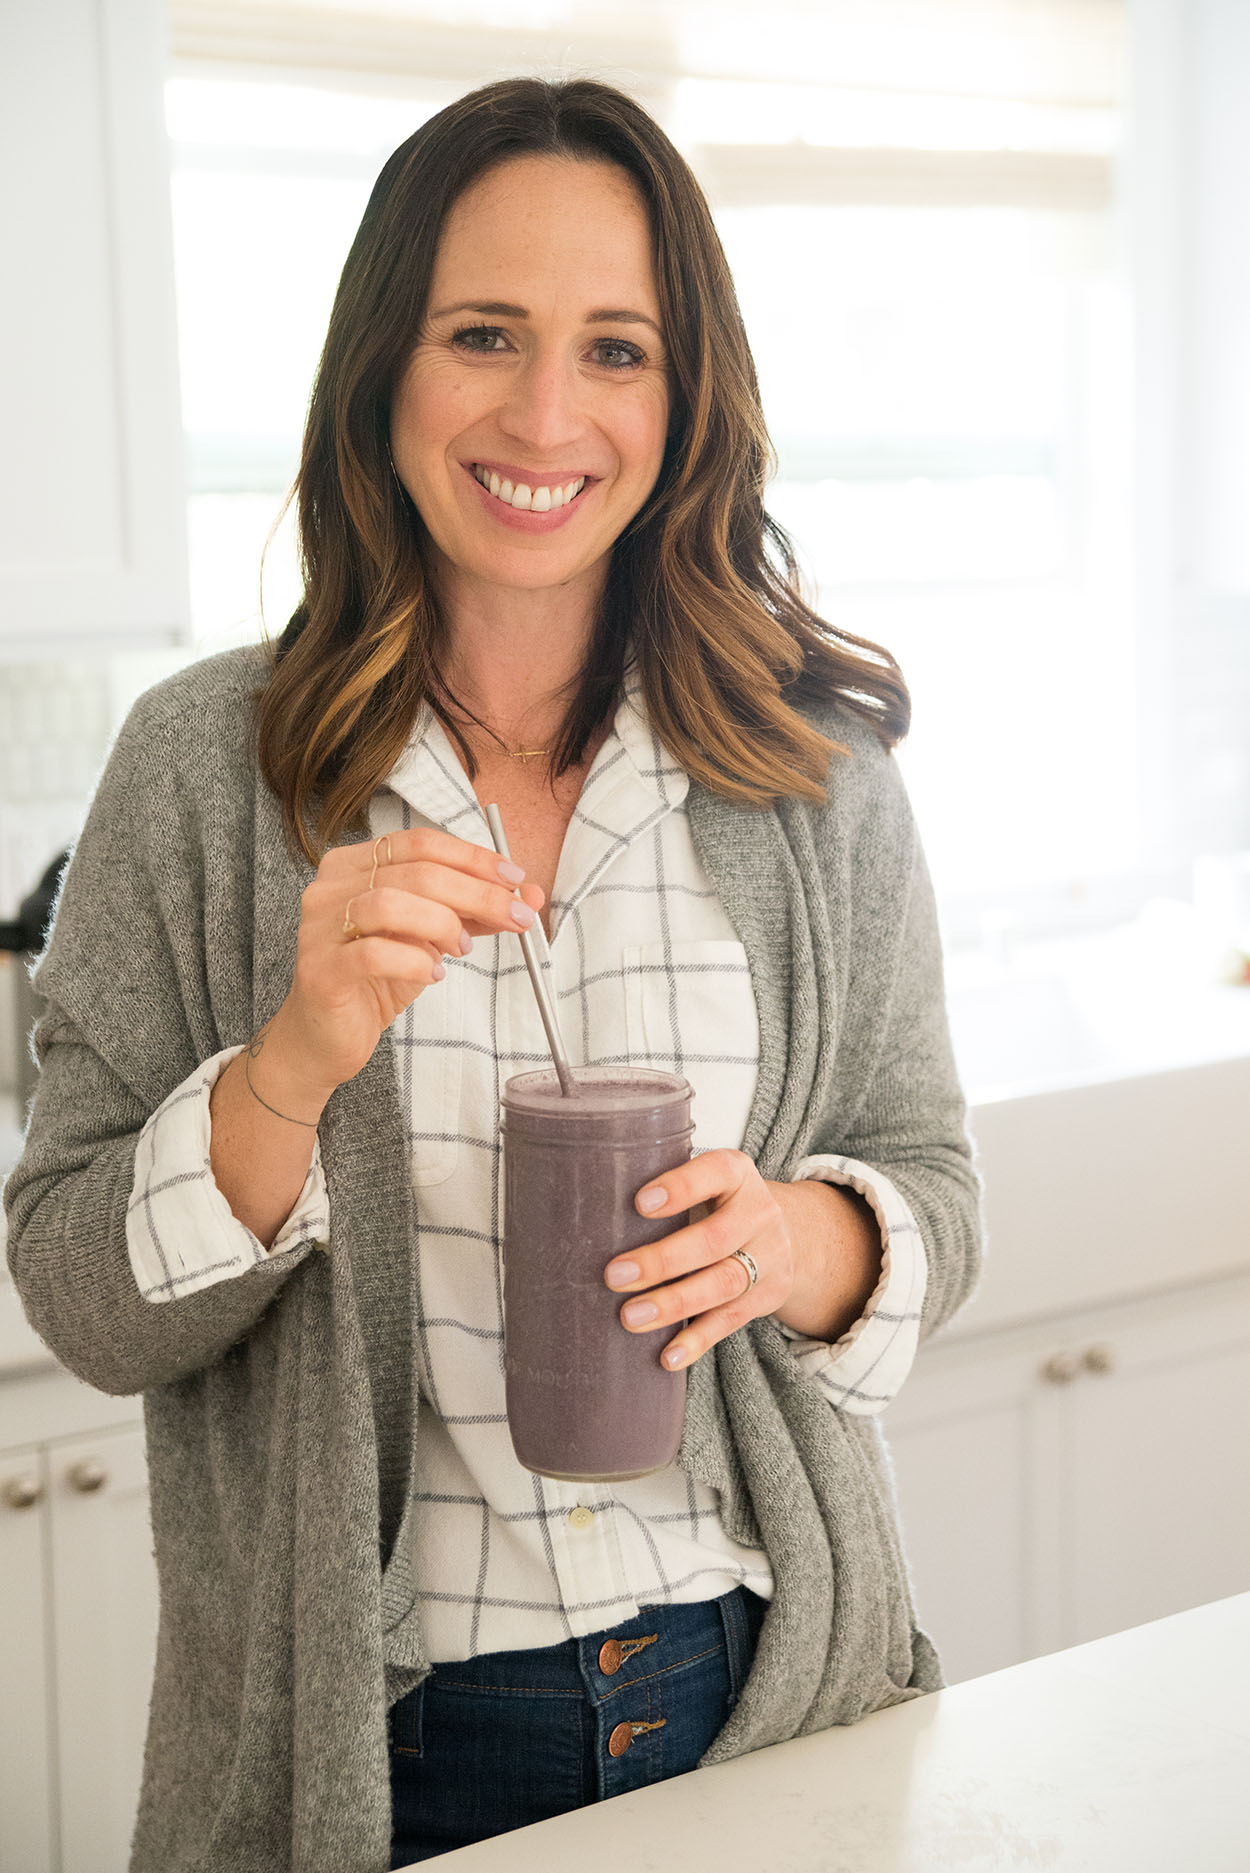 LET’S CONNECT!


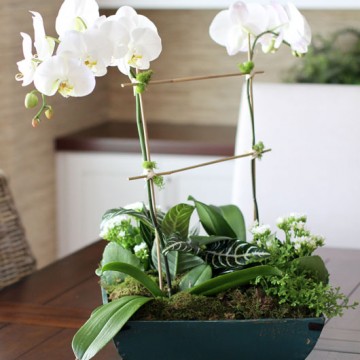
 My friend Shelly, an interior designer and

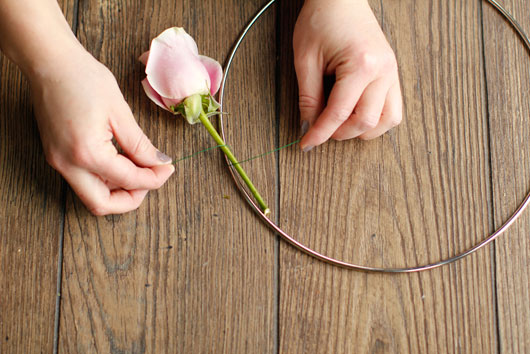
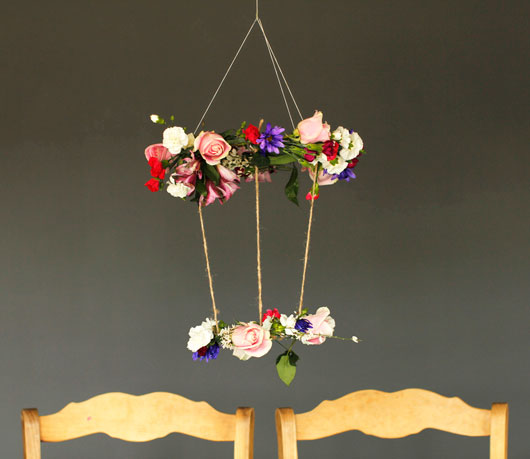
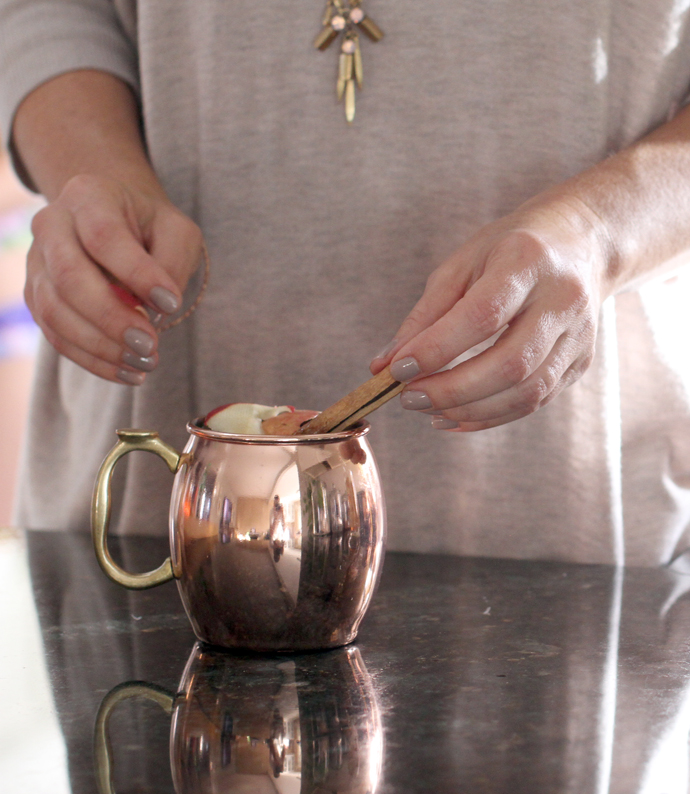
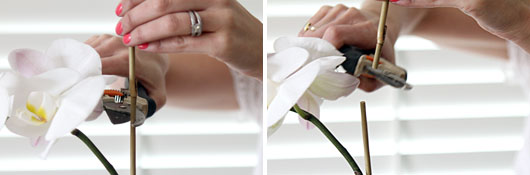
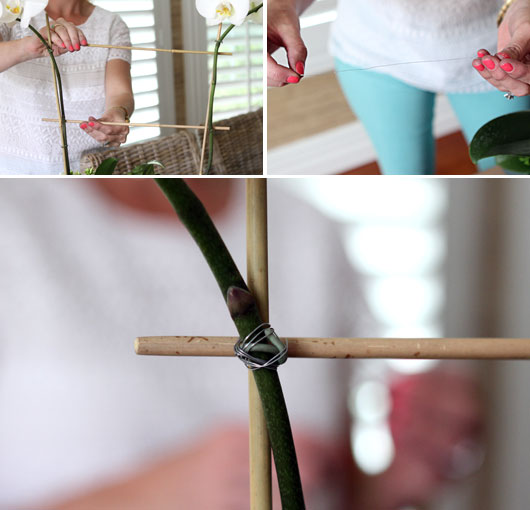
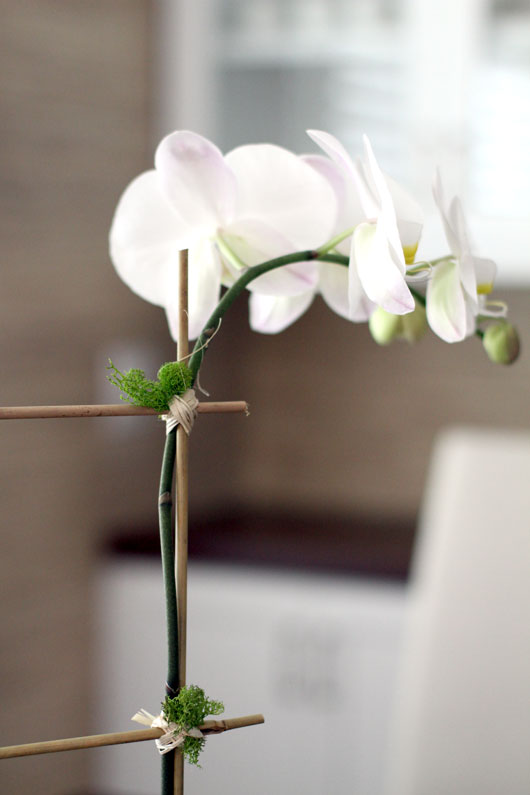
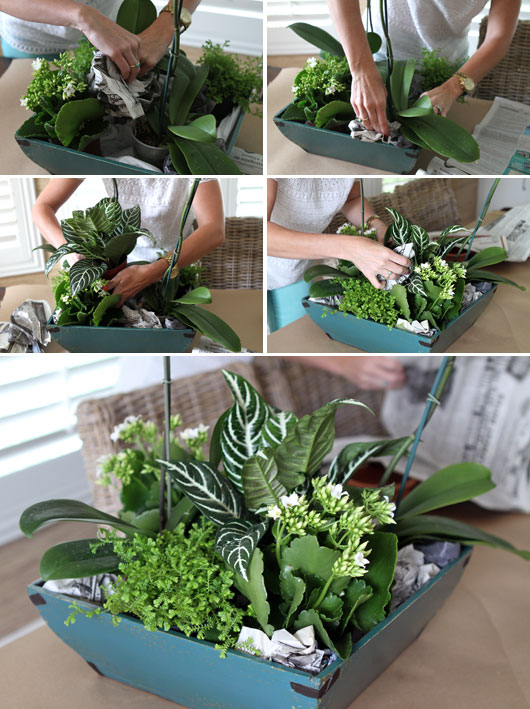 Once your newspaper is in place, remove the green sticks that come with the orchids and tie them to the bamboo. You’ll notice that the bamboo sticks will be too high for the plant. Not a problem.
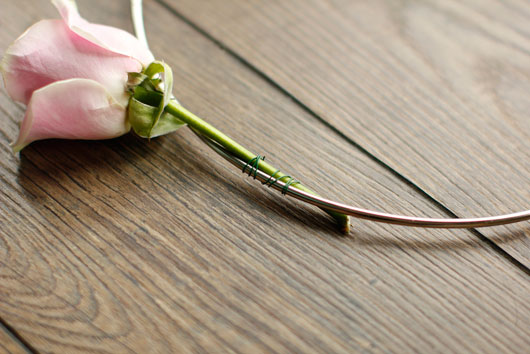
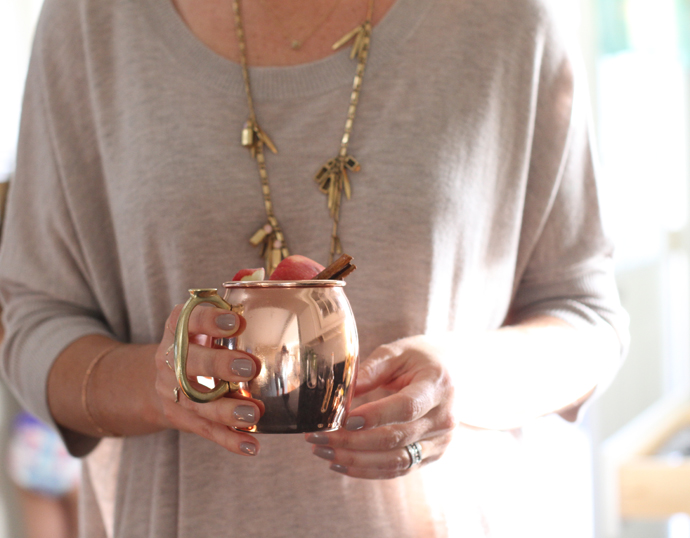
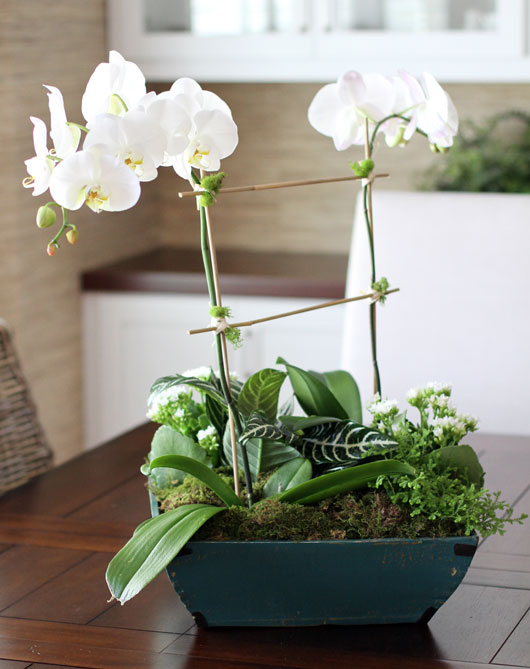
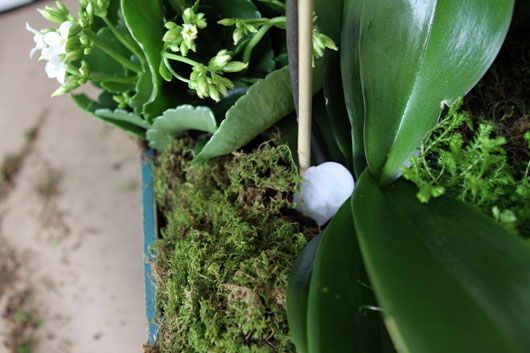
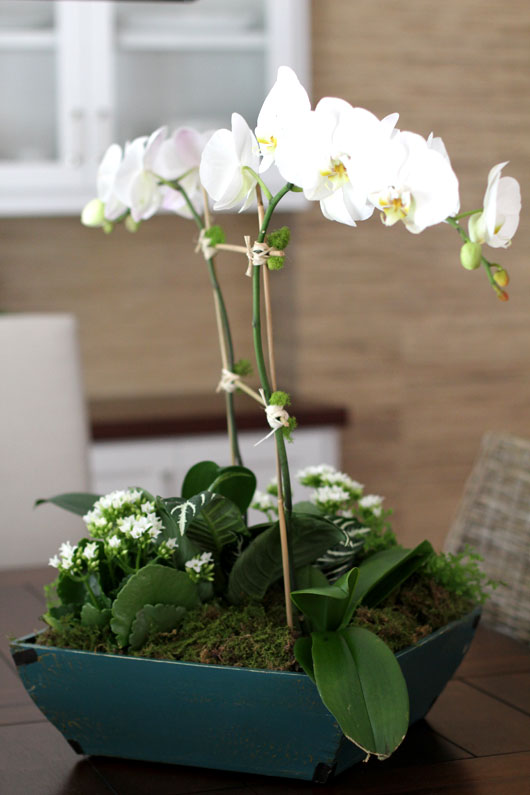
 Then it’s time to apply the reindeer moss. Take small bits of it, and a strip of the raffia, and wrap the moss in place with the raffia, covering up each section of florist wire.
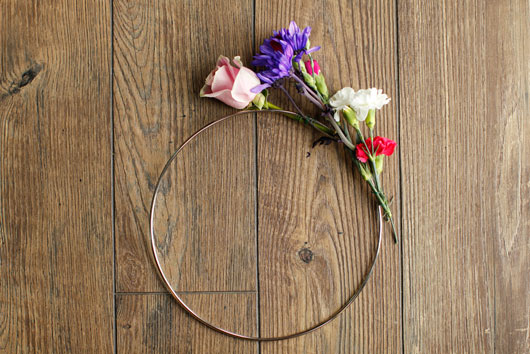
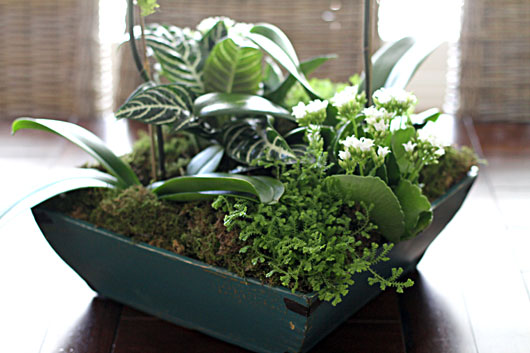
 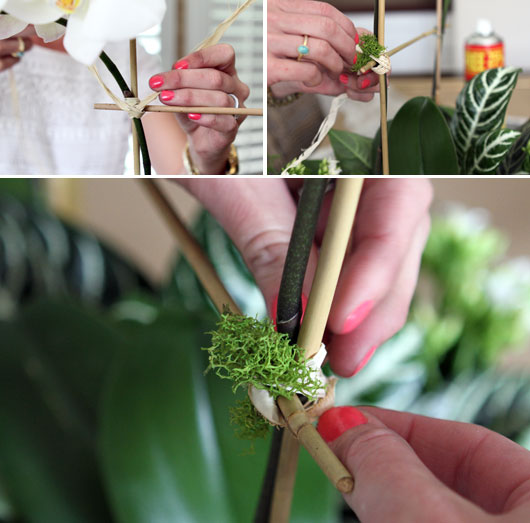 Finally, take your sheet moss and break it into pieces to cover up the newspaper.
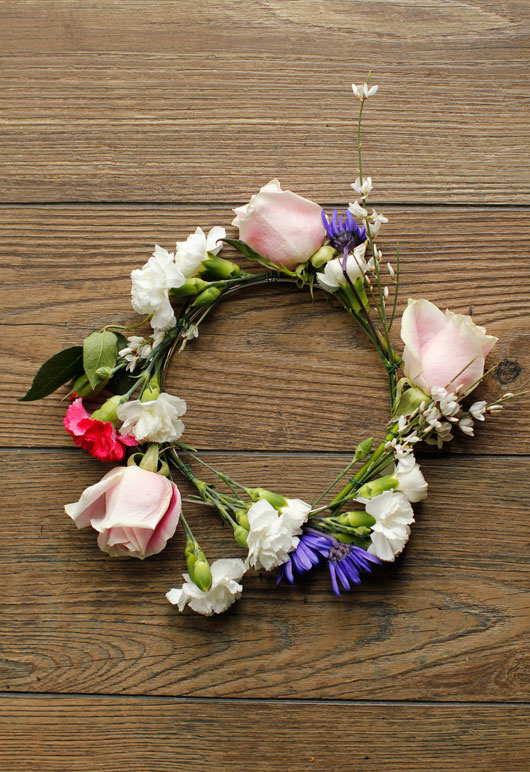
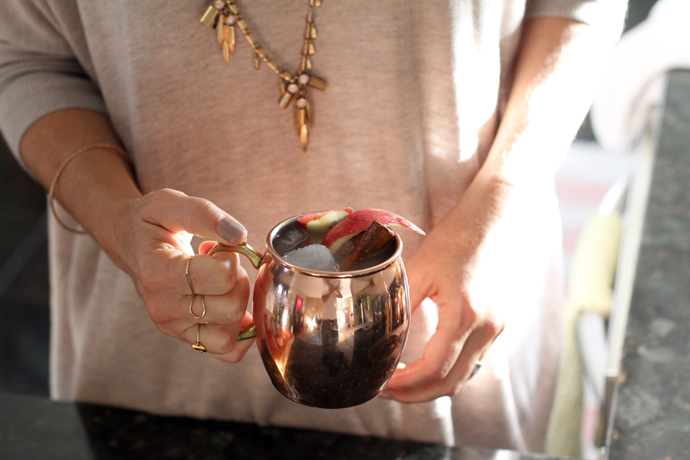
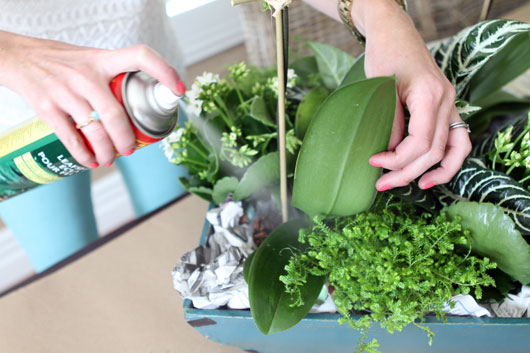
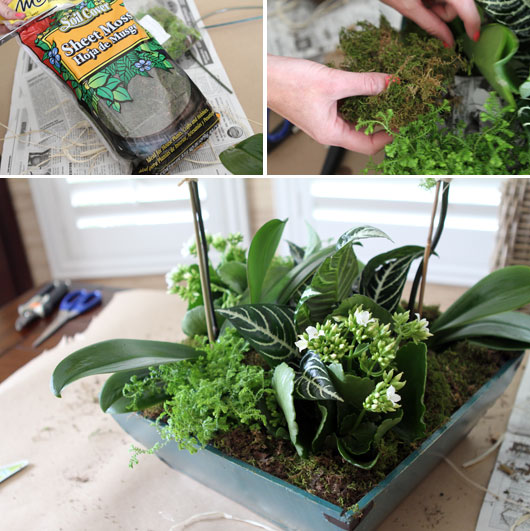 Spray your leaves with leaf shine is an optional step, but it makes a difference! The spray rids the leaves of dust and water spots, and makes them super lustrous. And you are now done making your own arrangement!
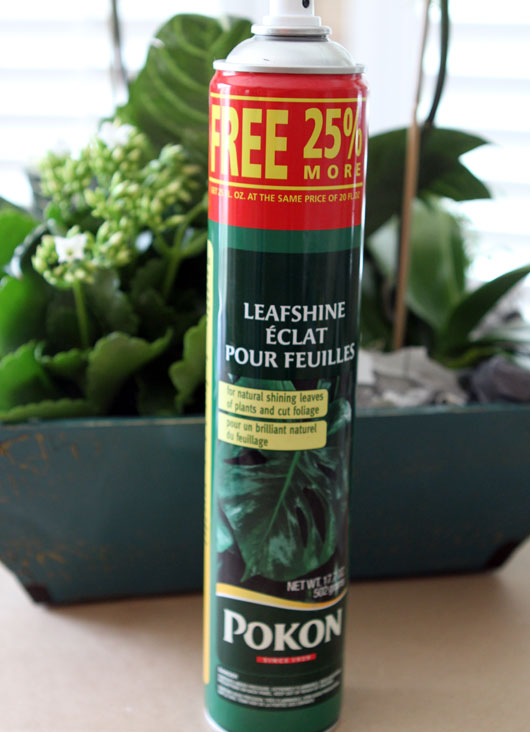


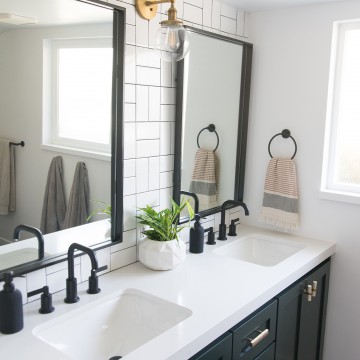
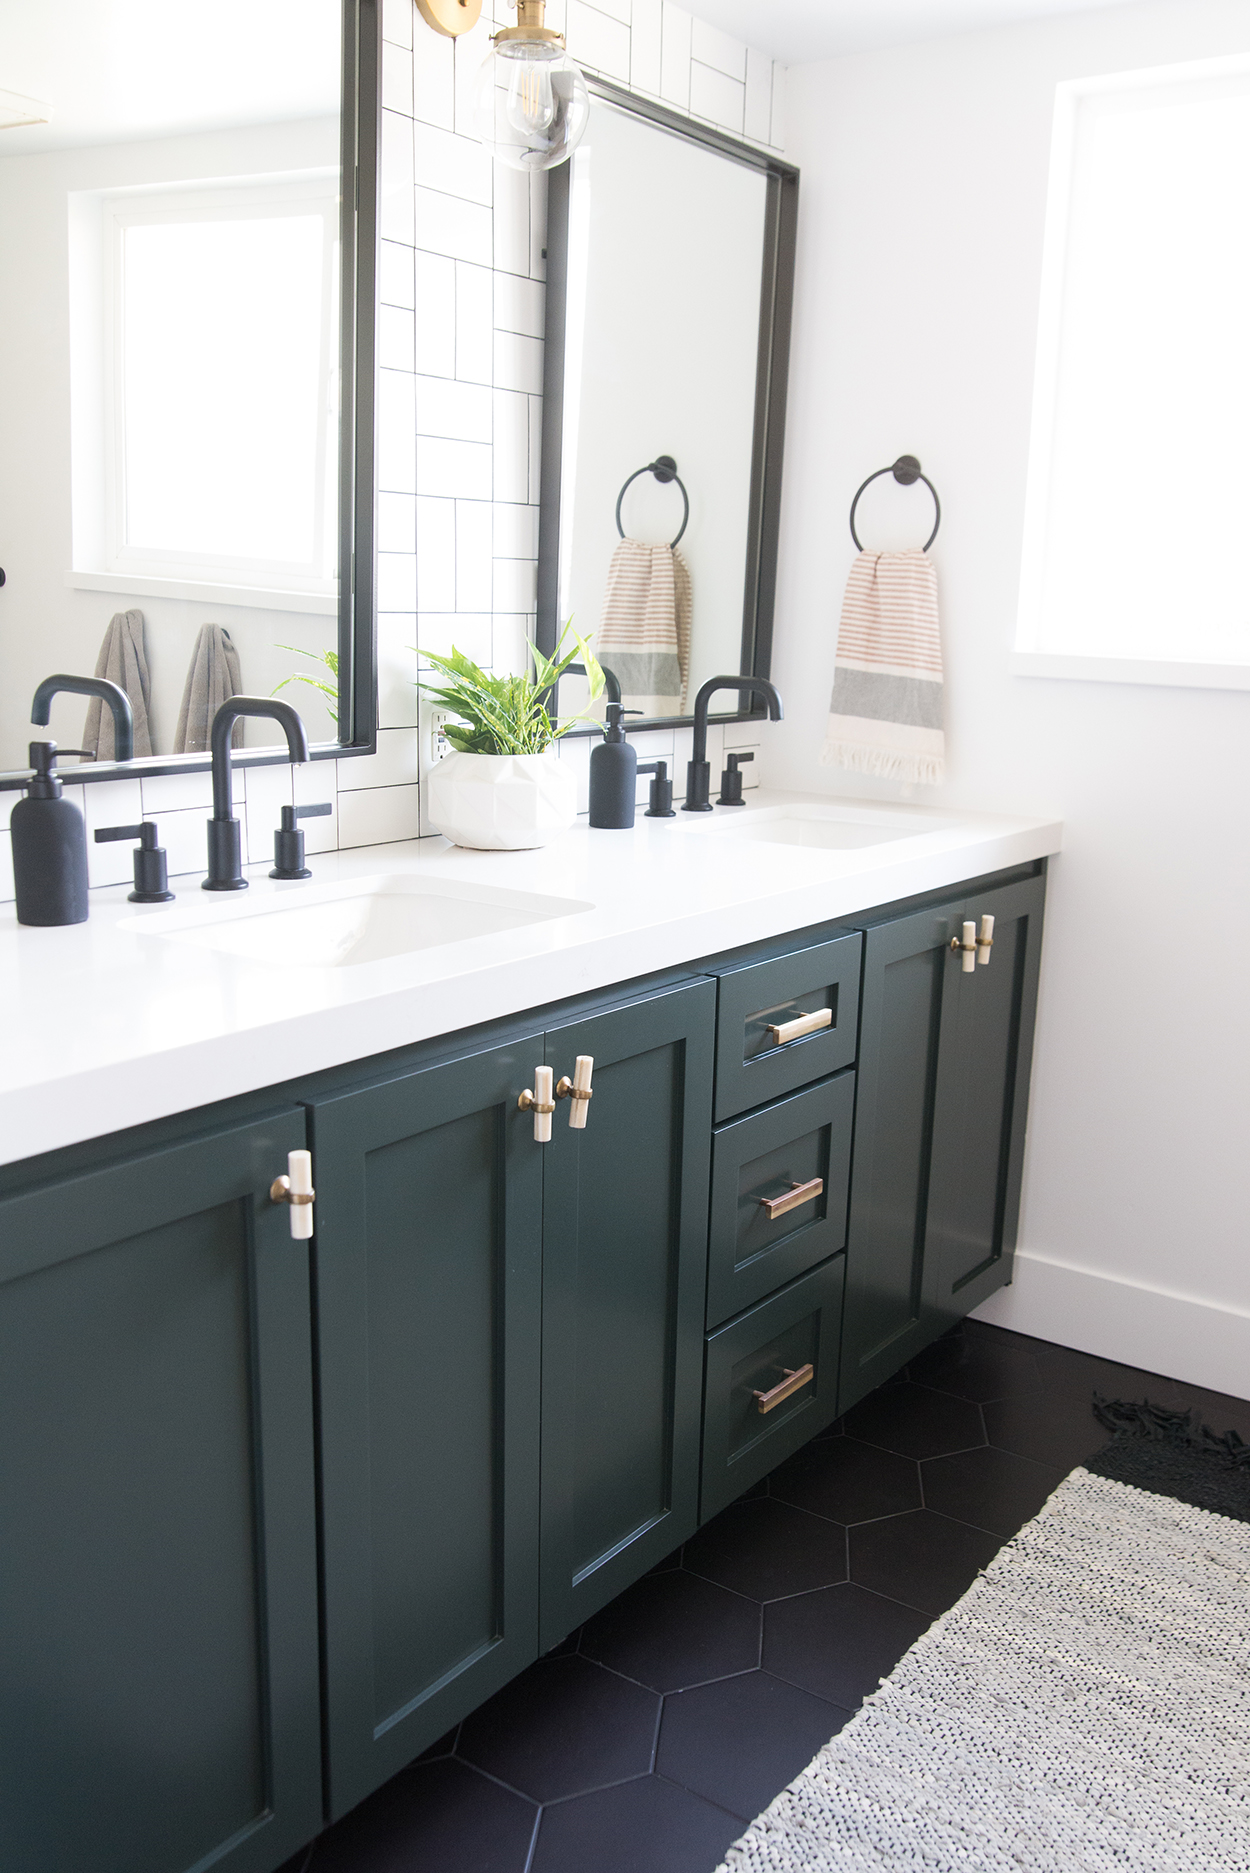
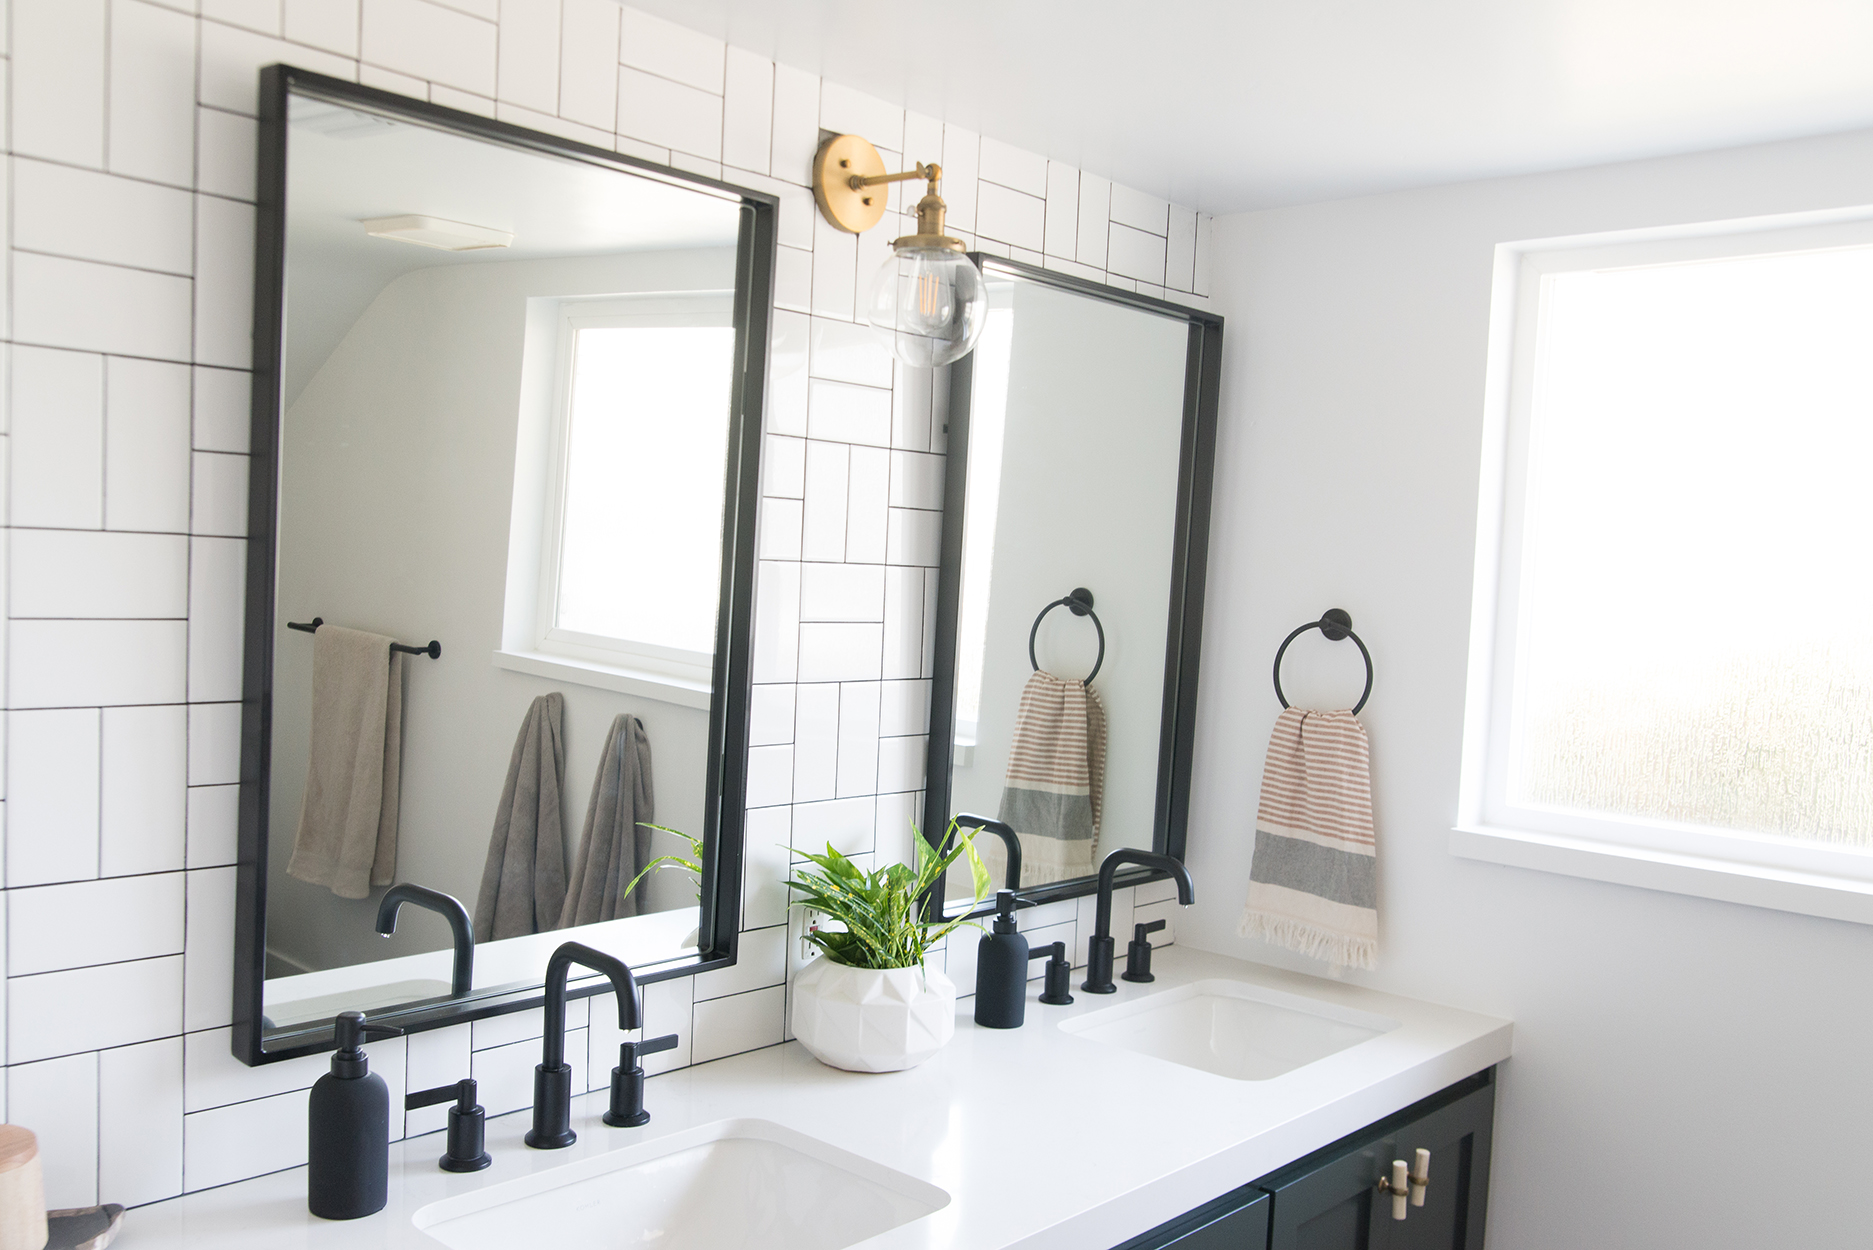
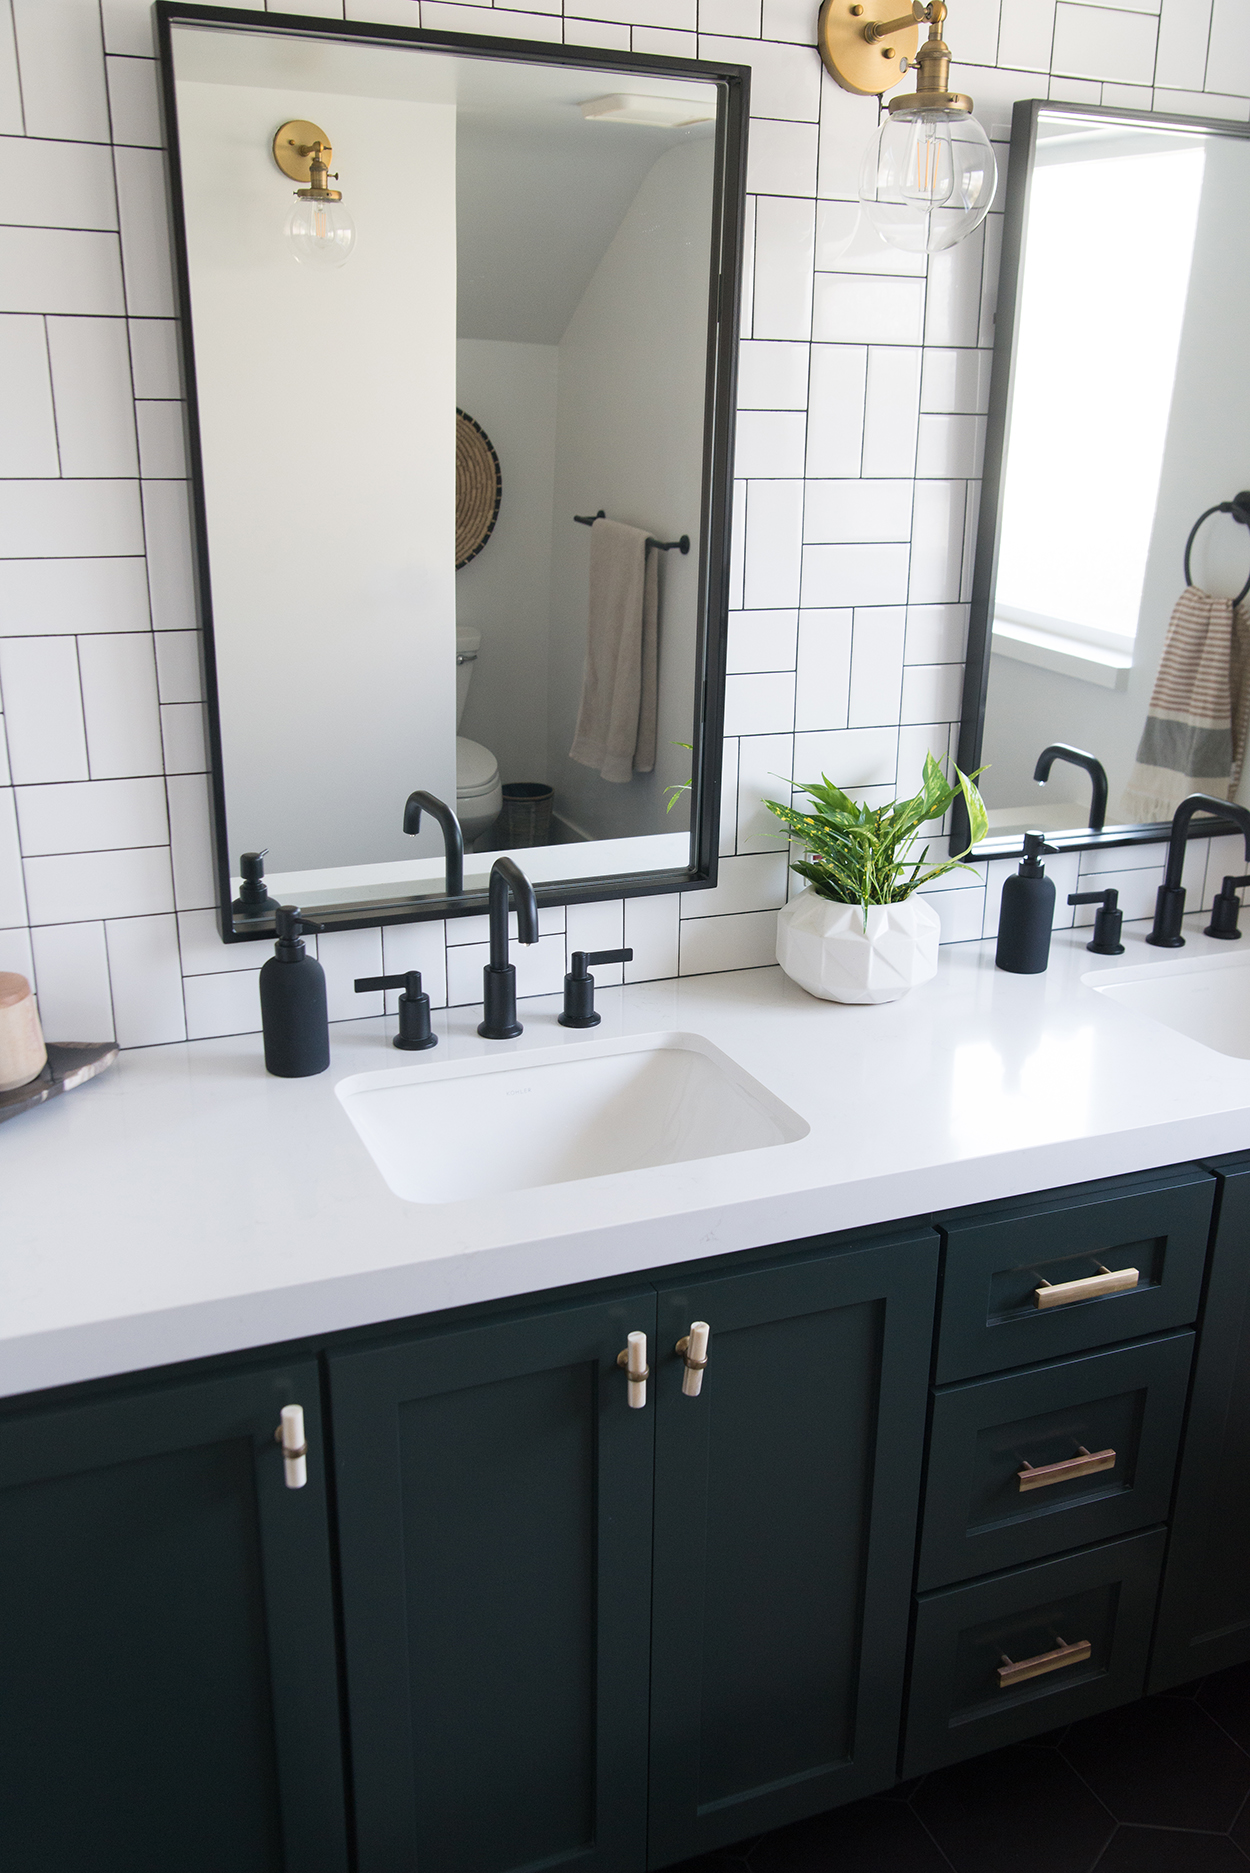
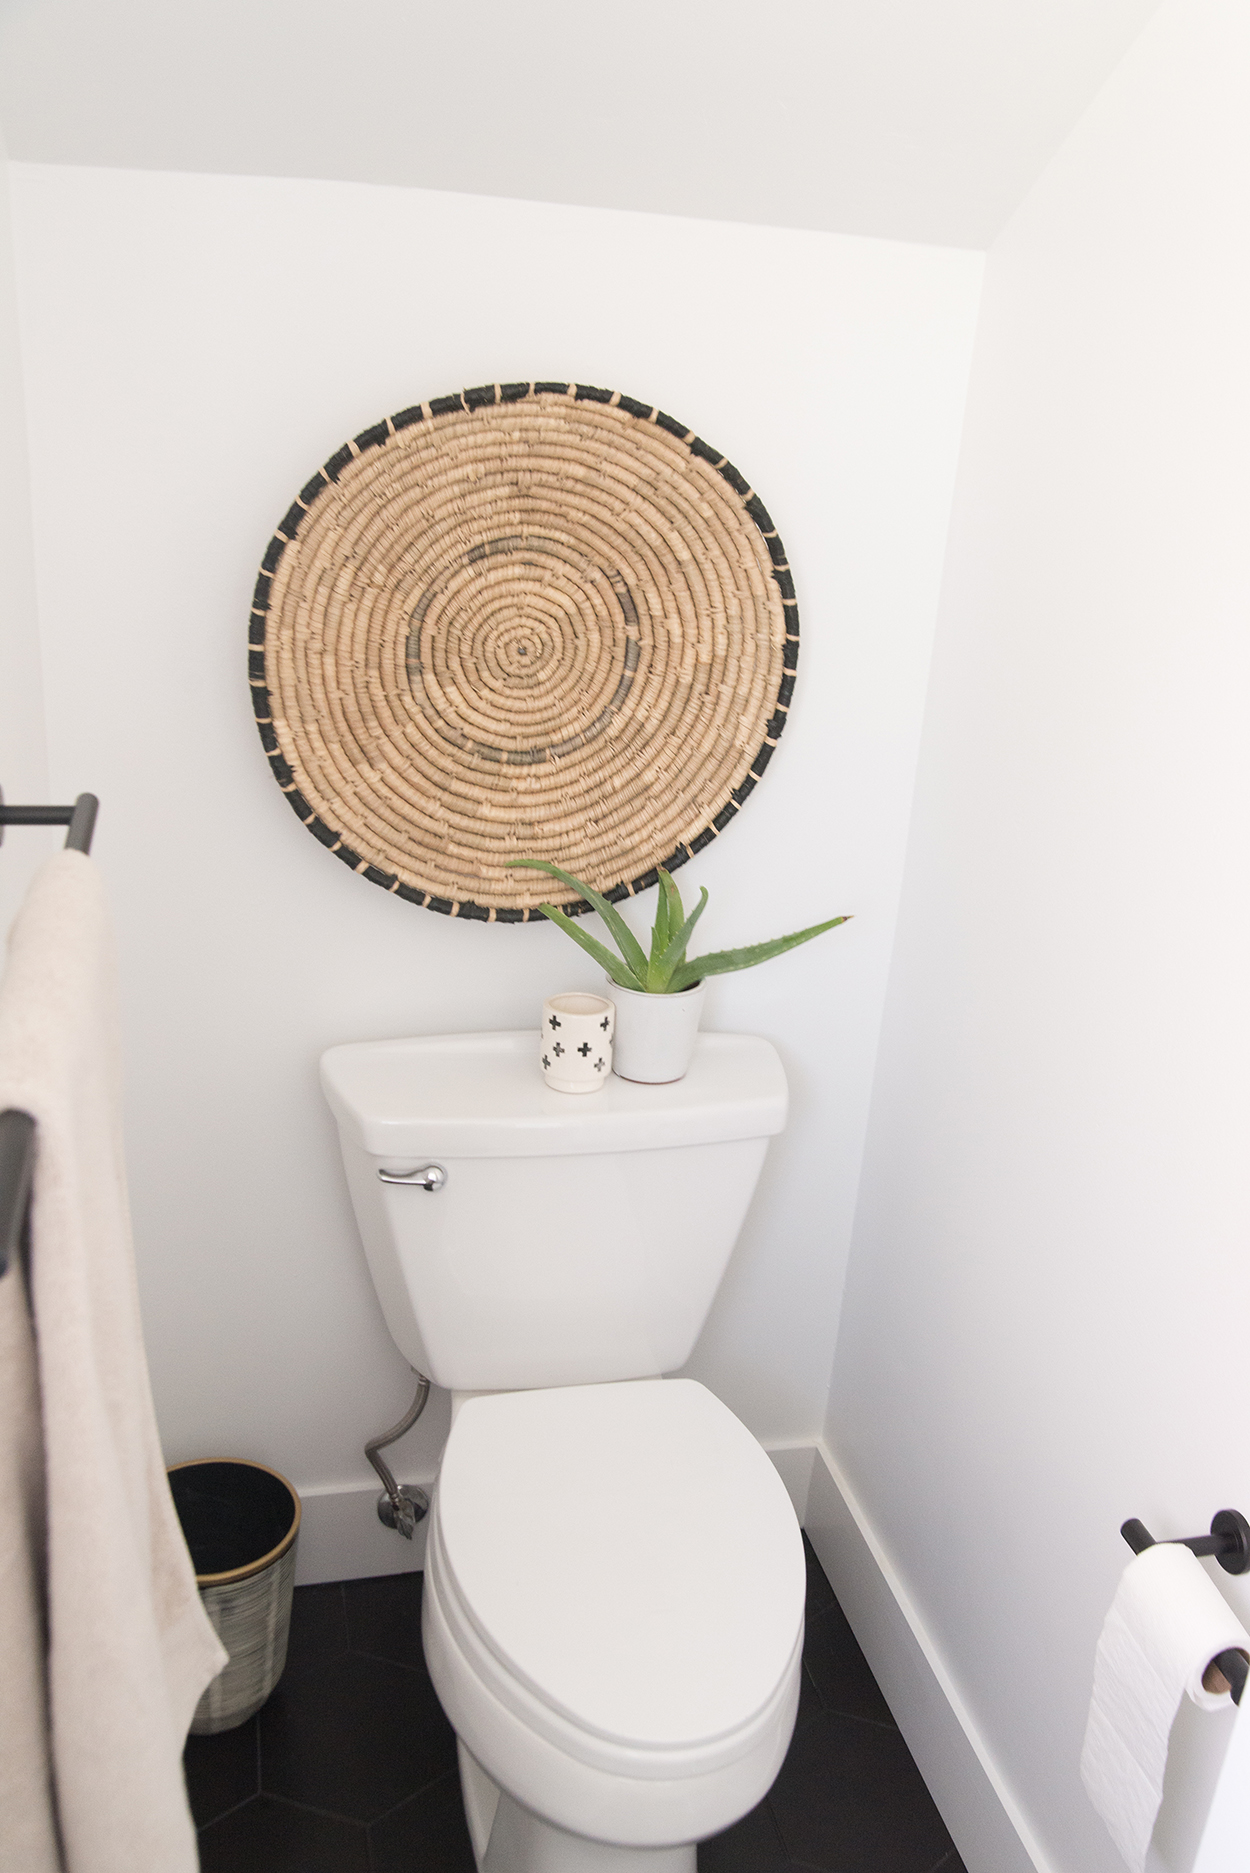
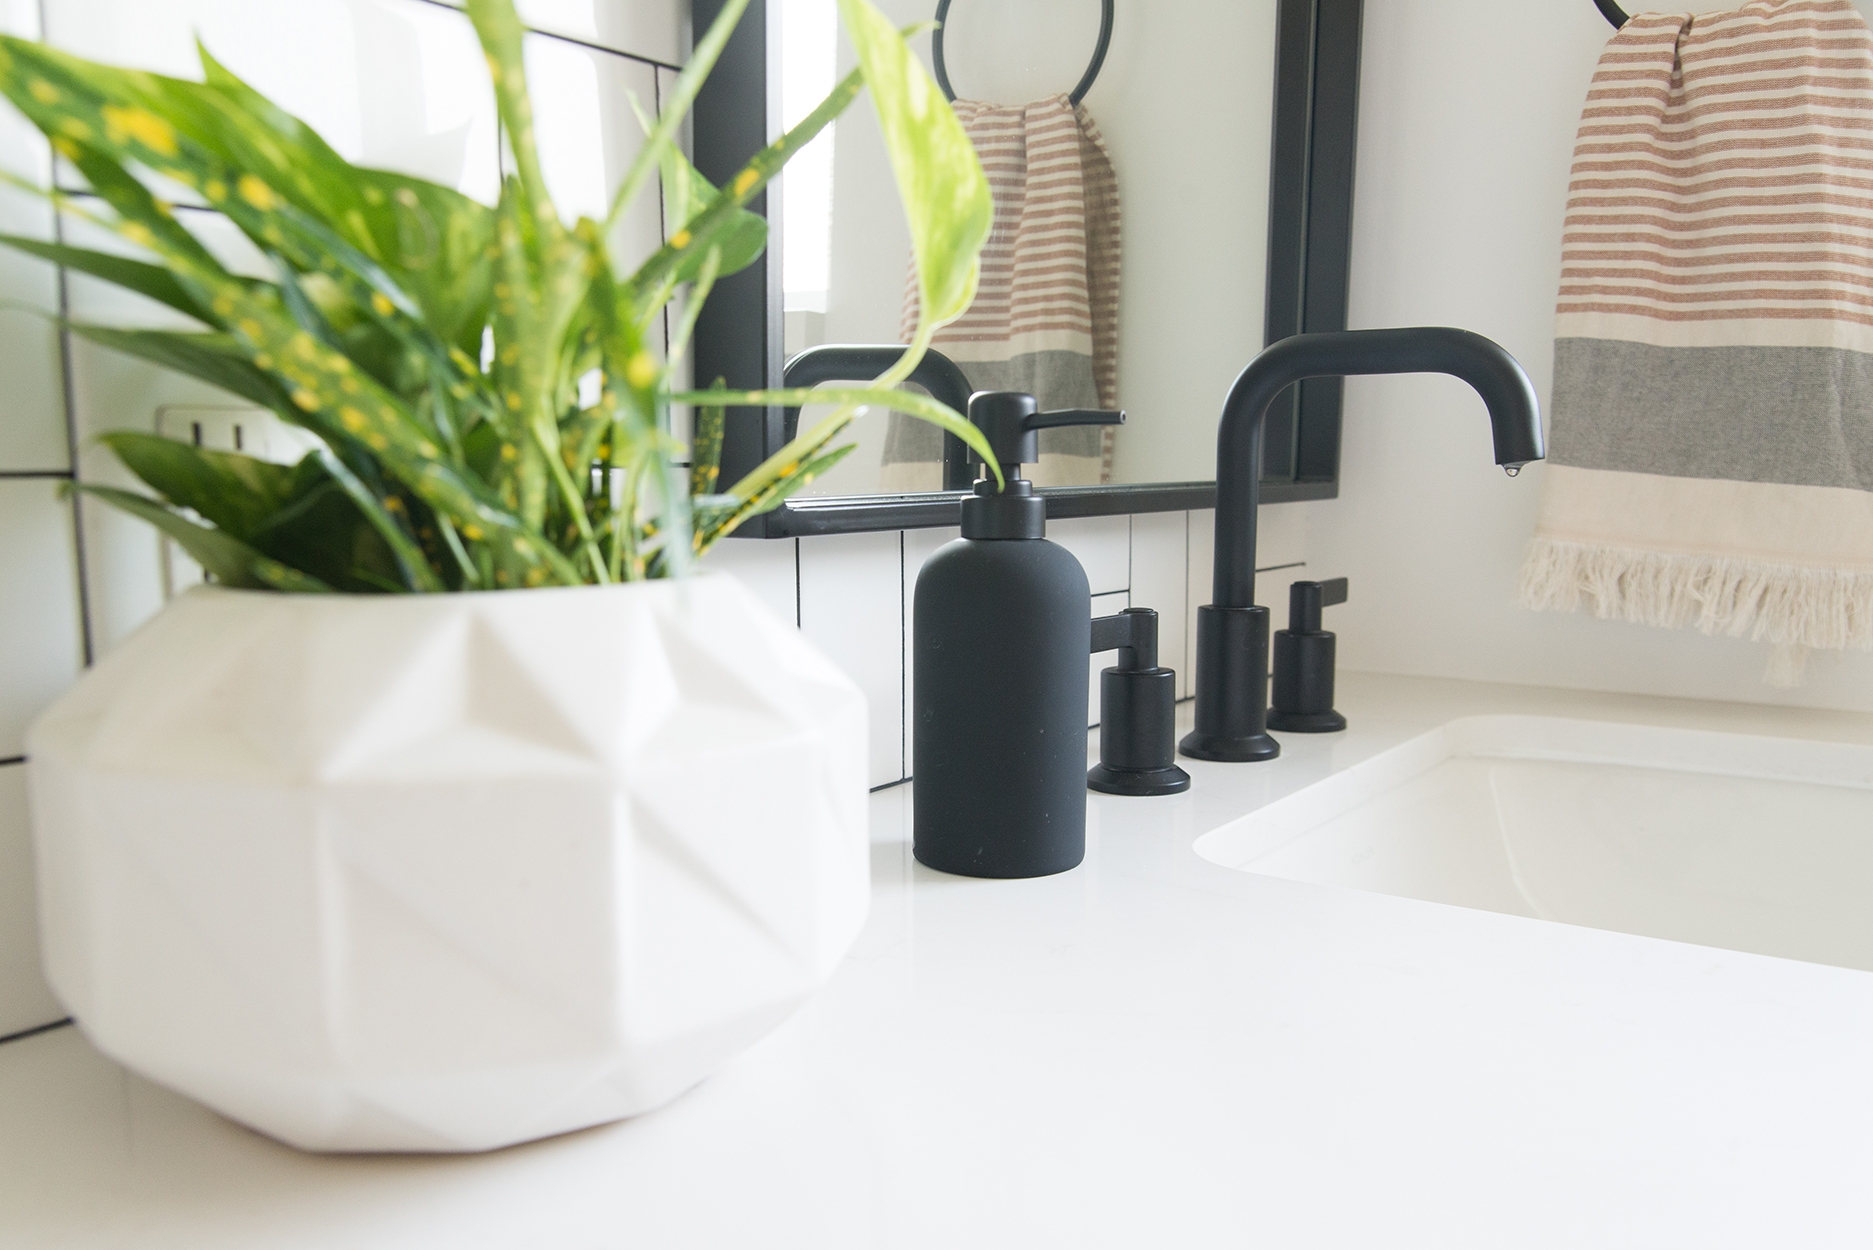
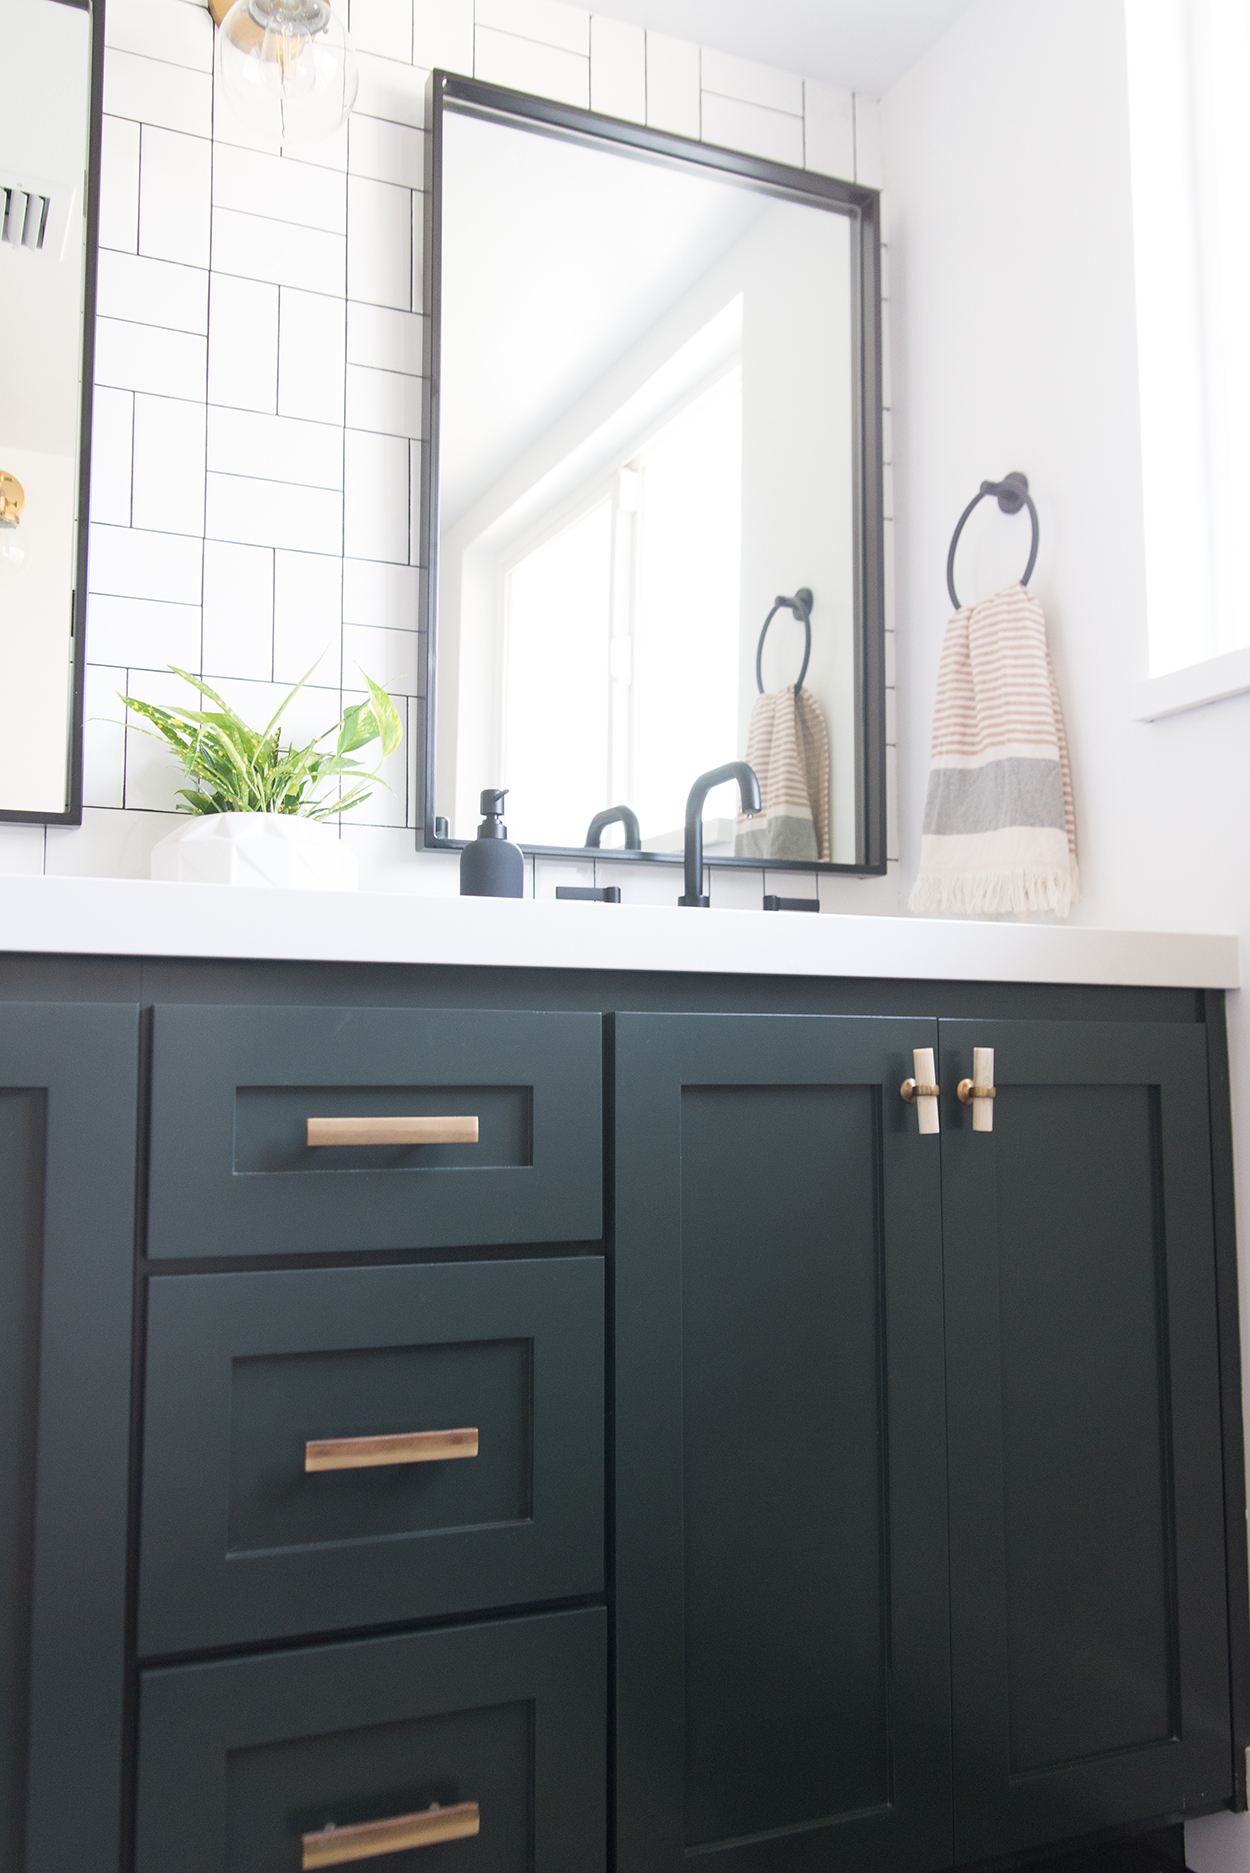 I love the darkness of the cabinet and the flooring against the bright white walls and tile, and overall the room feels bright yet moody, without feeling dark or sterile. The darker floors and cabinets do show dust and water marks quite easily, so I do regular wipe downs in there every other day, but nothing too difficult that I’d choose a different color next time.
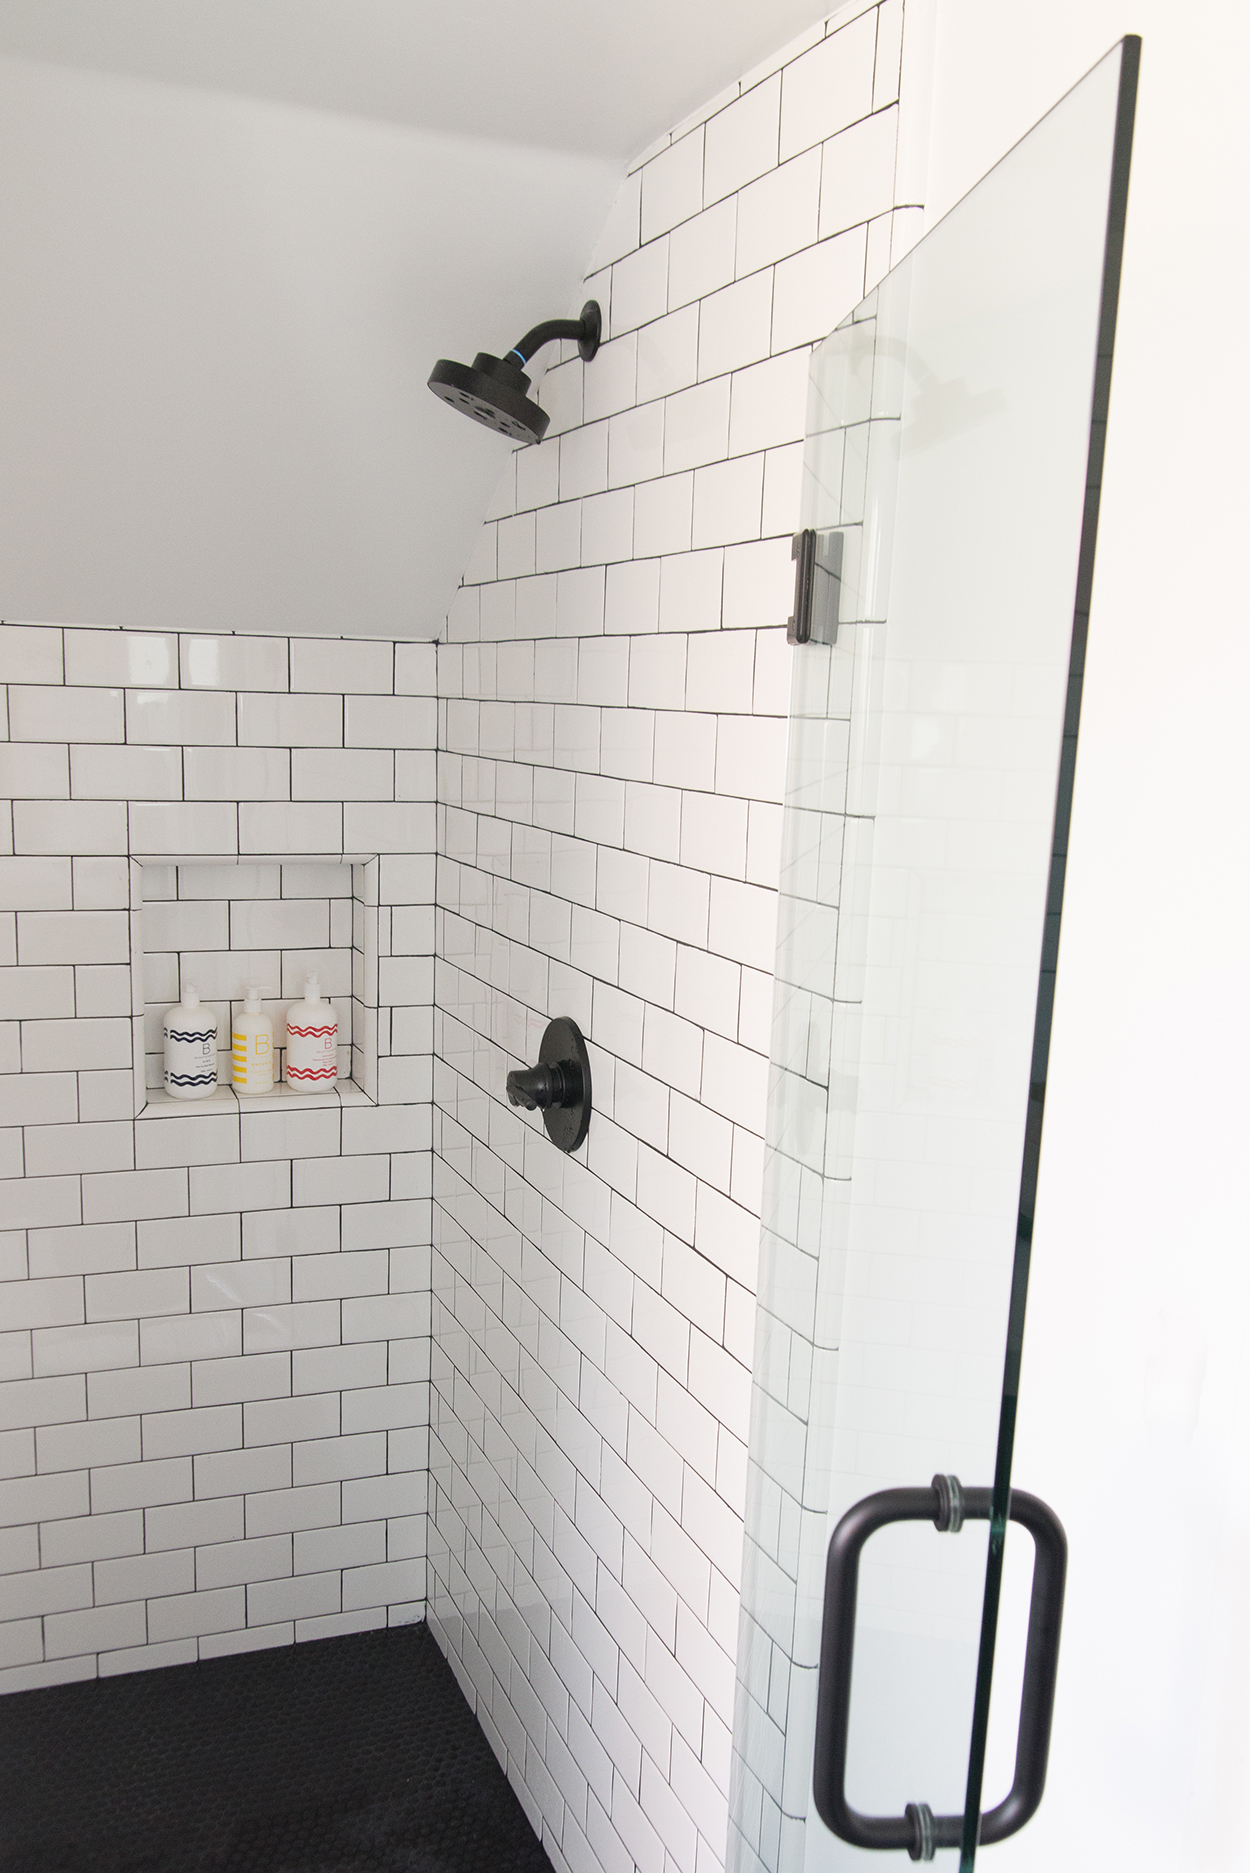
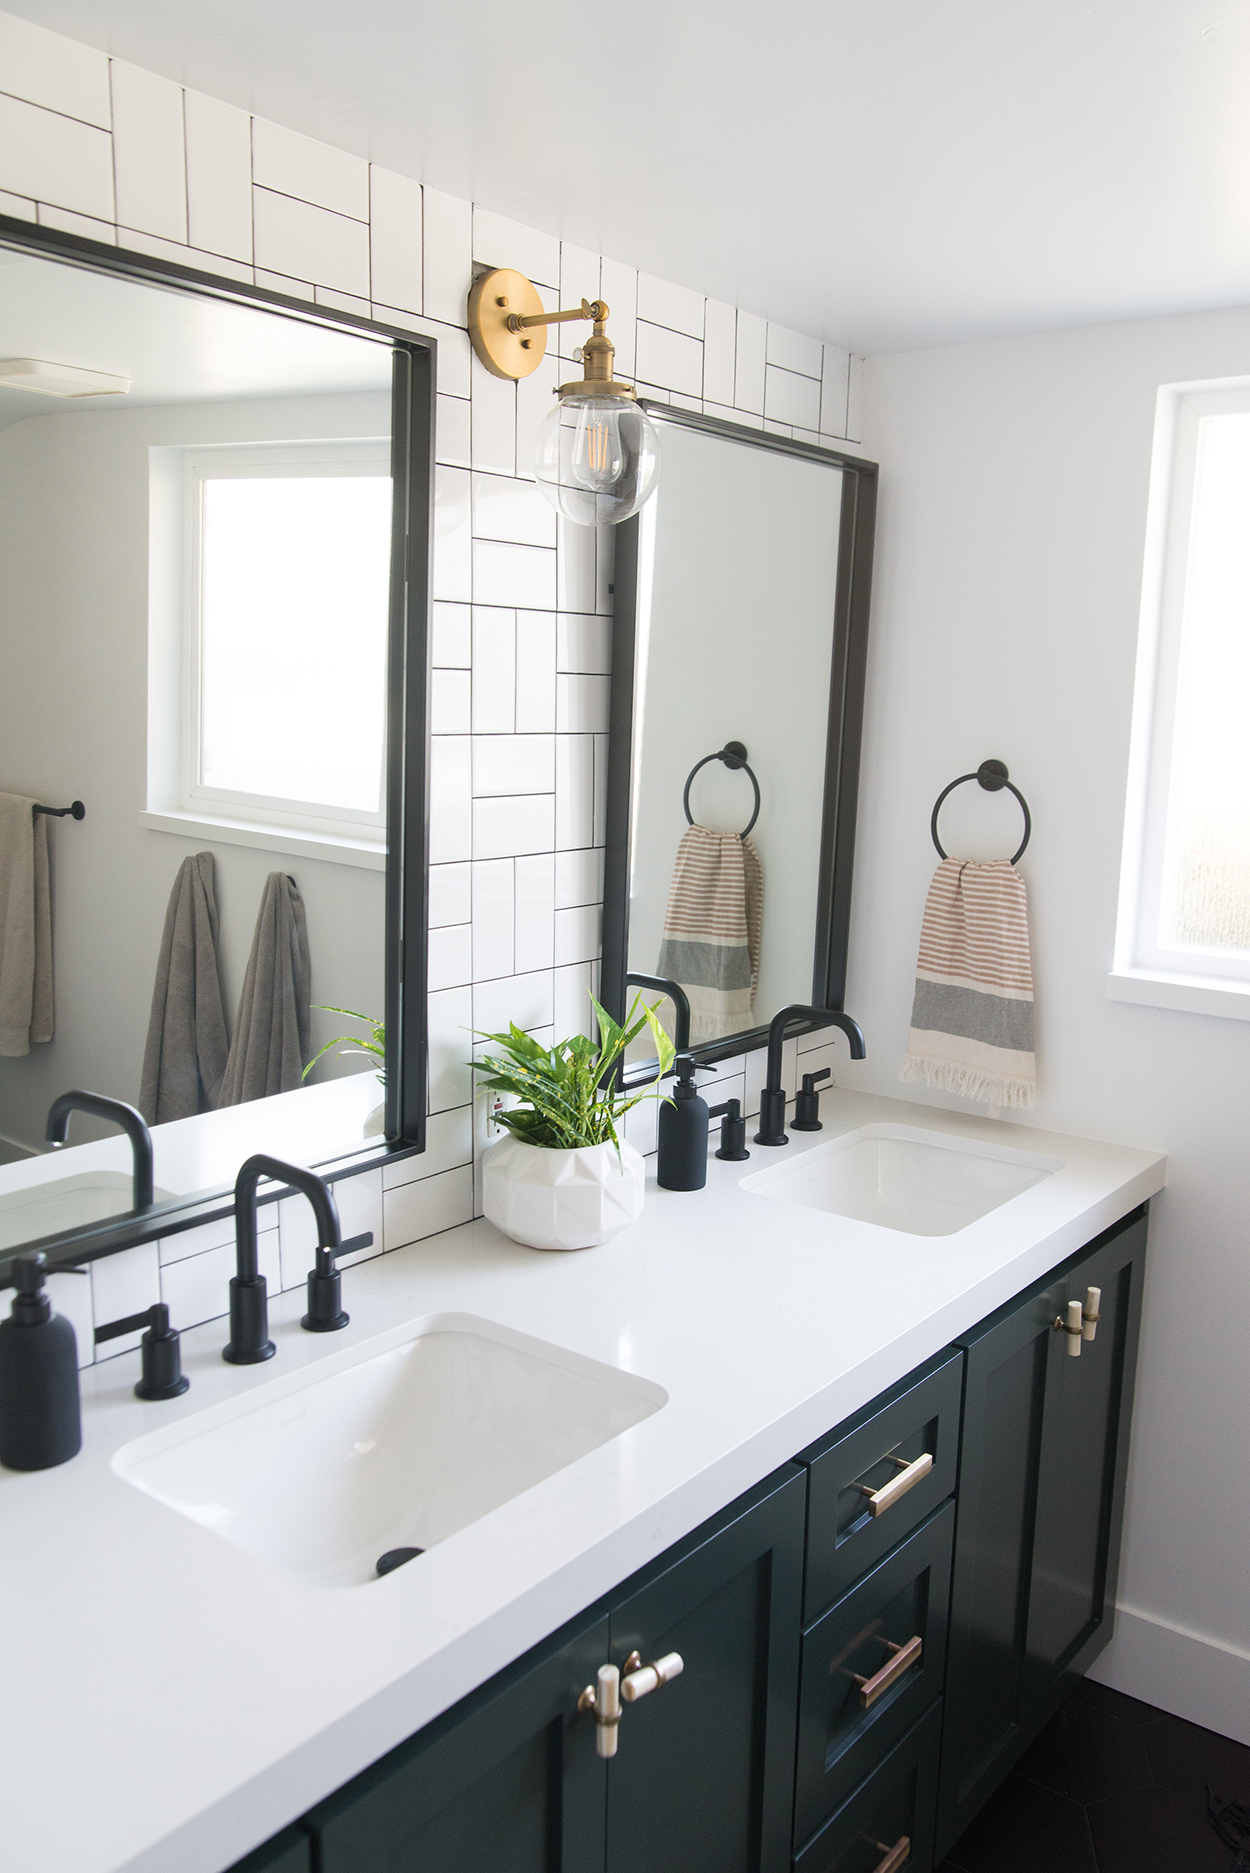
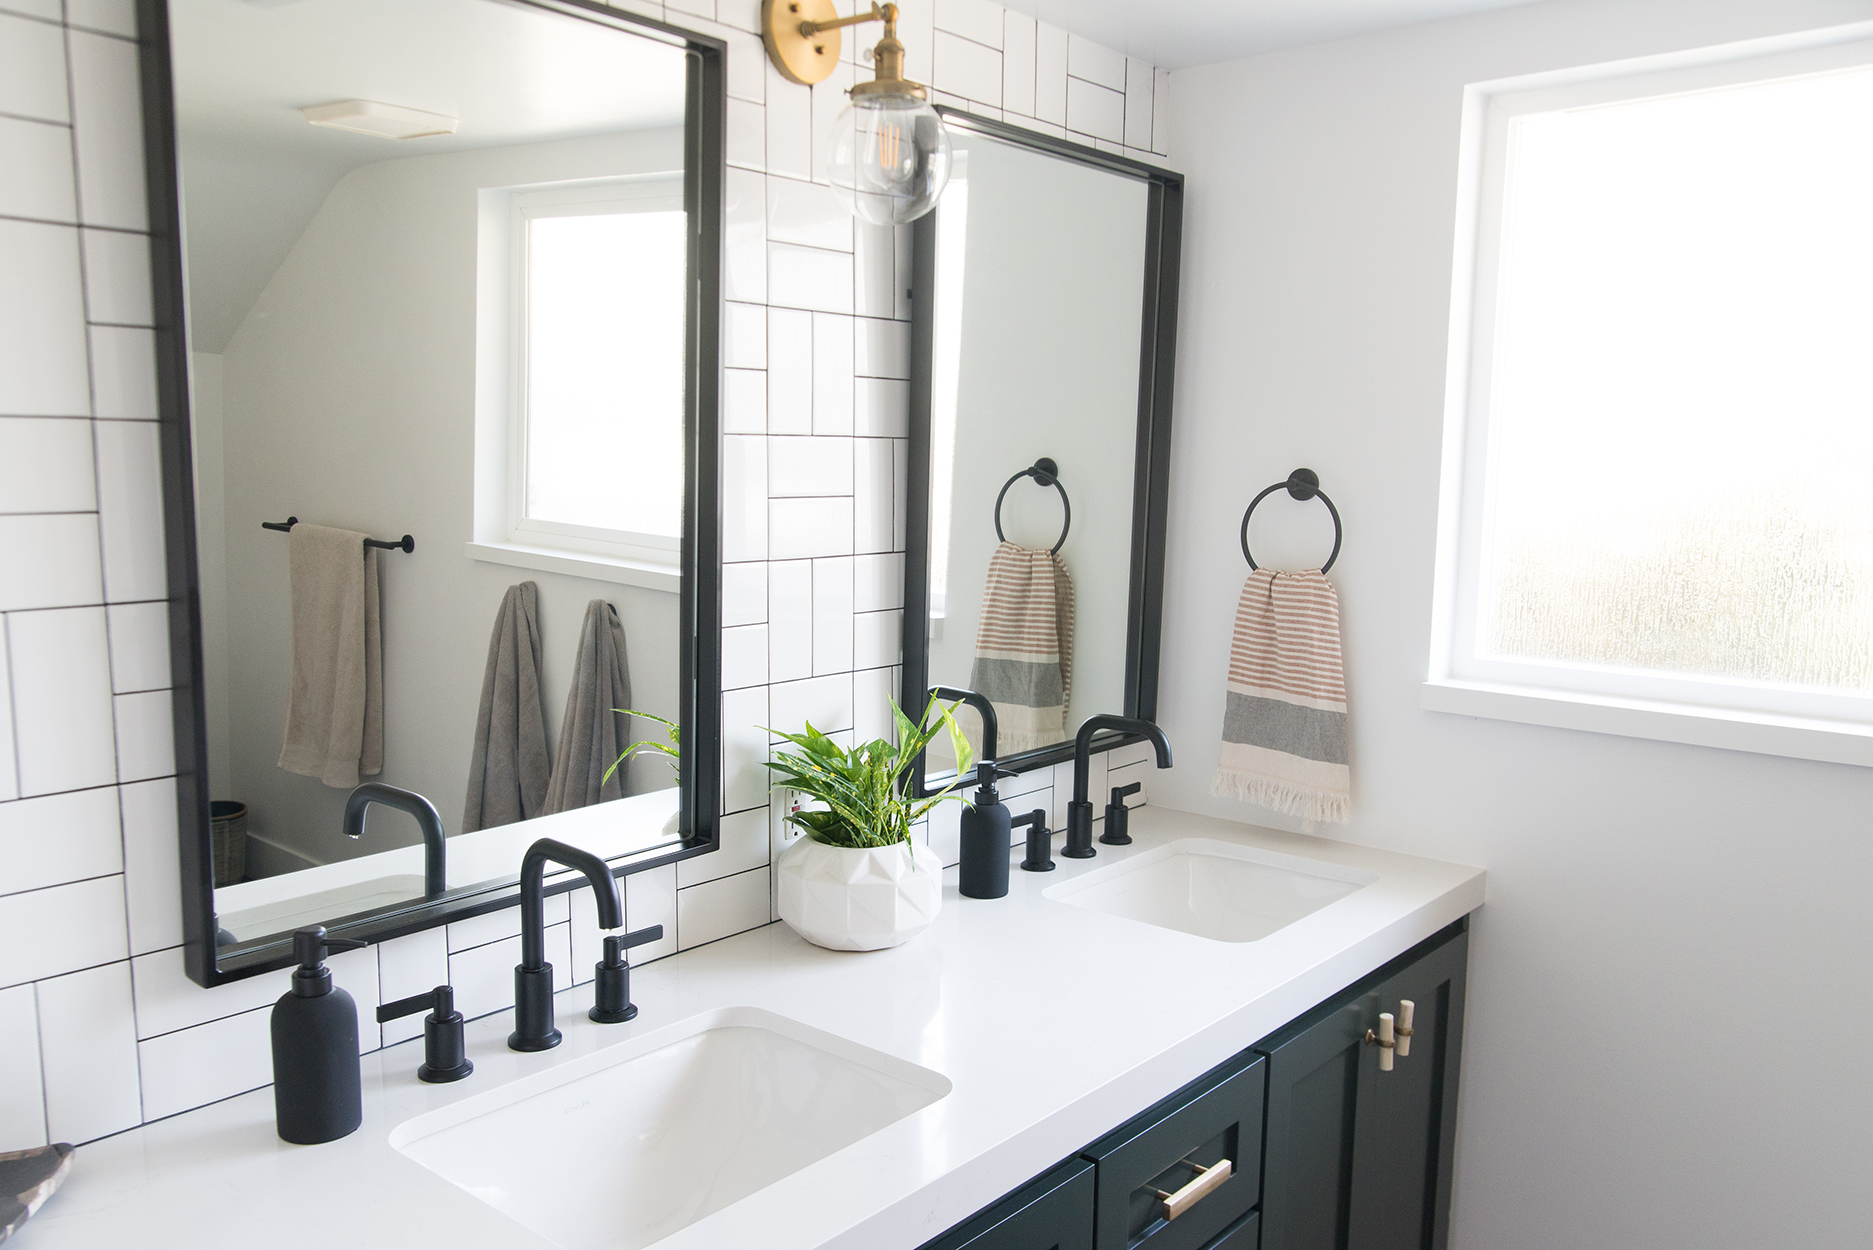
 The boys bathroom is now my favorite room in the house I think, and I love that with a little creativity and patience, we were able to get it done well within our budget.


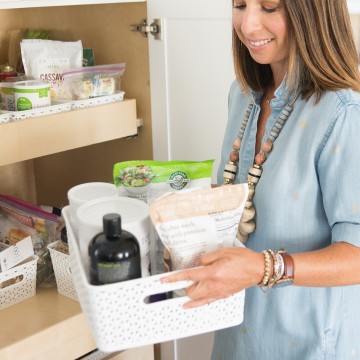
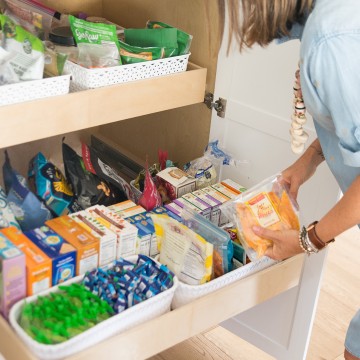
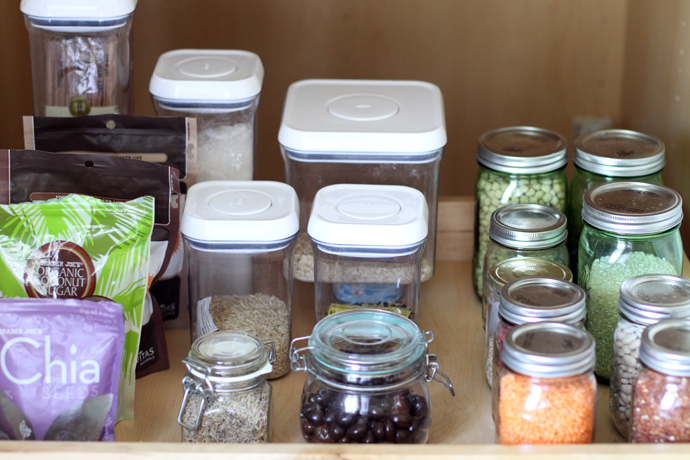
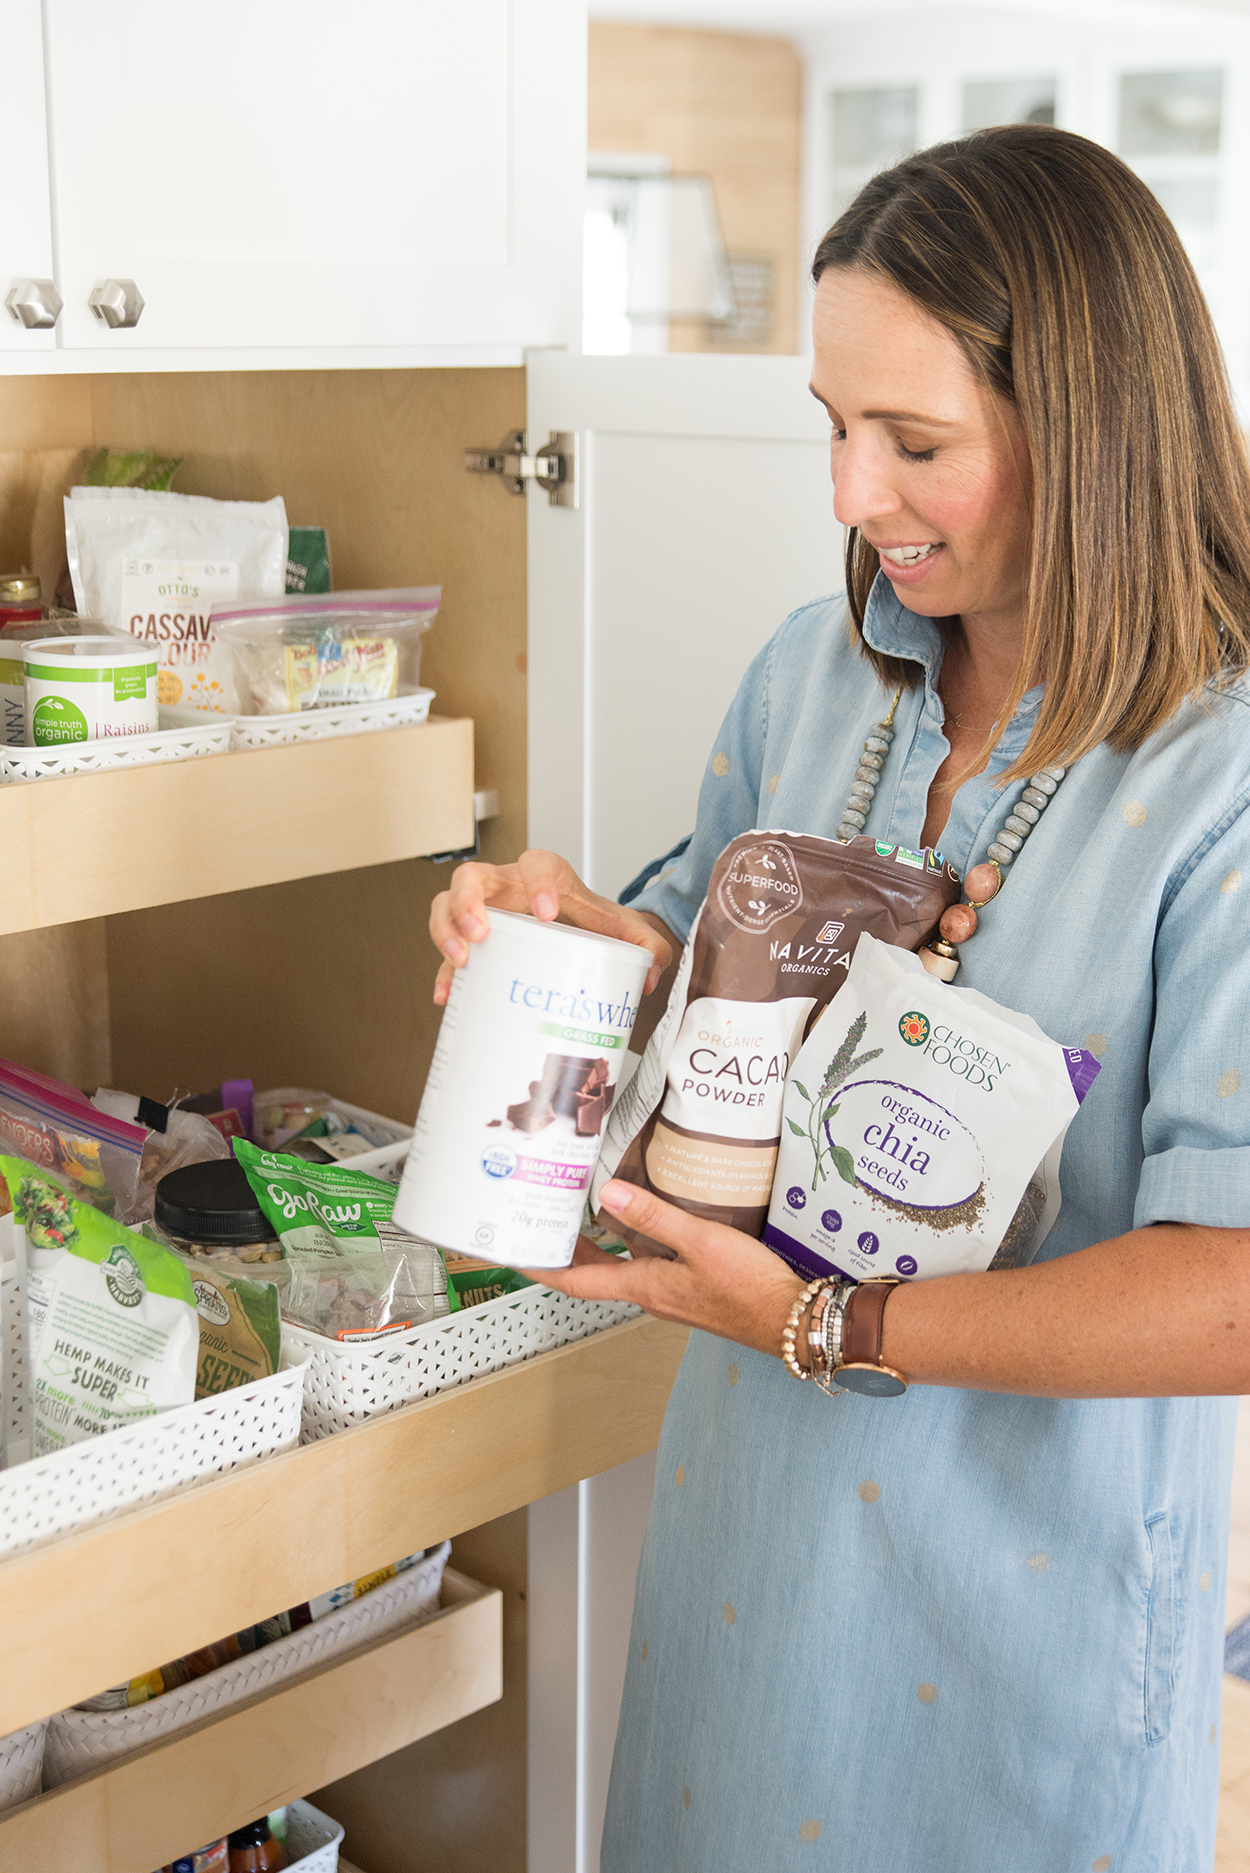
 Since the primary focus of my blog is to inspire readers to cook at home, I wanted to share a couple of posts on my complete kitchen reorganization project. We’re starting with the pantry since a well organized food storage space makes working in the kitchen 100 times more efficient and enjoyable.
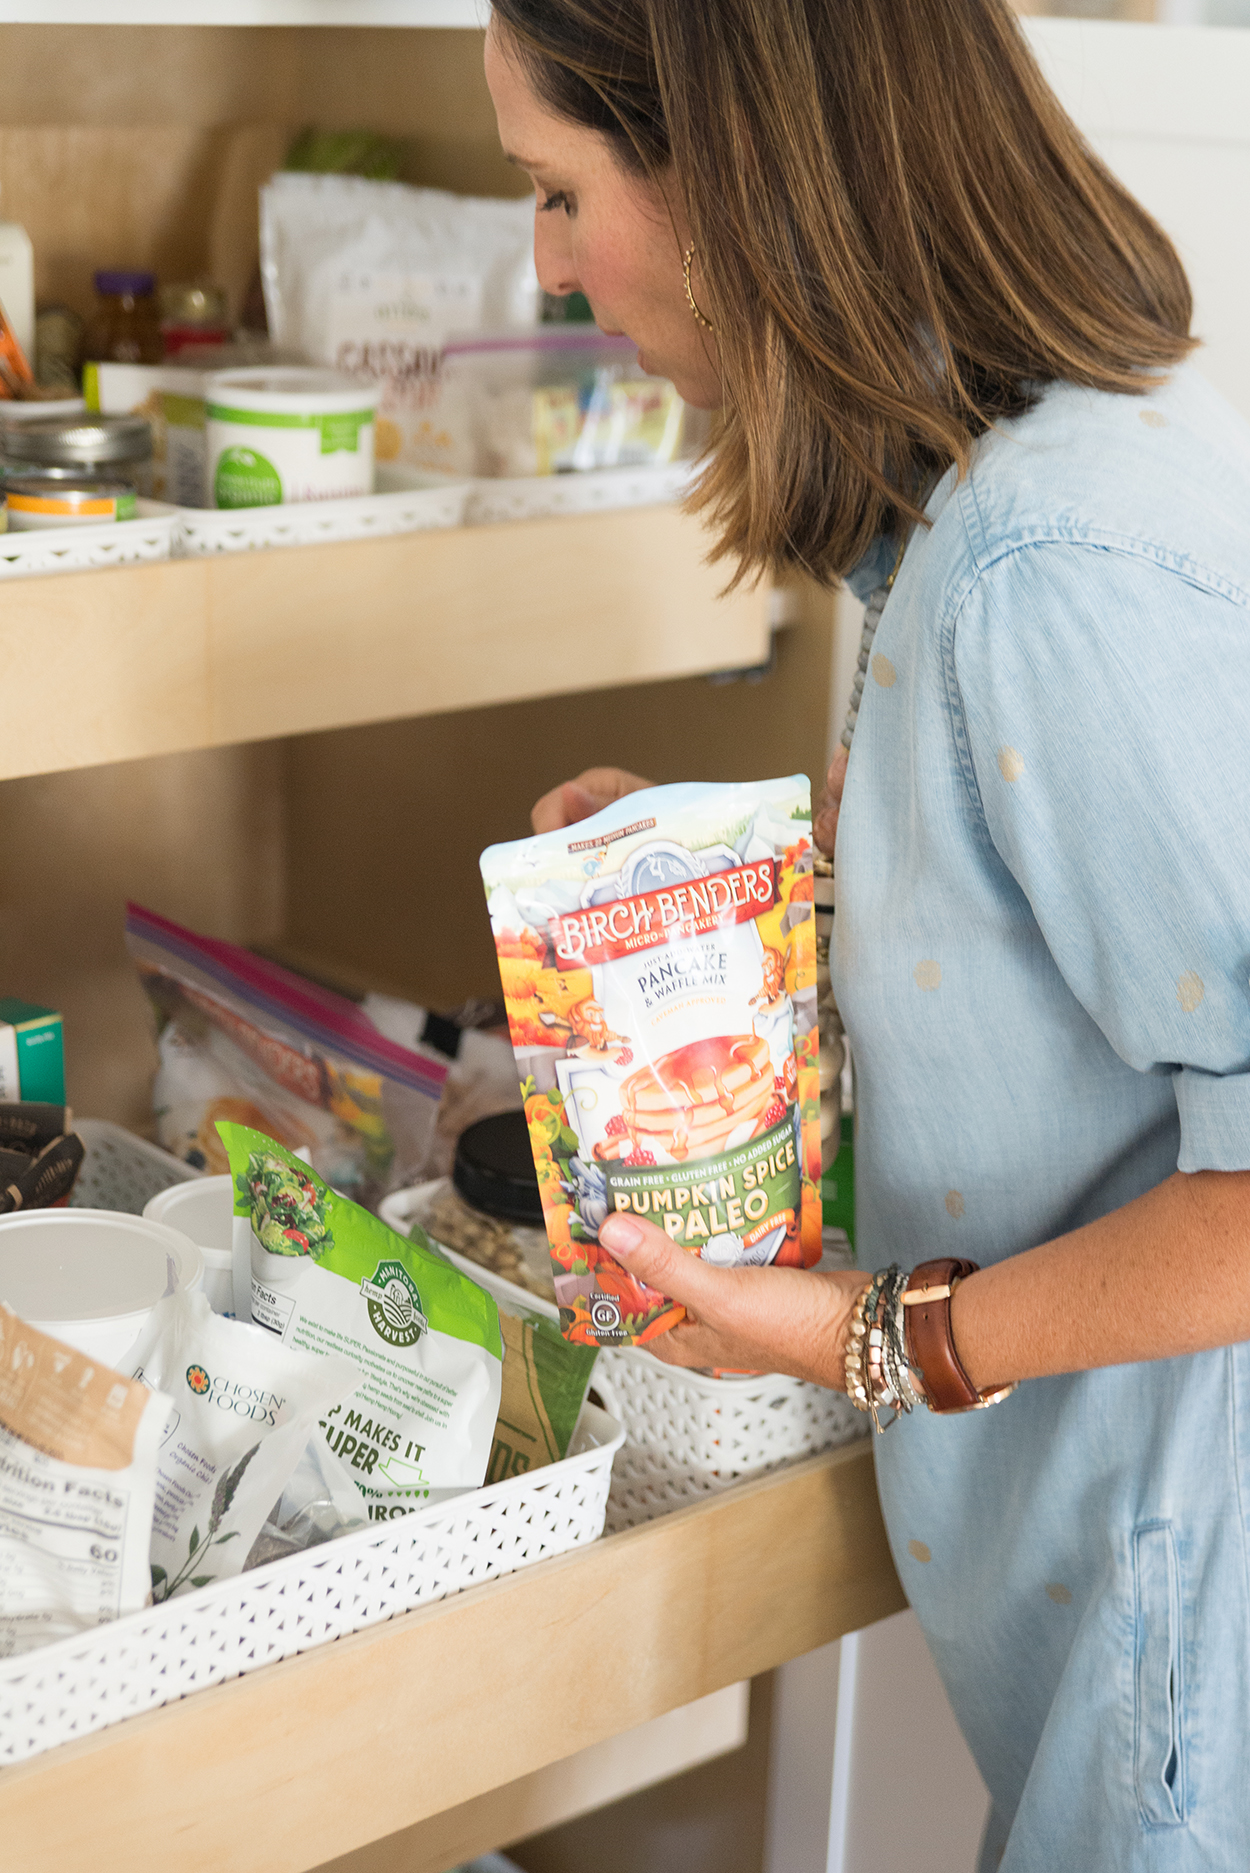
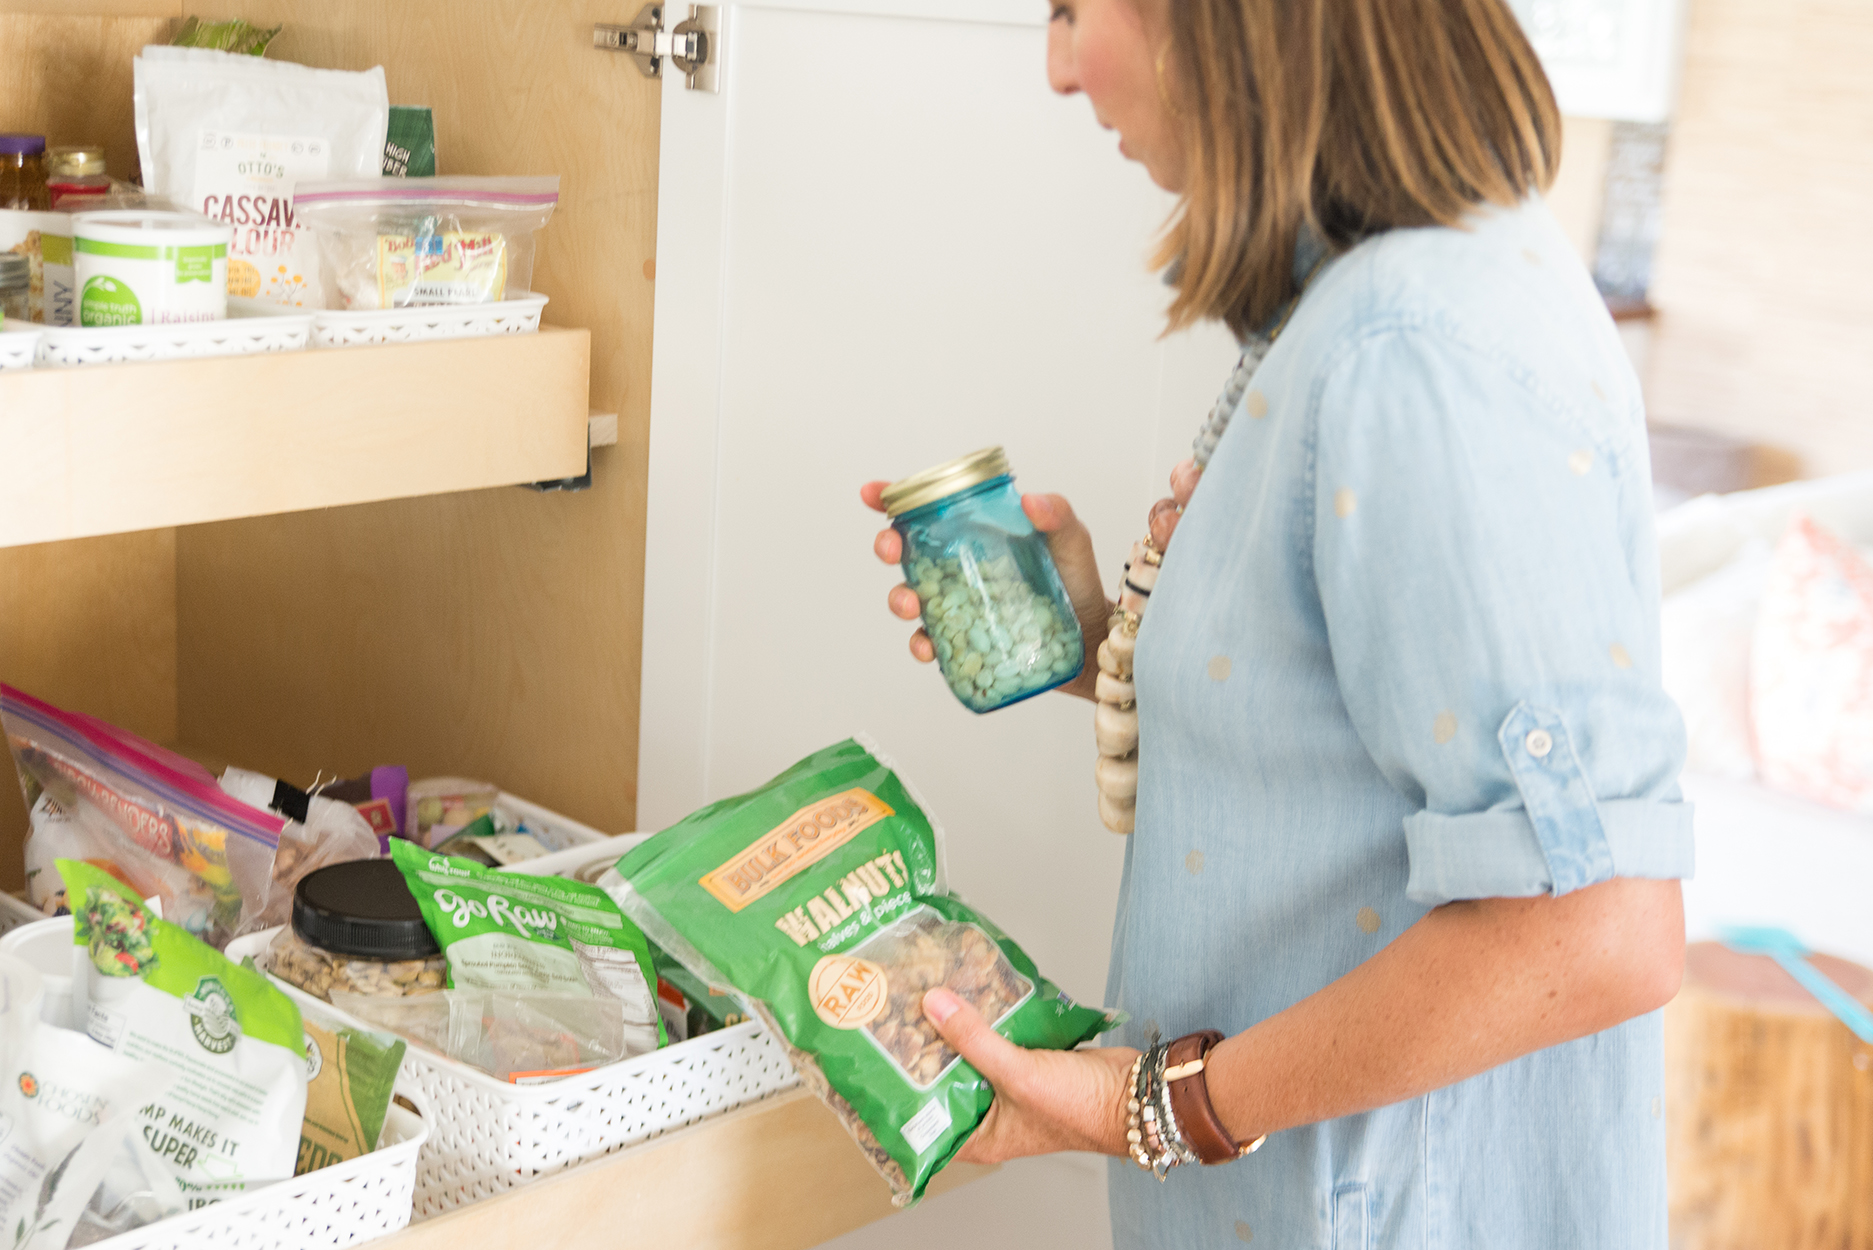 A categorized bin section also makes it so much easier for Art and the kids to put things away after each use and unpack groceries, since they aren’t as familiar or particular with pantry organization. 😉
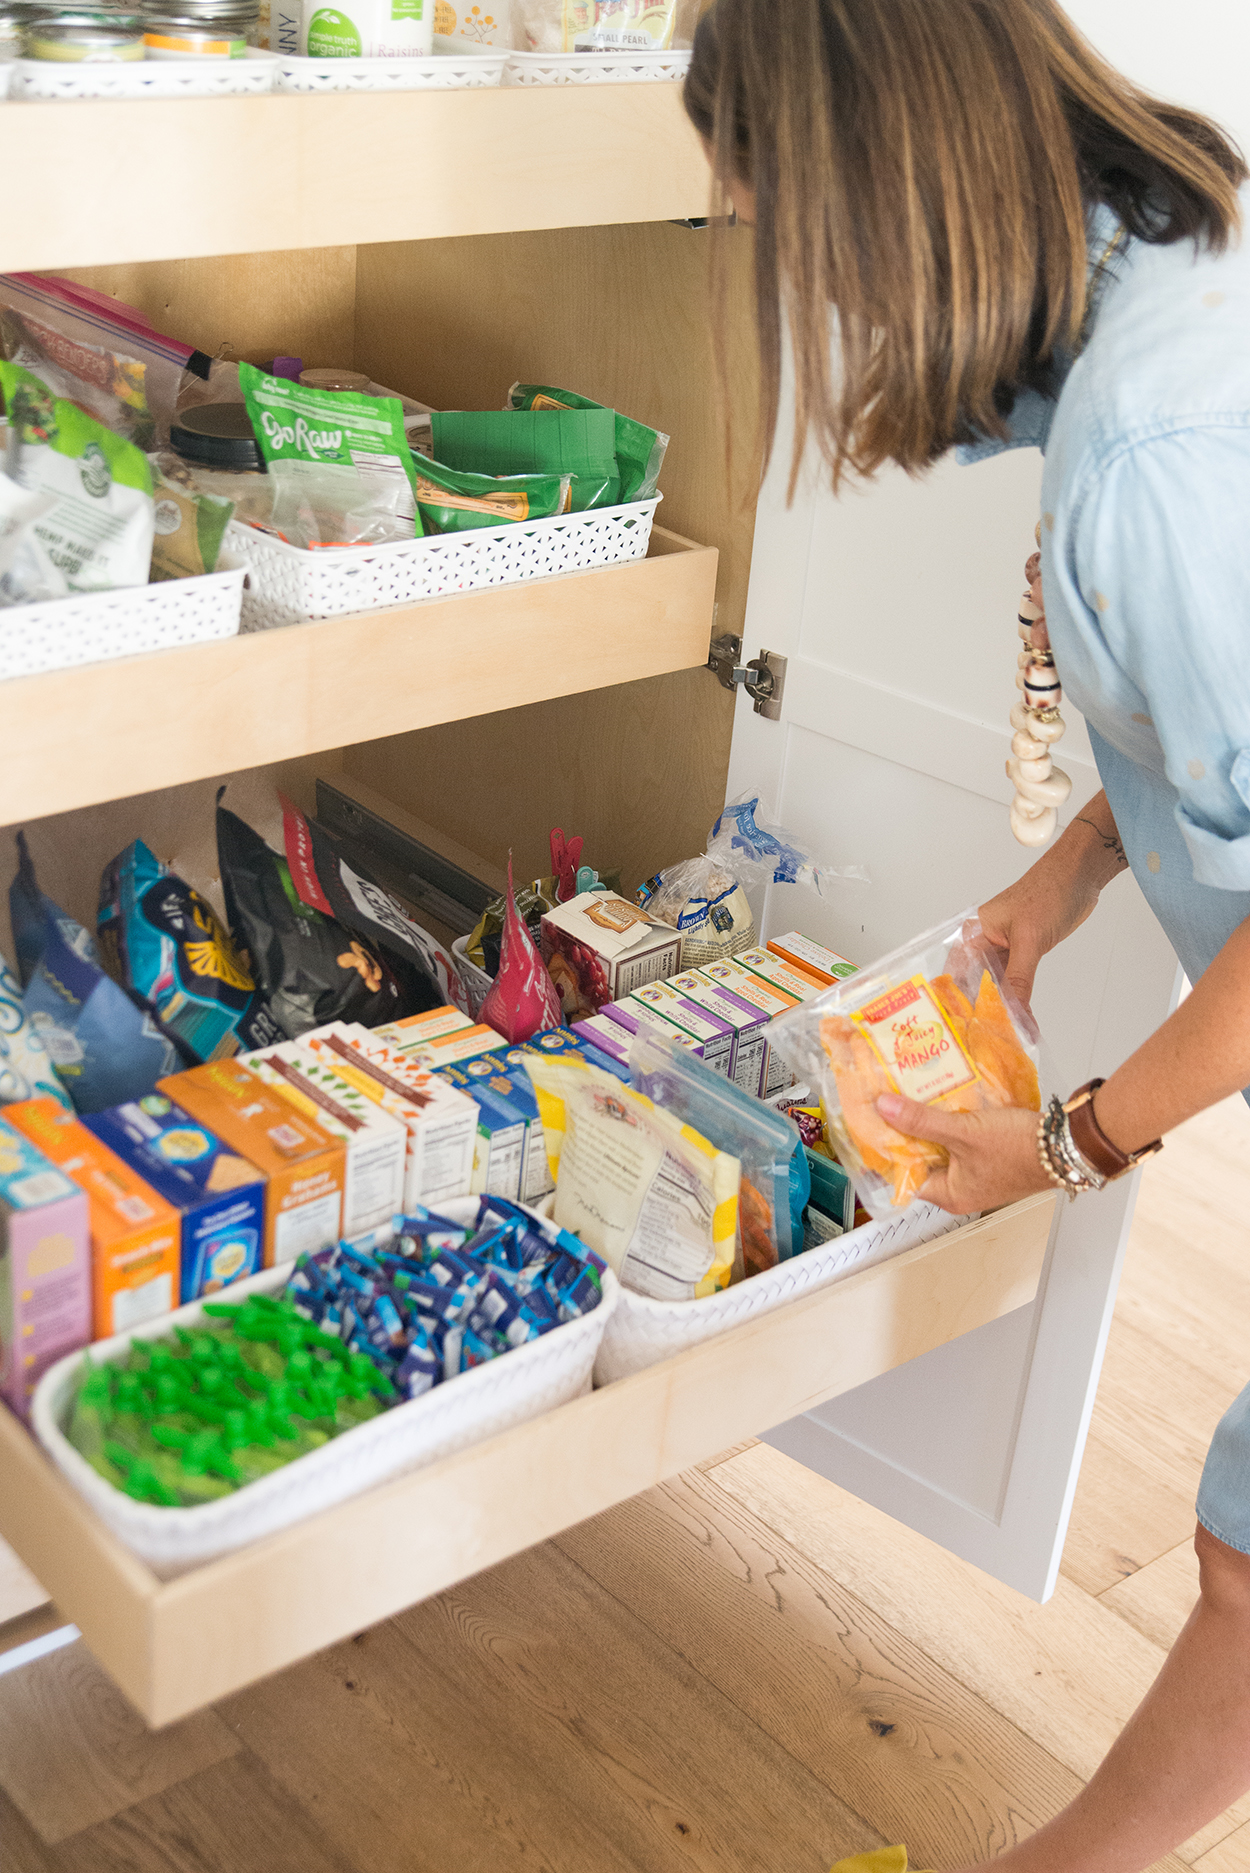

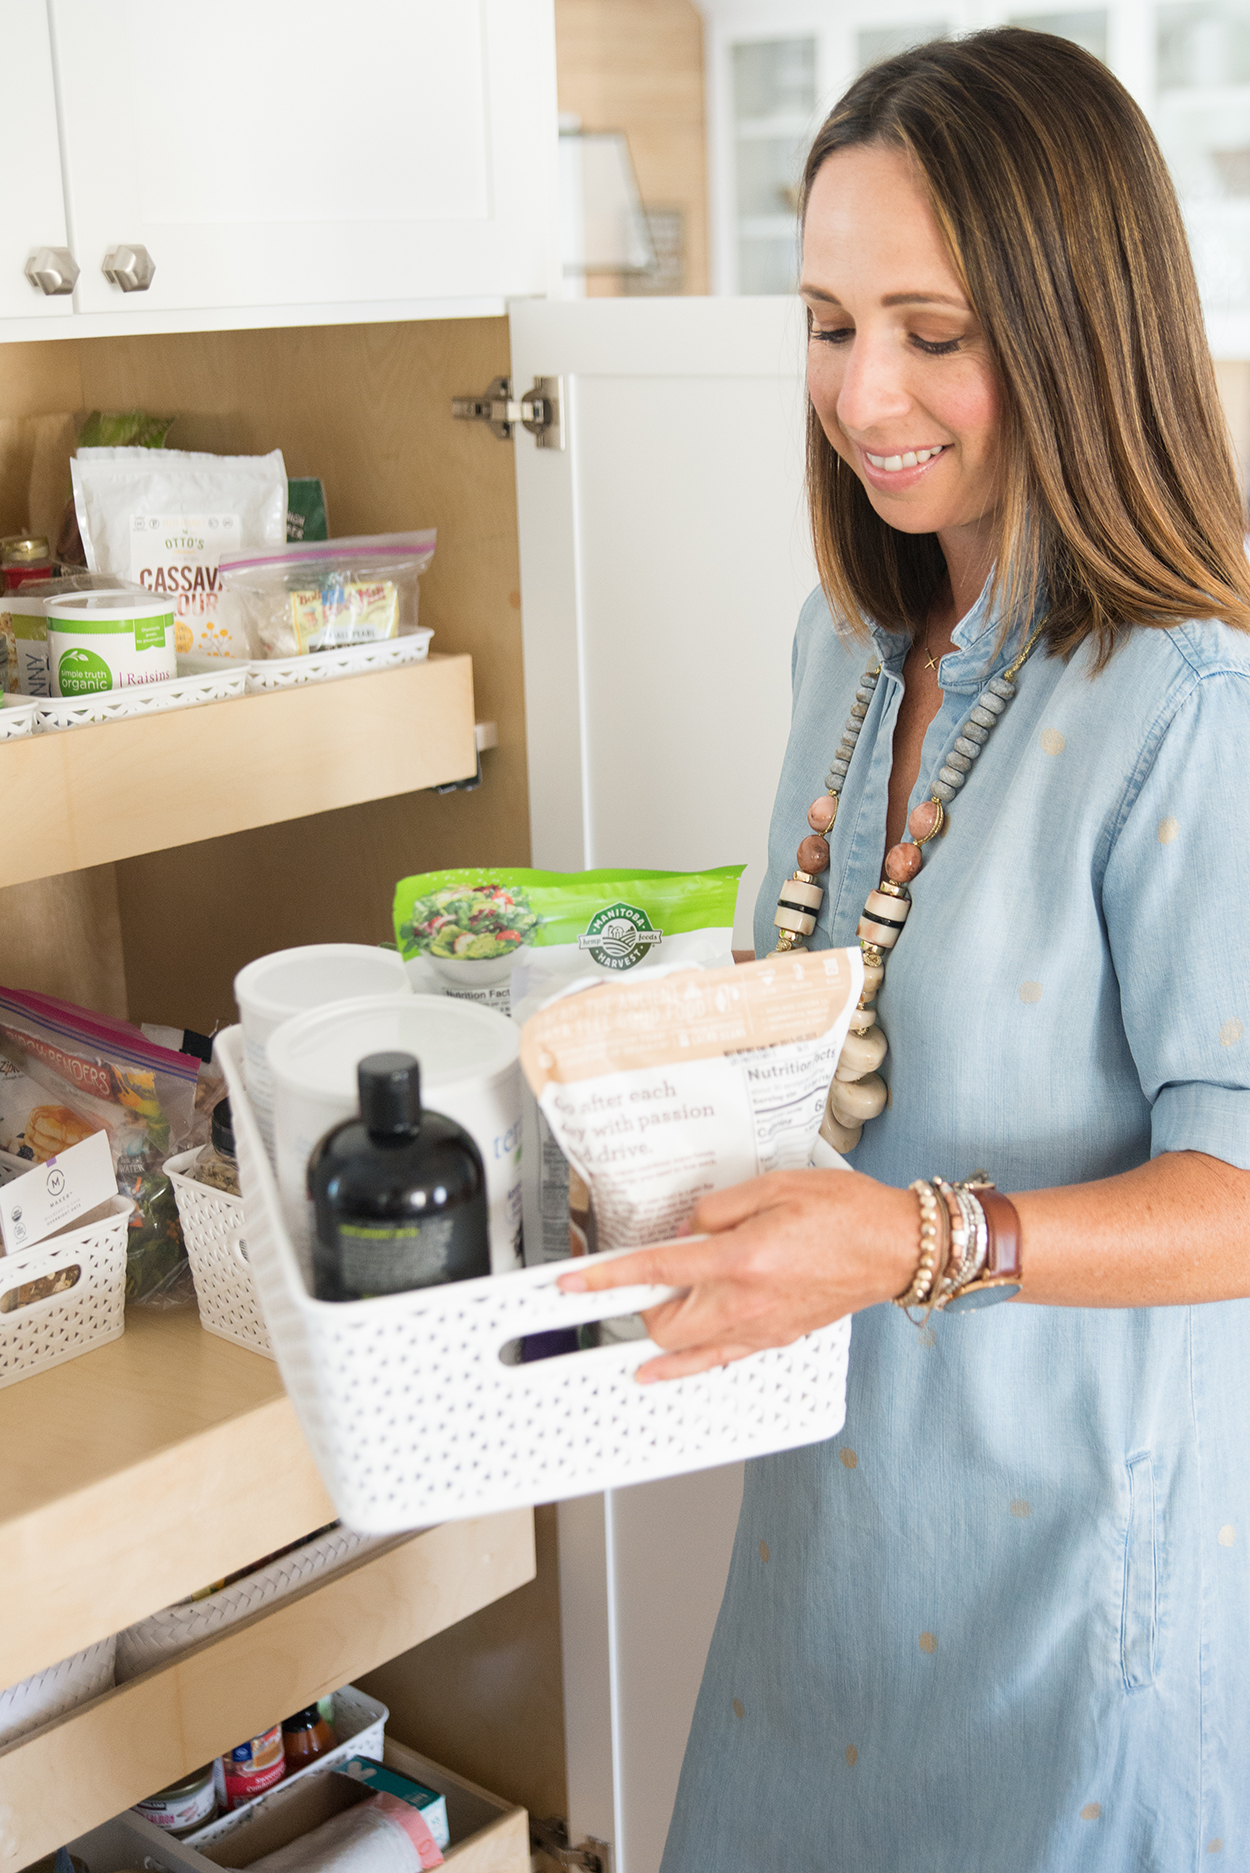
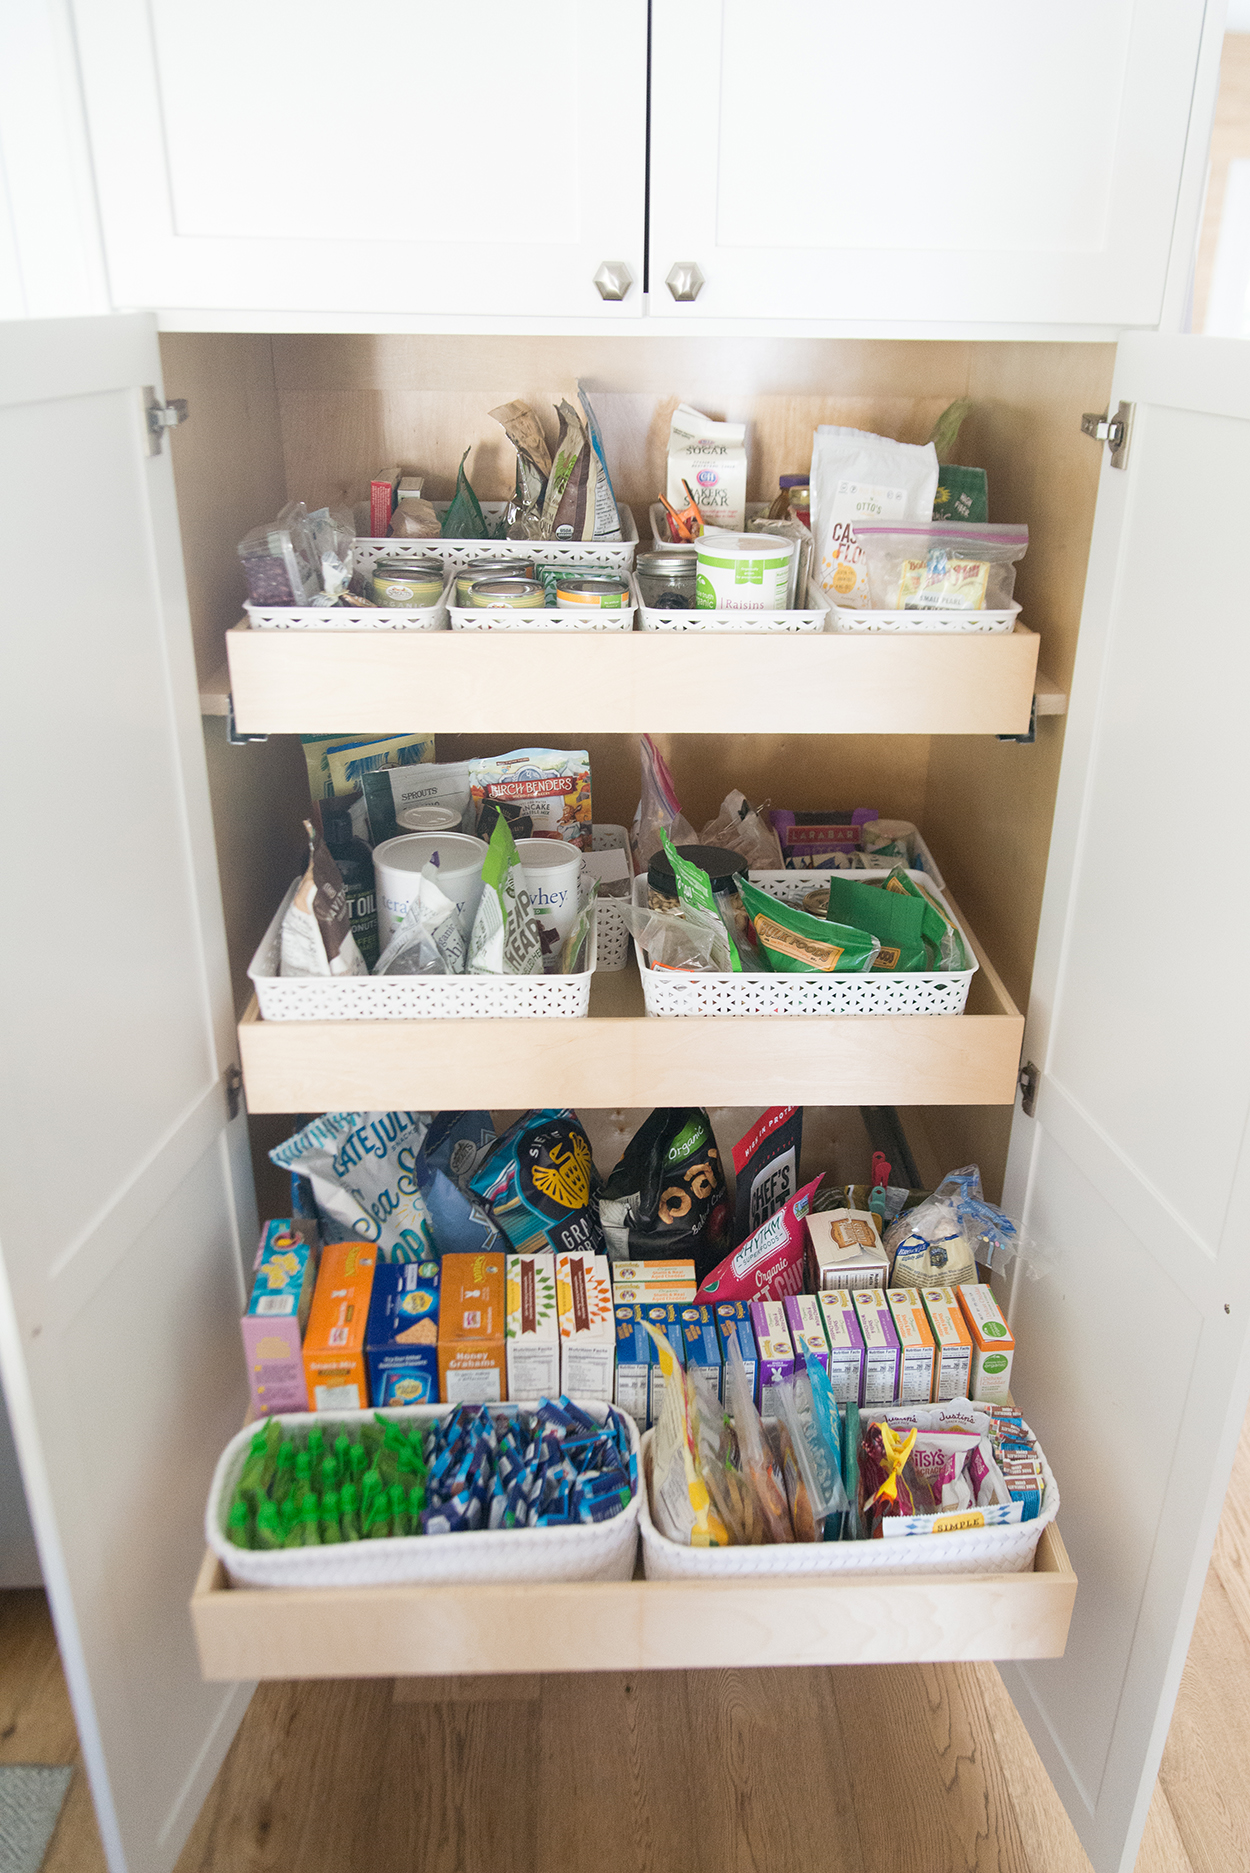
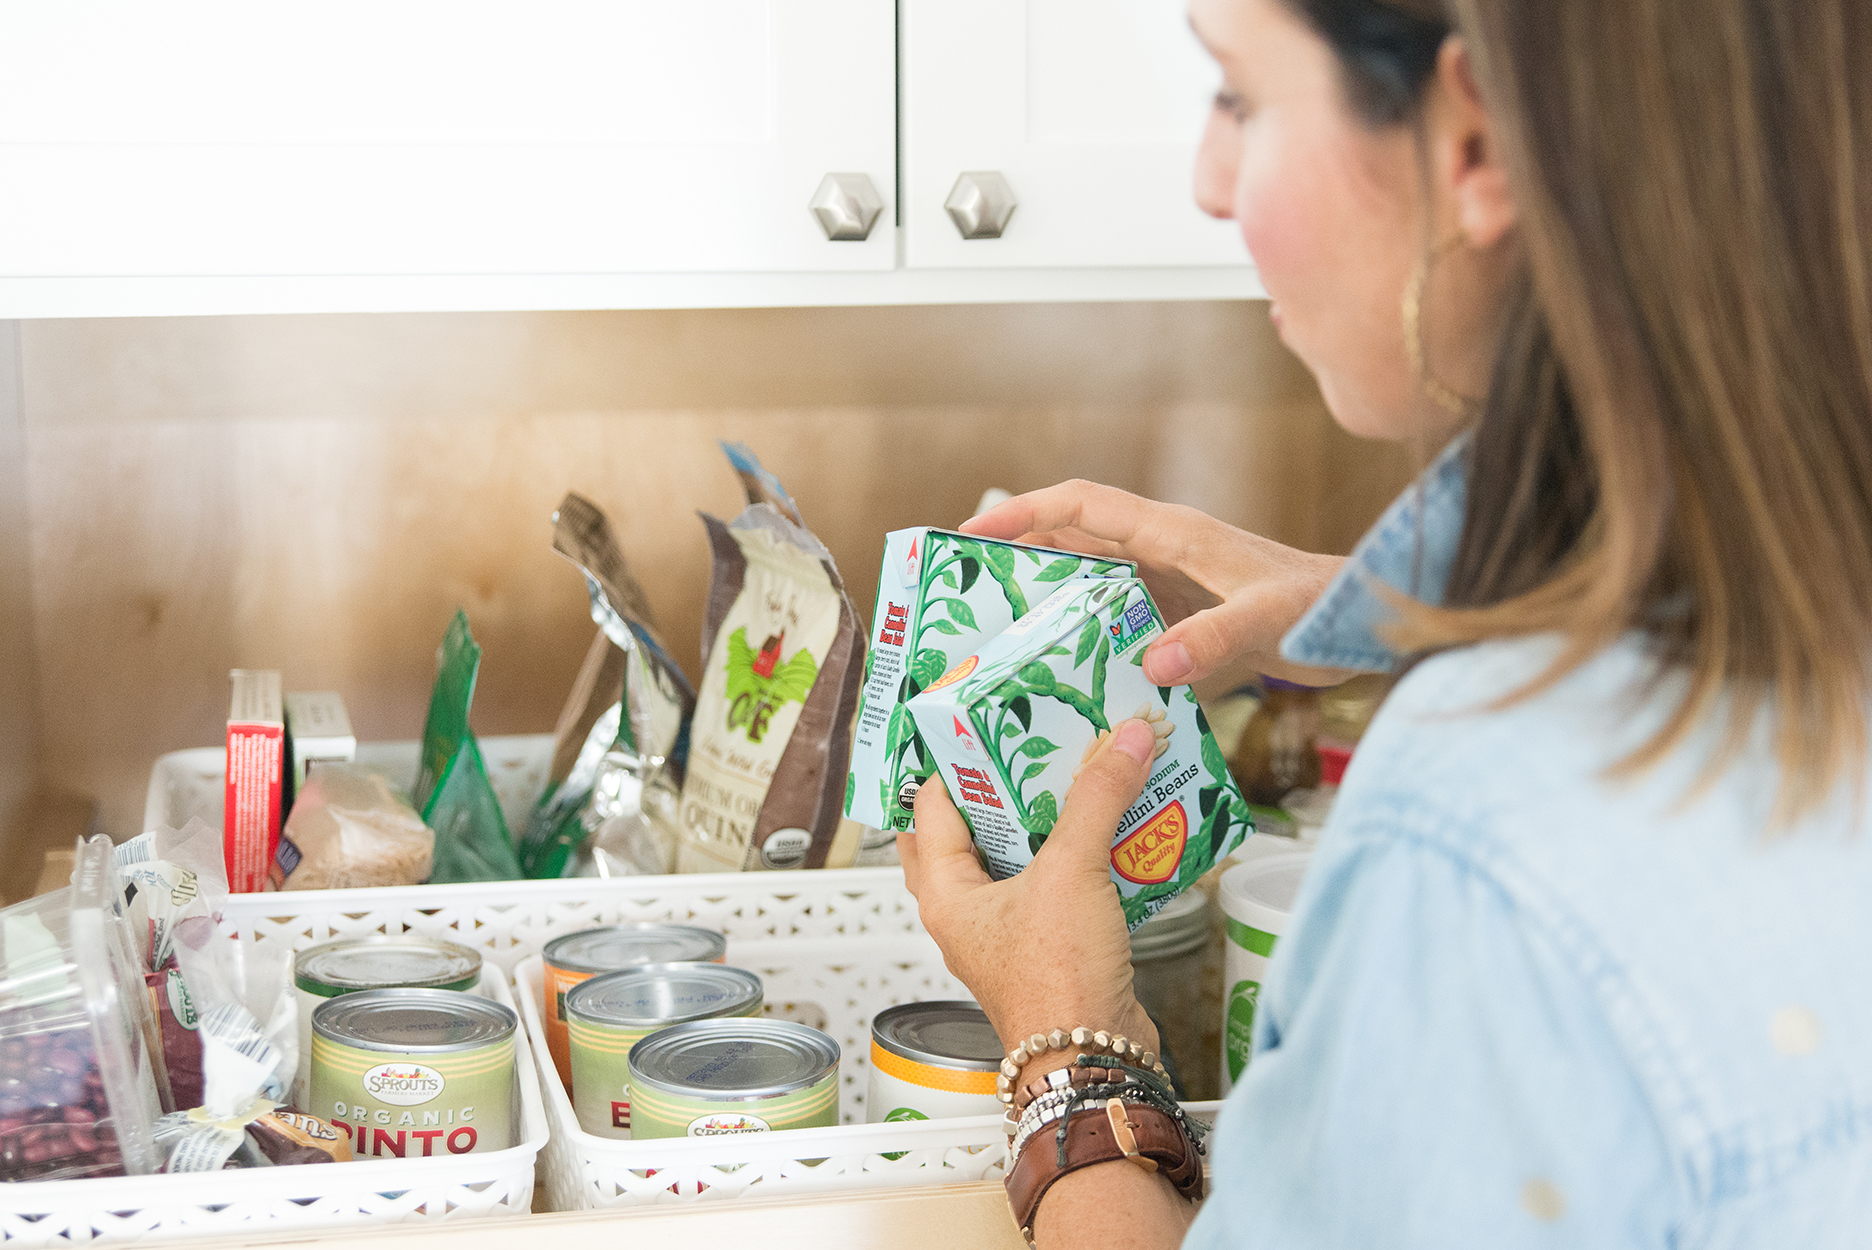 I have 1 large bin for grains, pastas and soup, and 2 smaller bins for beans, which we eat 2-3 times a week at least.
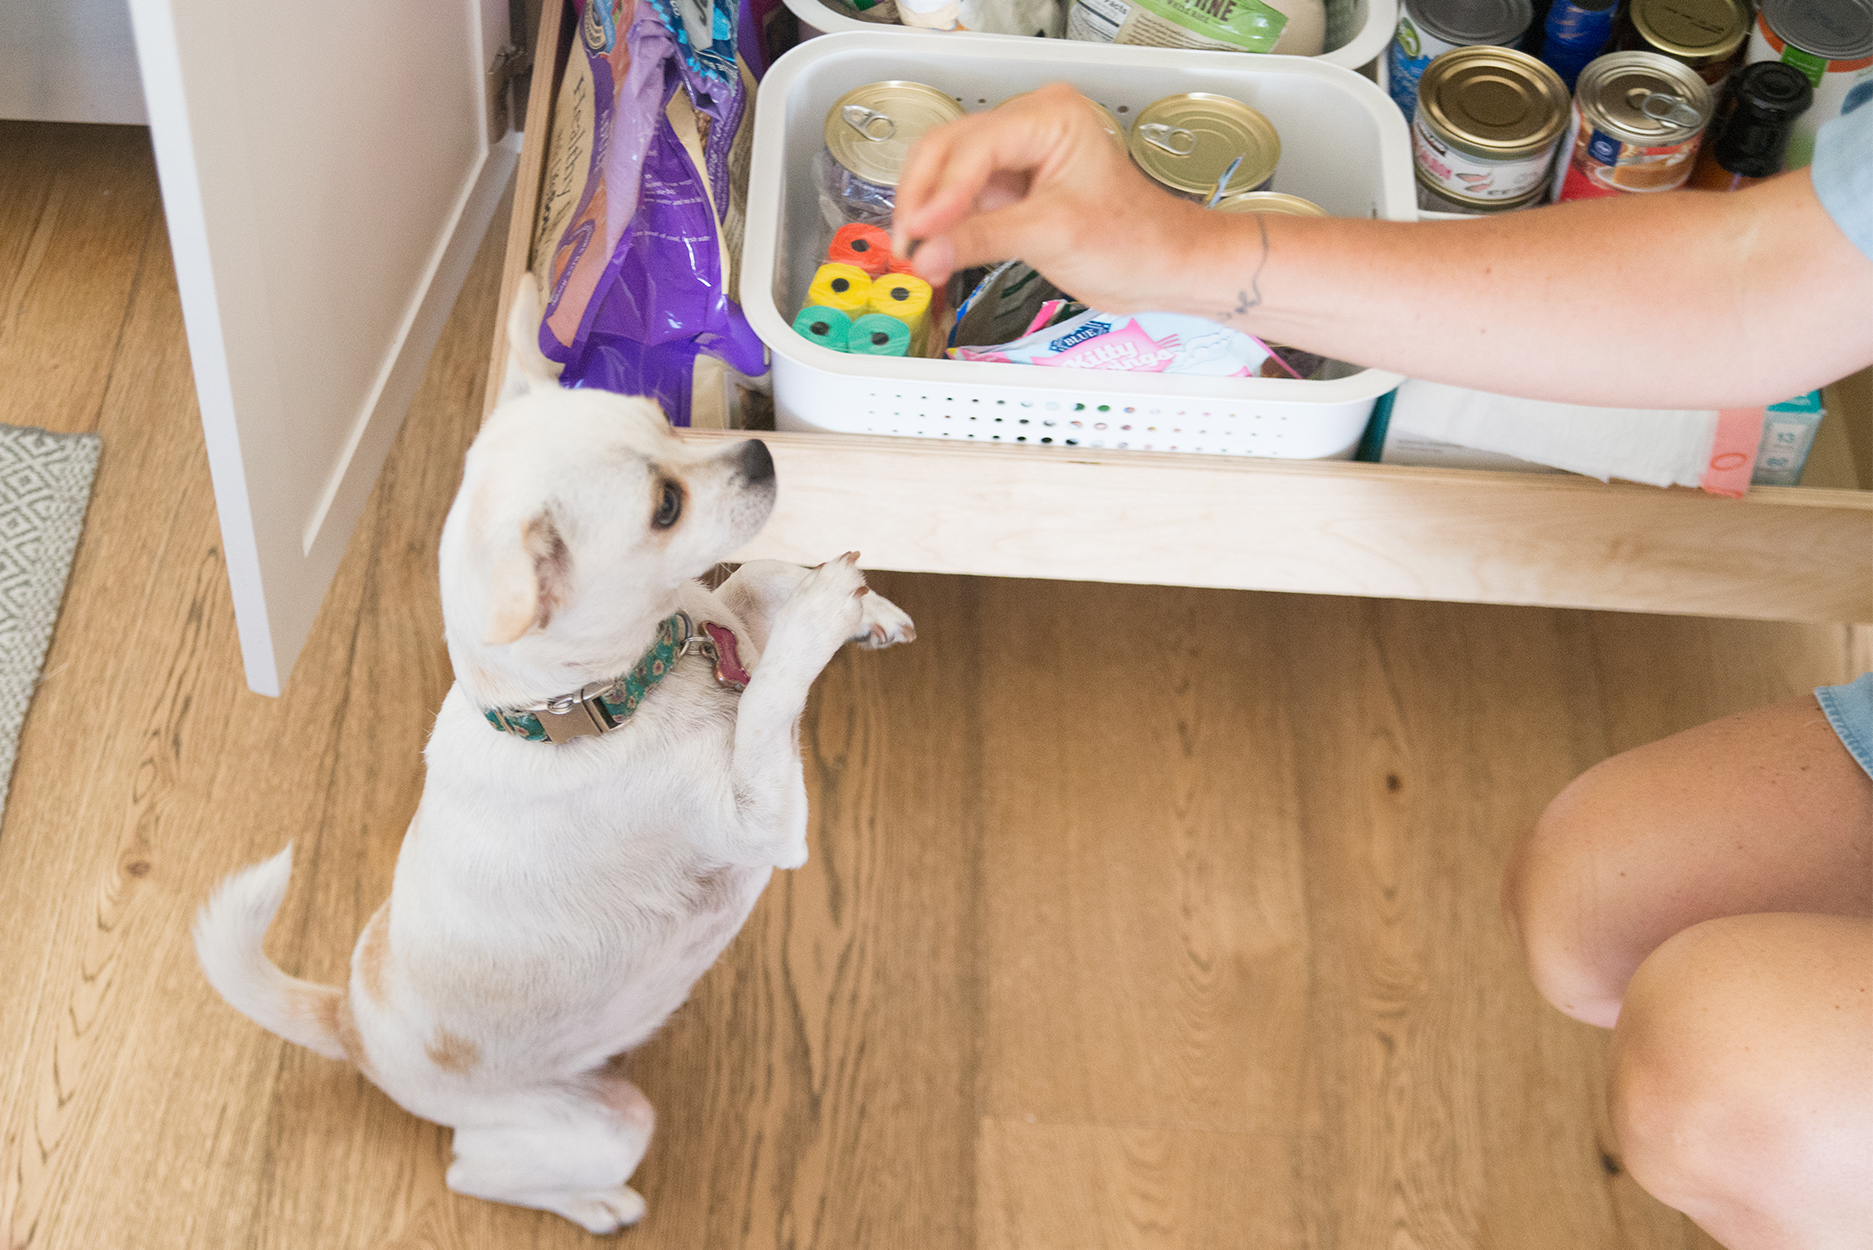
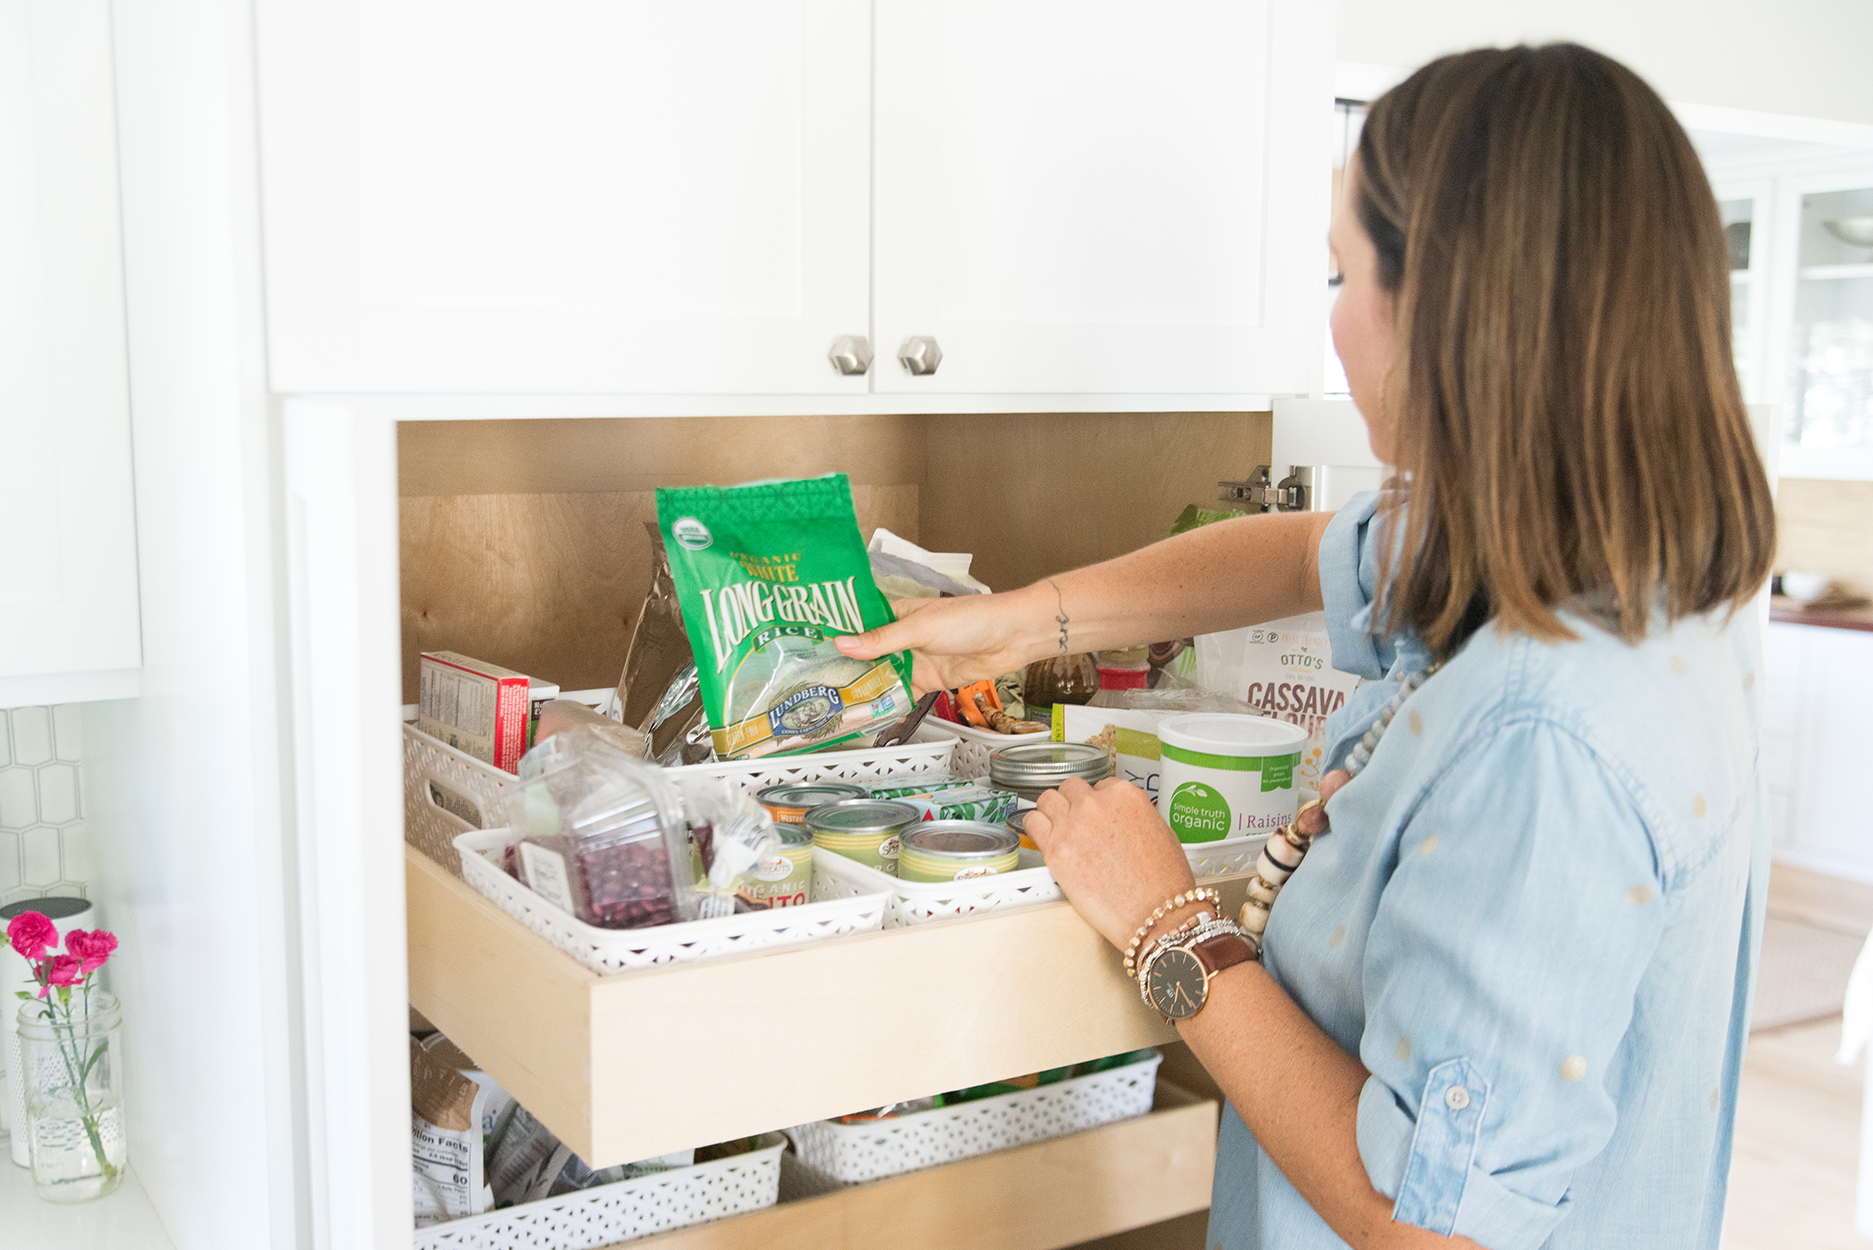 Being this organized has made the need for food storage space in the upper pantry (not pictured) almost unnecessary. The only thing we are keeping up above are a couple of tall boxes of cereal and a few extra stock large items that won’t fit below, like the Costco size jug of olive oil and coconut oil. We also throw our extra paper towels & paper plates up there, and have a shelf for alcohol and mixers, but that’s about it.
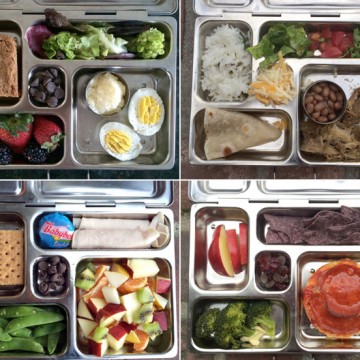
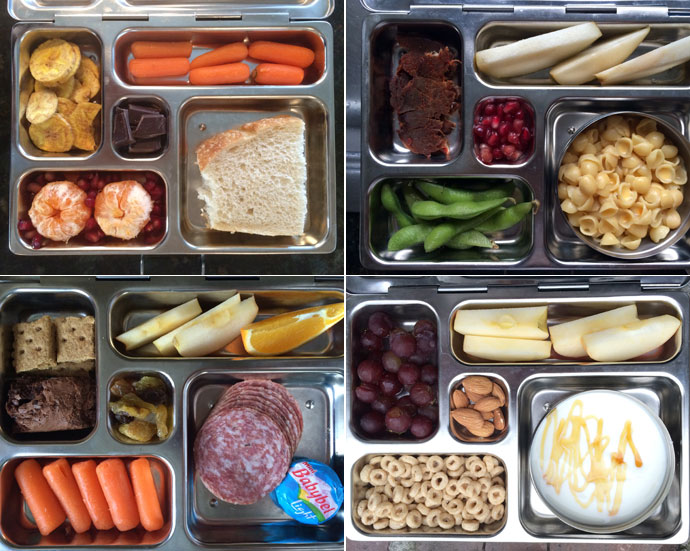
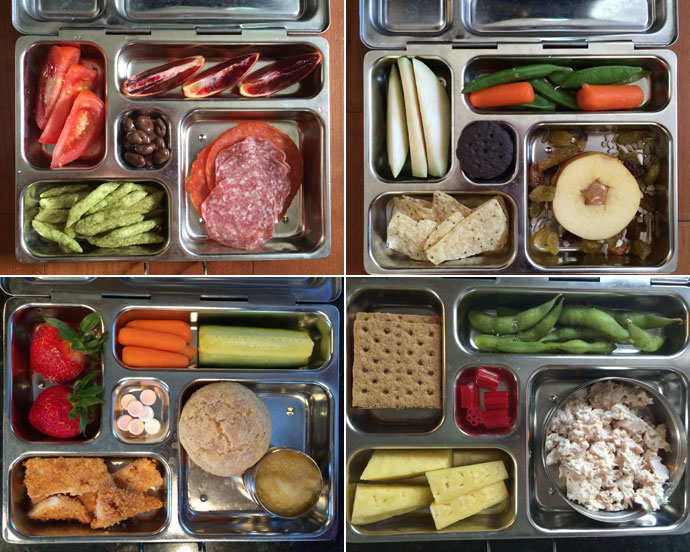 I’ve been posting photos of the kid’s lunches almost daily for a few years now, and they always garner a lot of attention and questions. Not that they were anything extraordinary, in fact they were quite basic, but I think that’s what my readers on Instagram appreciate them. I aim for uncomplicated and unfussy, and moms seem to like the easy lunch ideas. By the way, if you’d like to see all of the lunch ideas from this school year, visit the
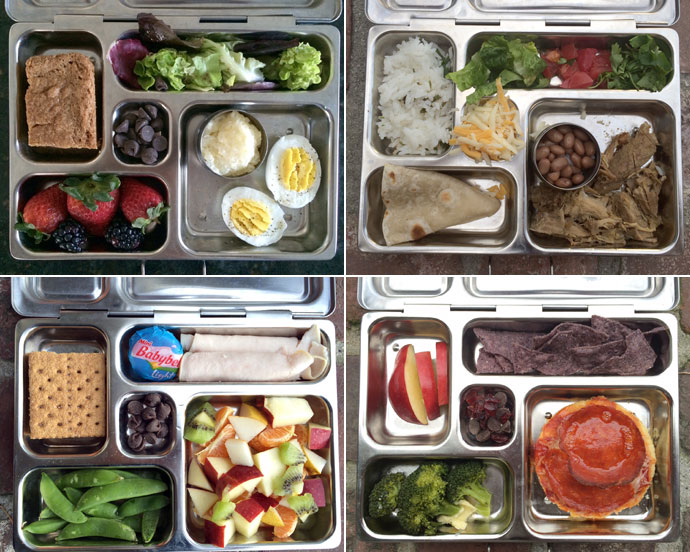


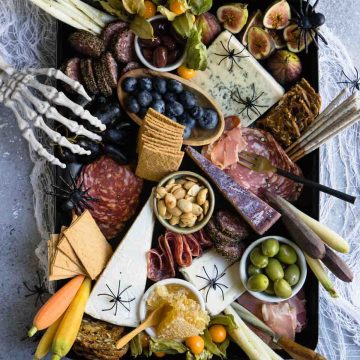


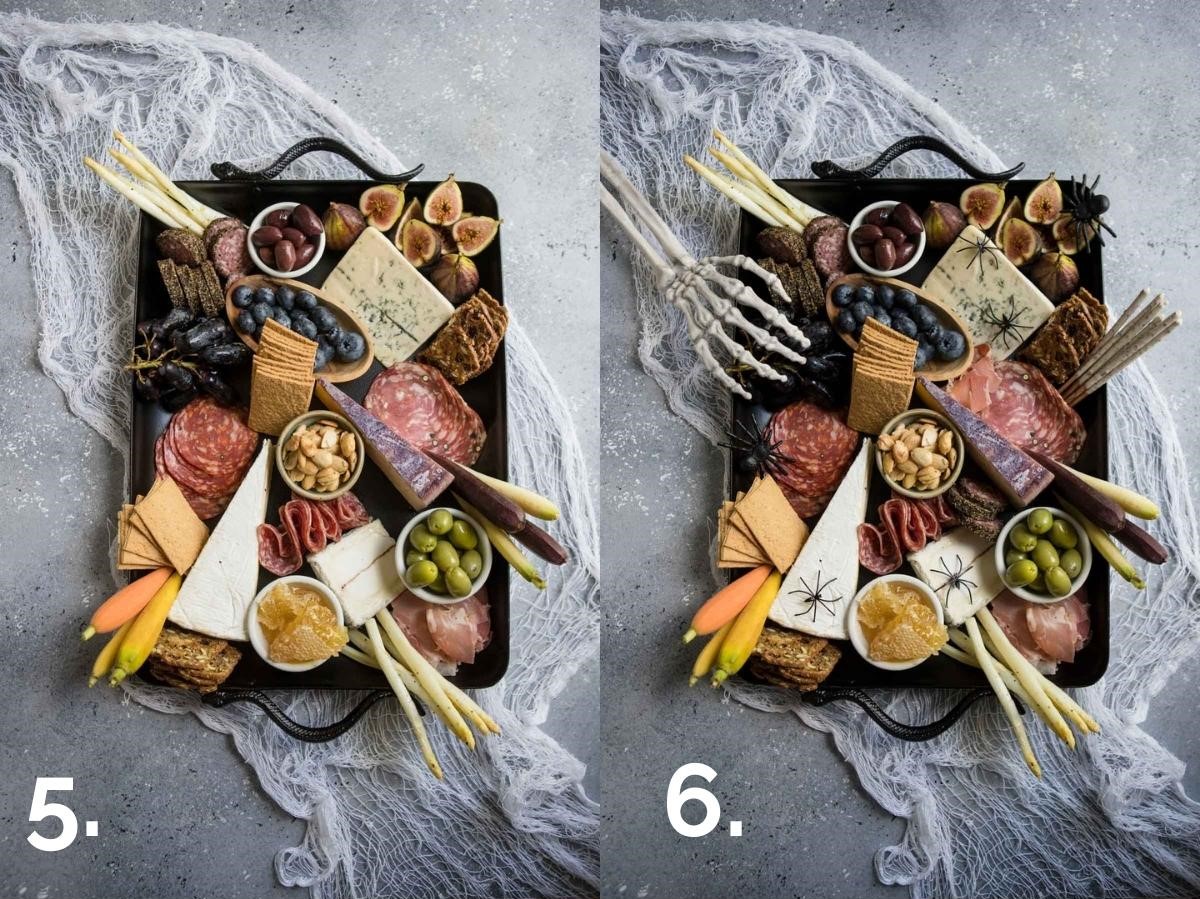

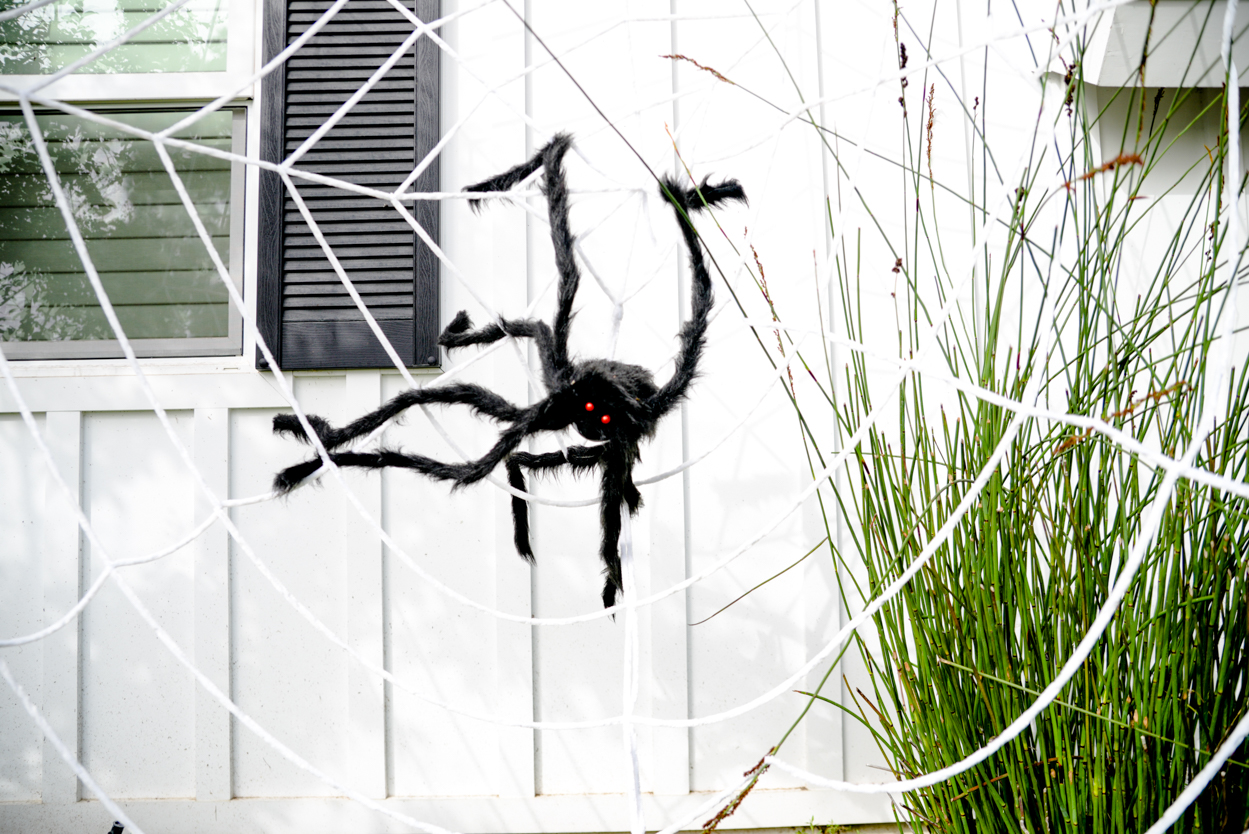 The giant spider and web were found on Amazon and the web came in a 2 pack of black and white webs. So far though we’ve only used the white web and it’s lasted 2 years in a row now. I thought for sure after the first year we’d have to trash it but it’s pretty sturdy. Also helps of course that we don’t get much rain if any during October.
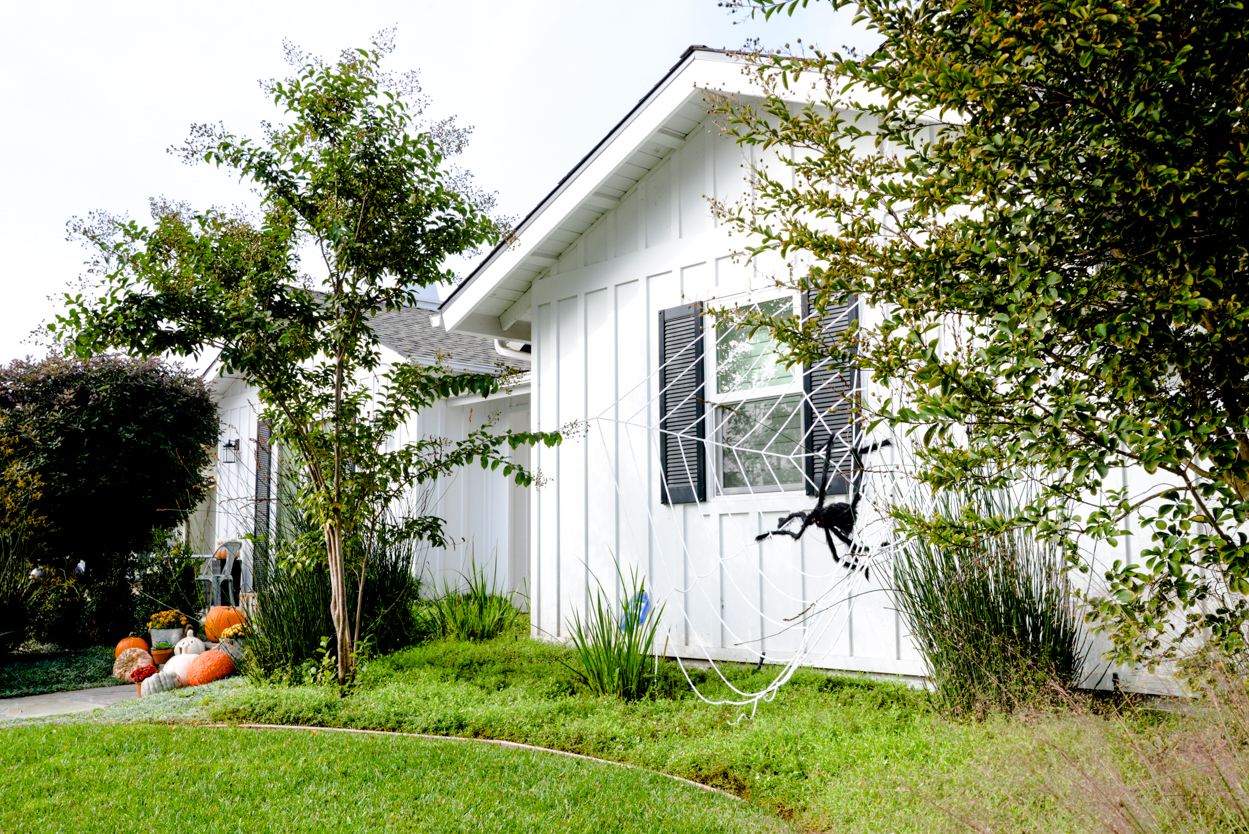
 Simple Fall Decor #4: Pillows!
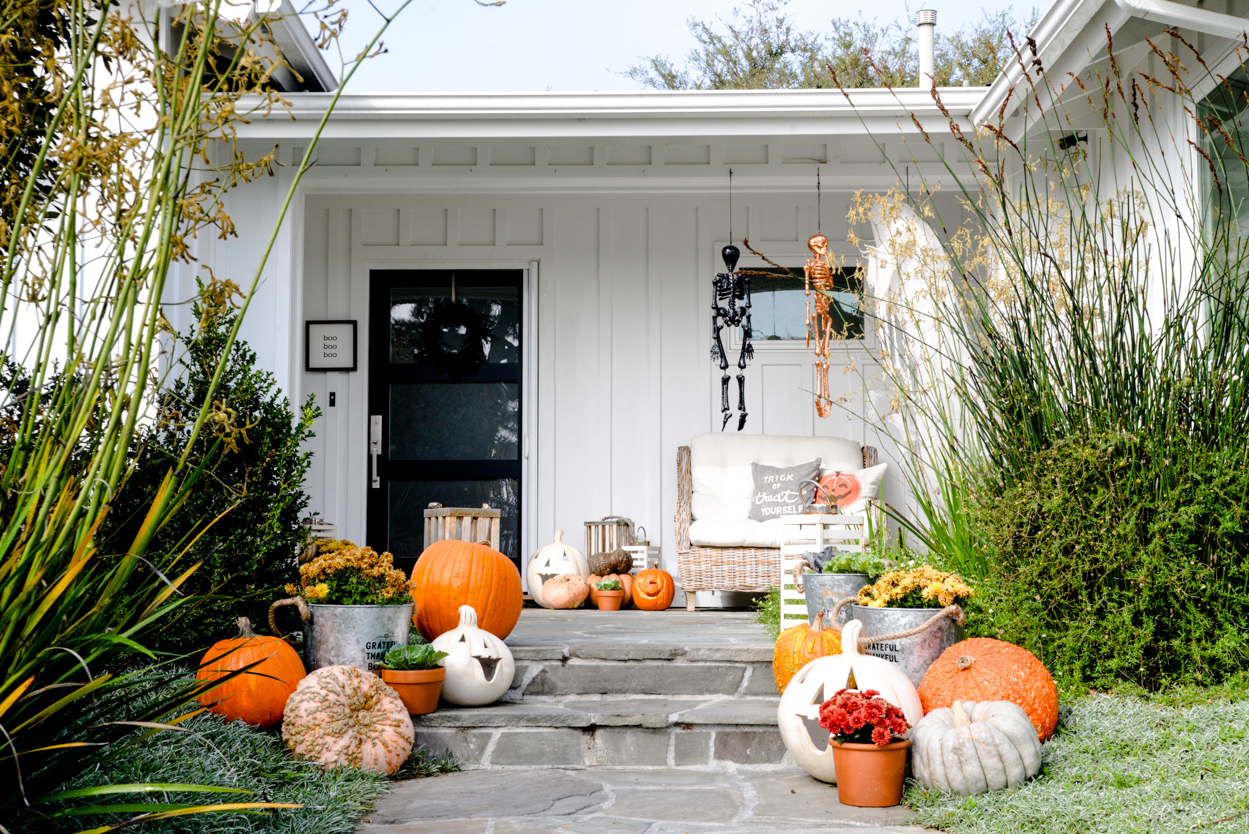
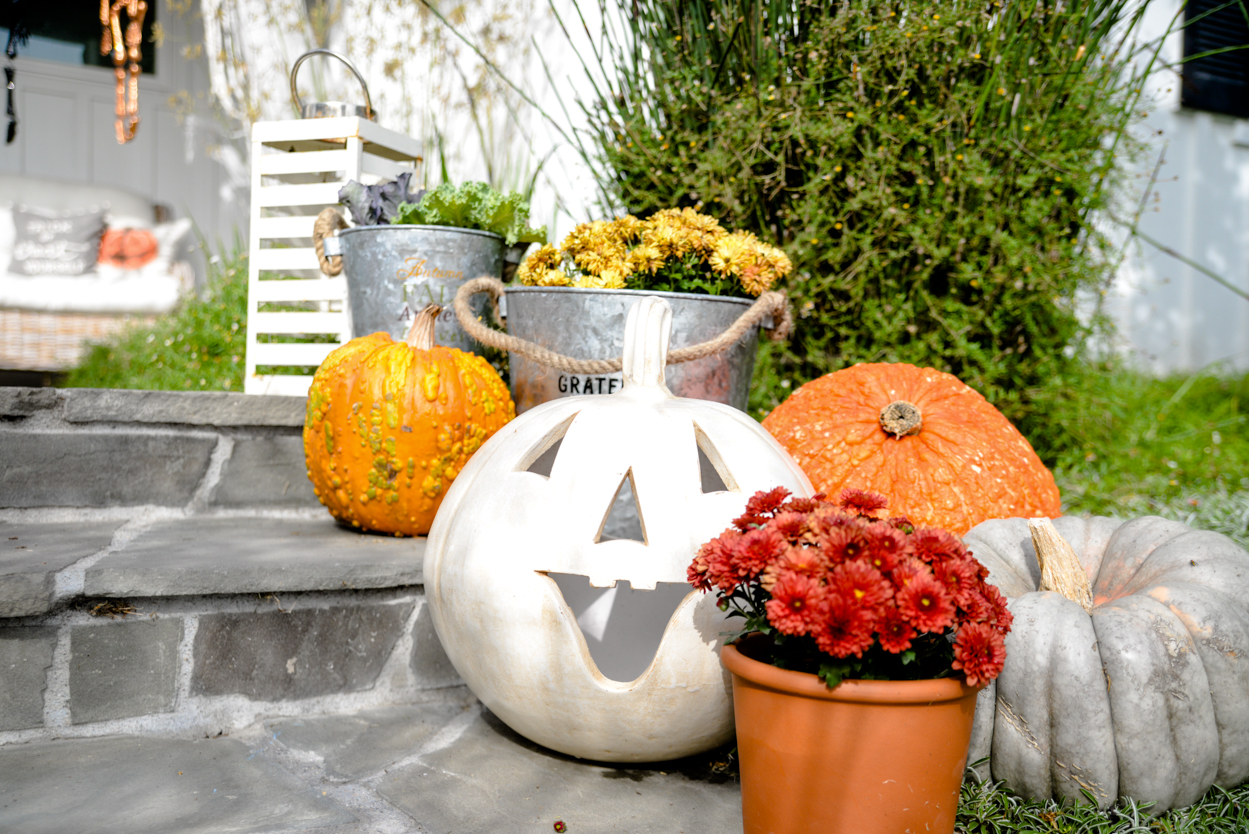
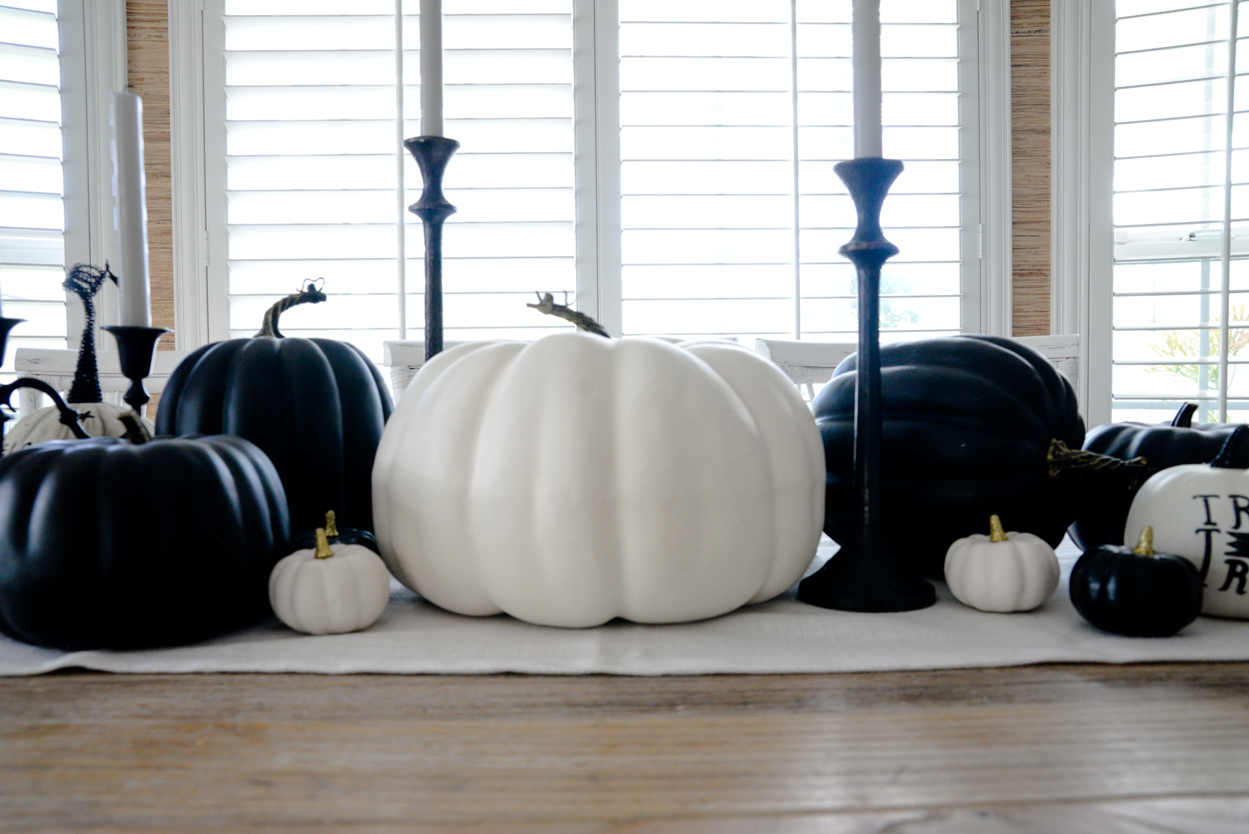
 The black and white pumpkins are all new this year from Target. They are awesome in how realistic they are in terms of shape and feel, and will last several years I’m sure.
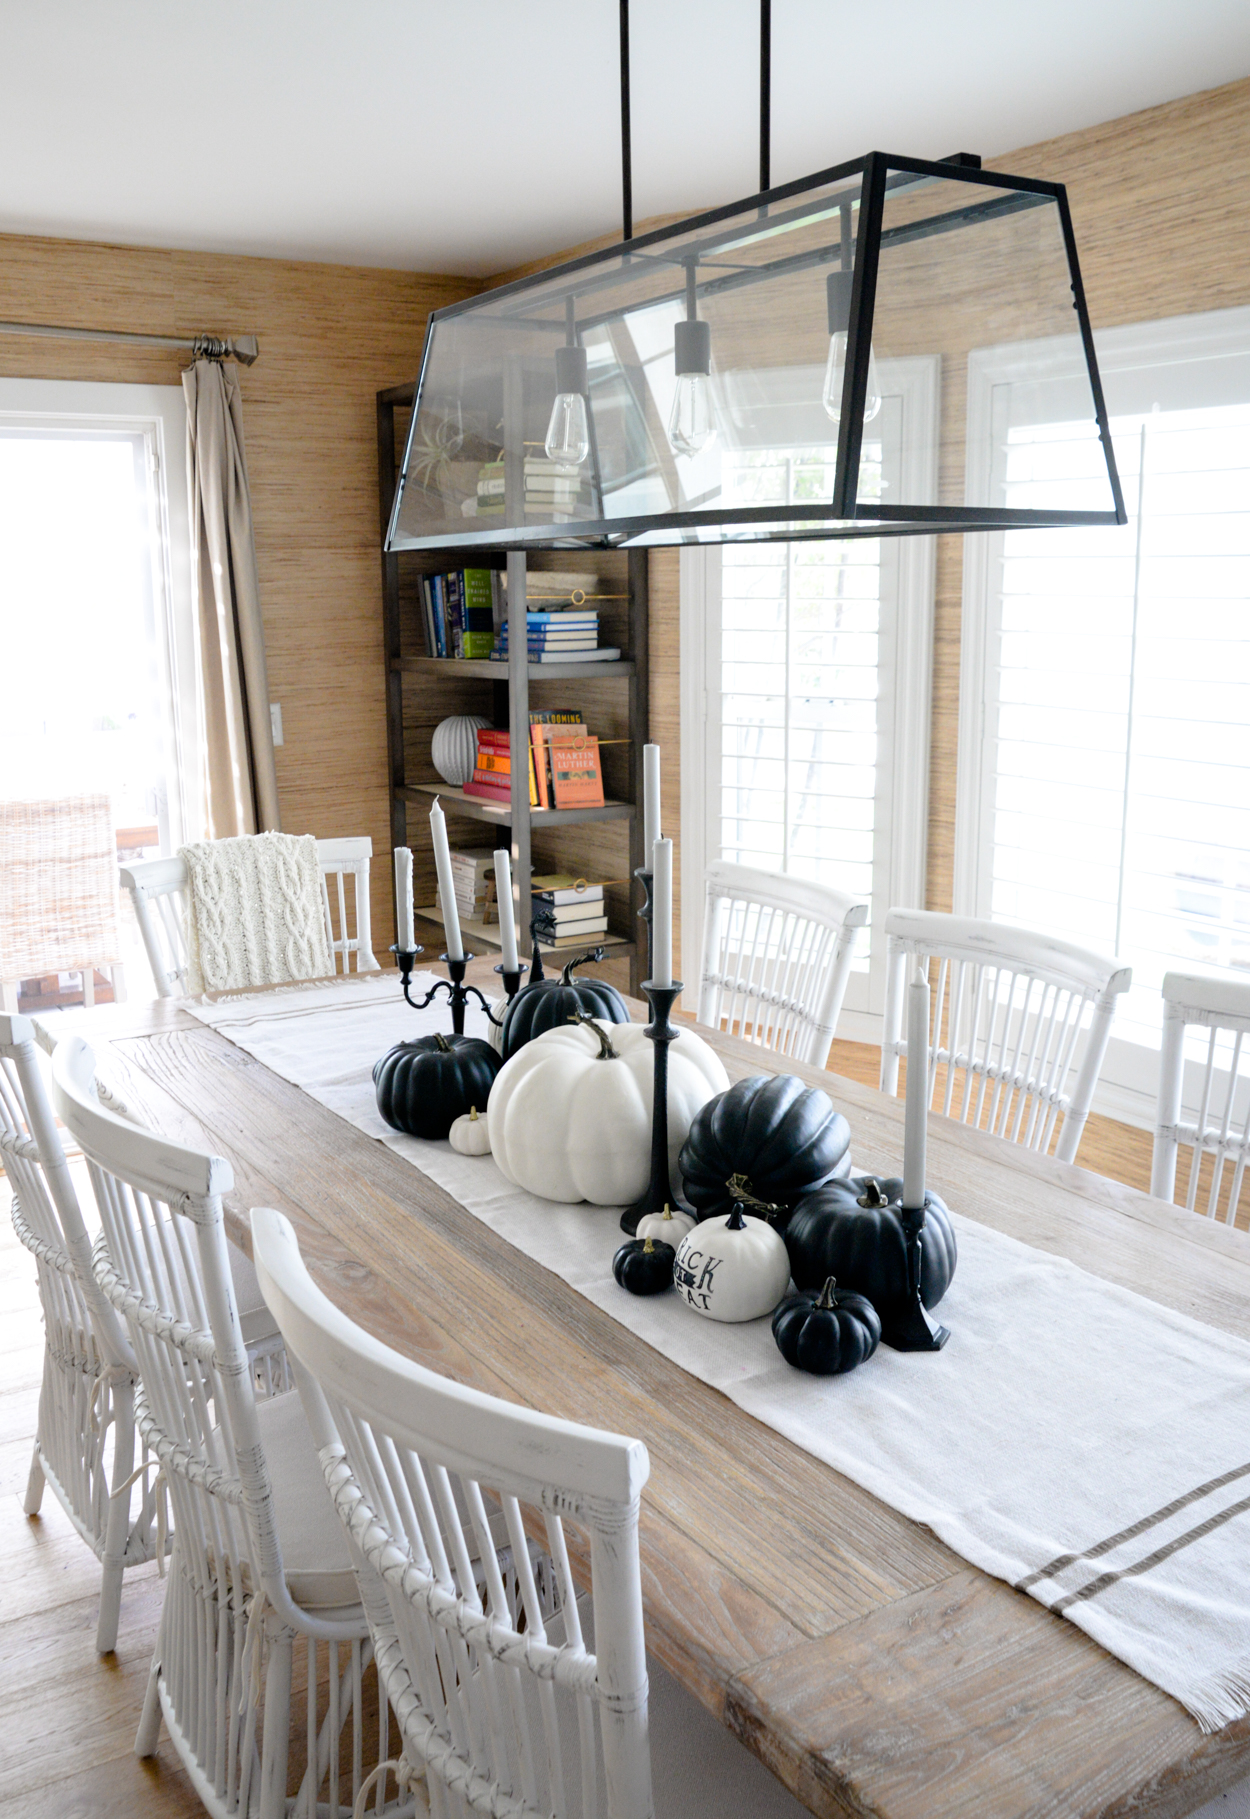
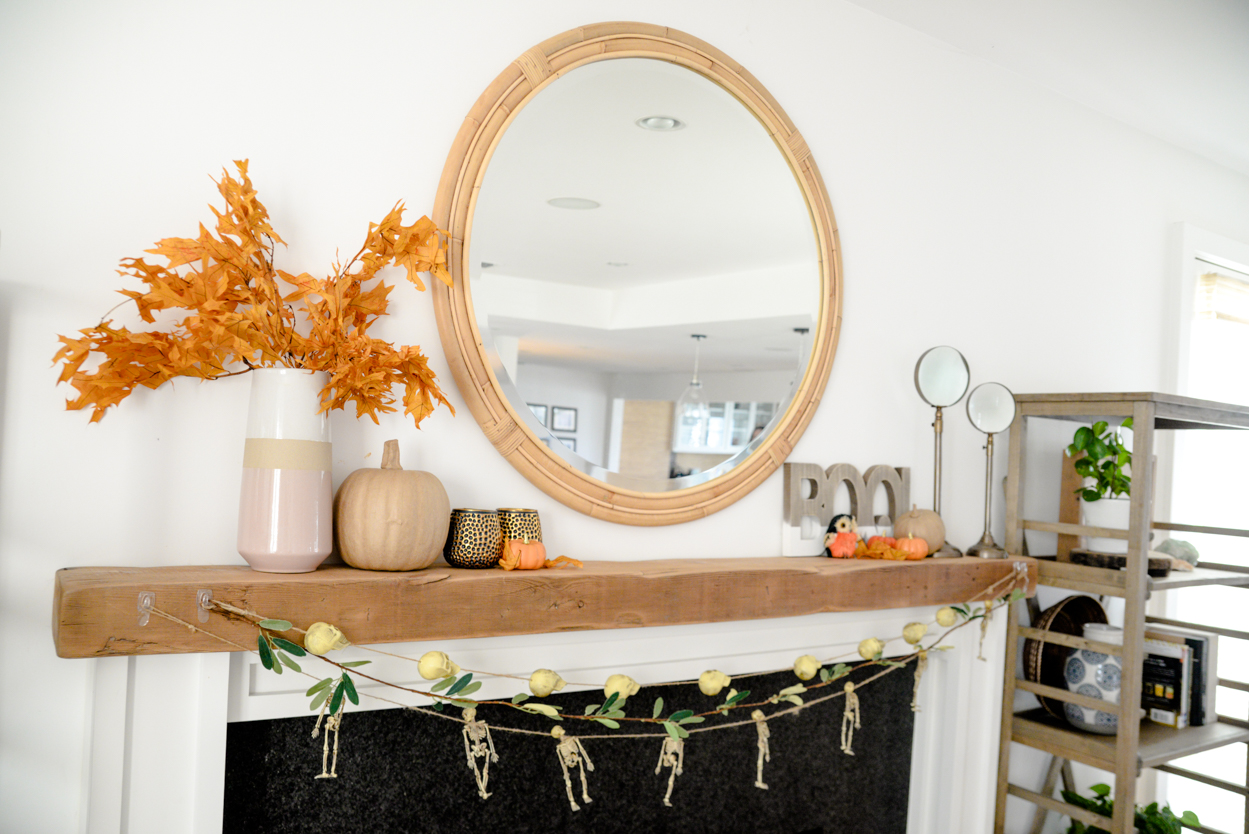
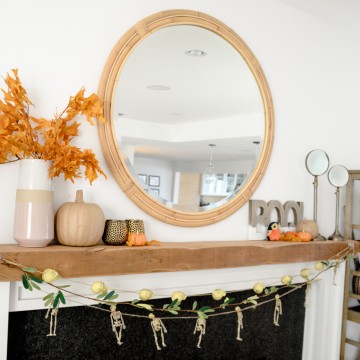
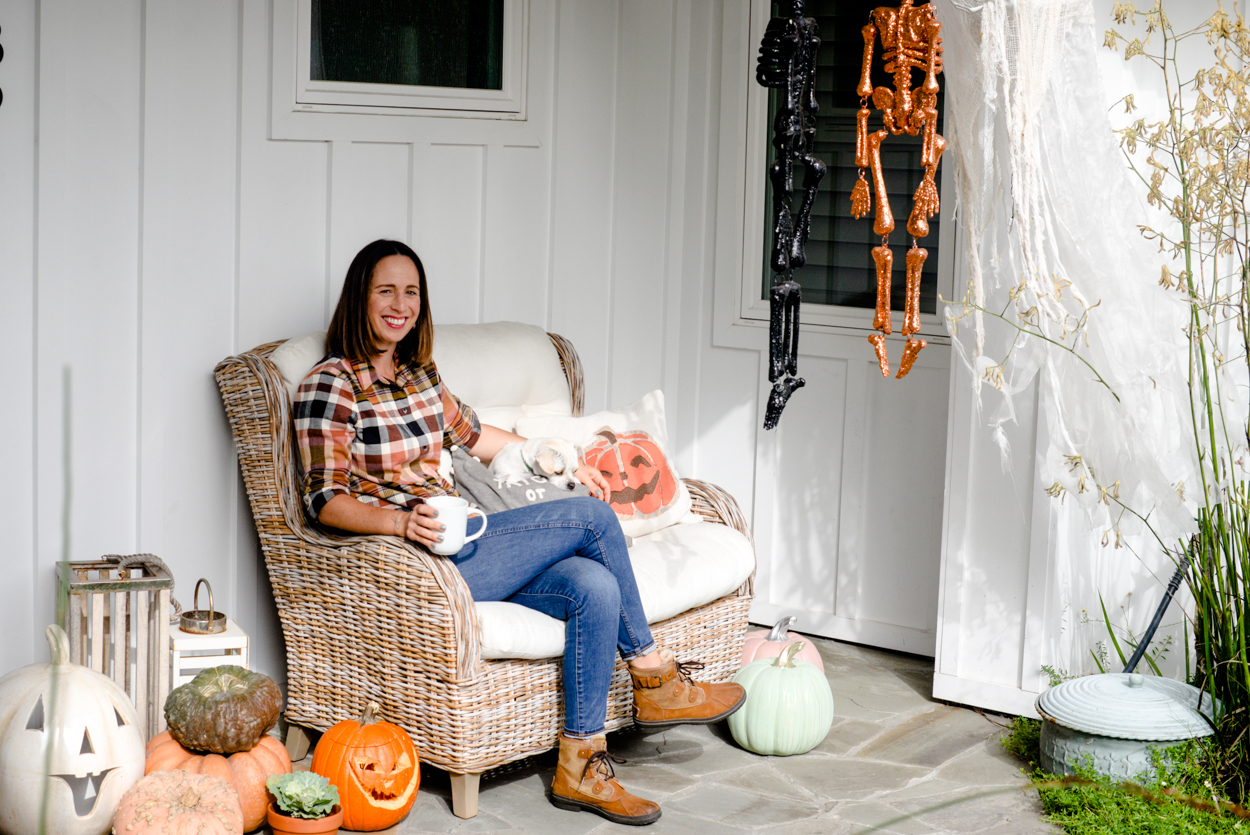
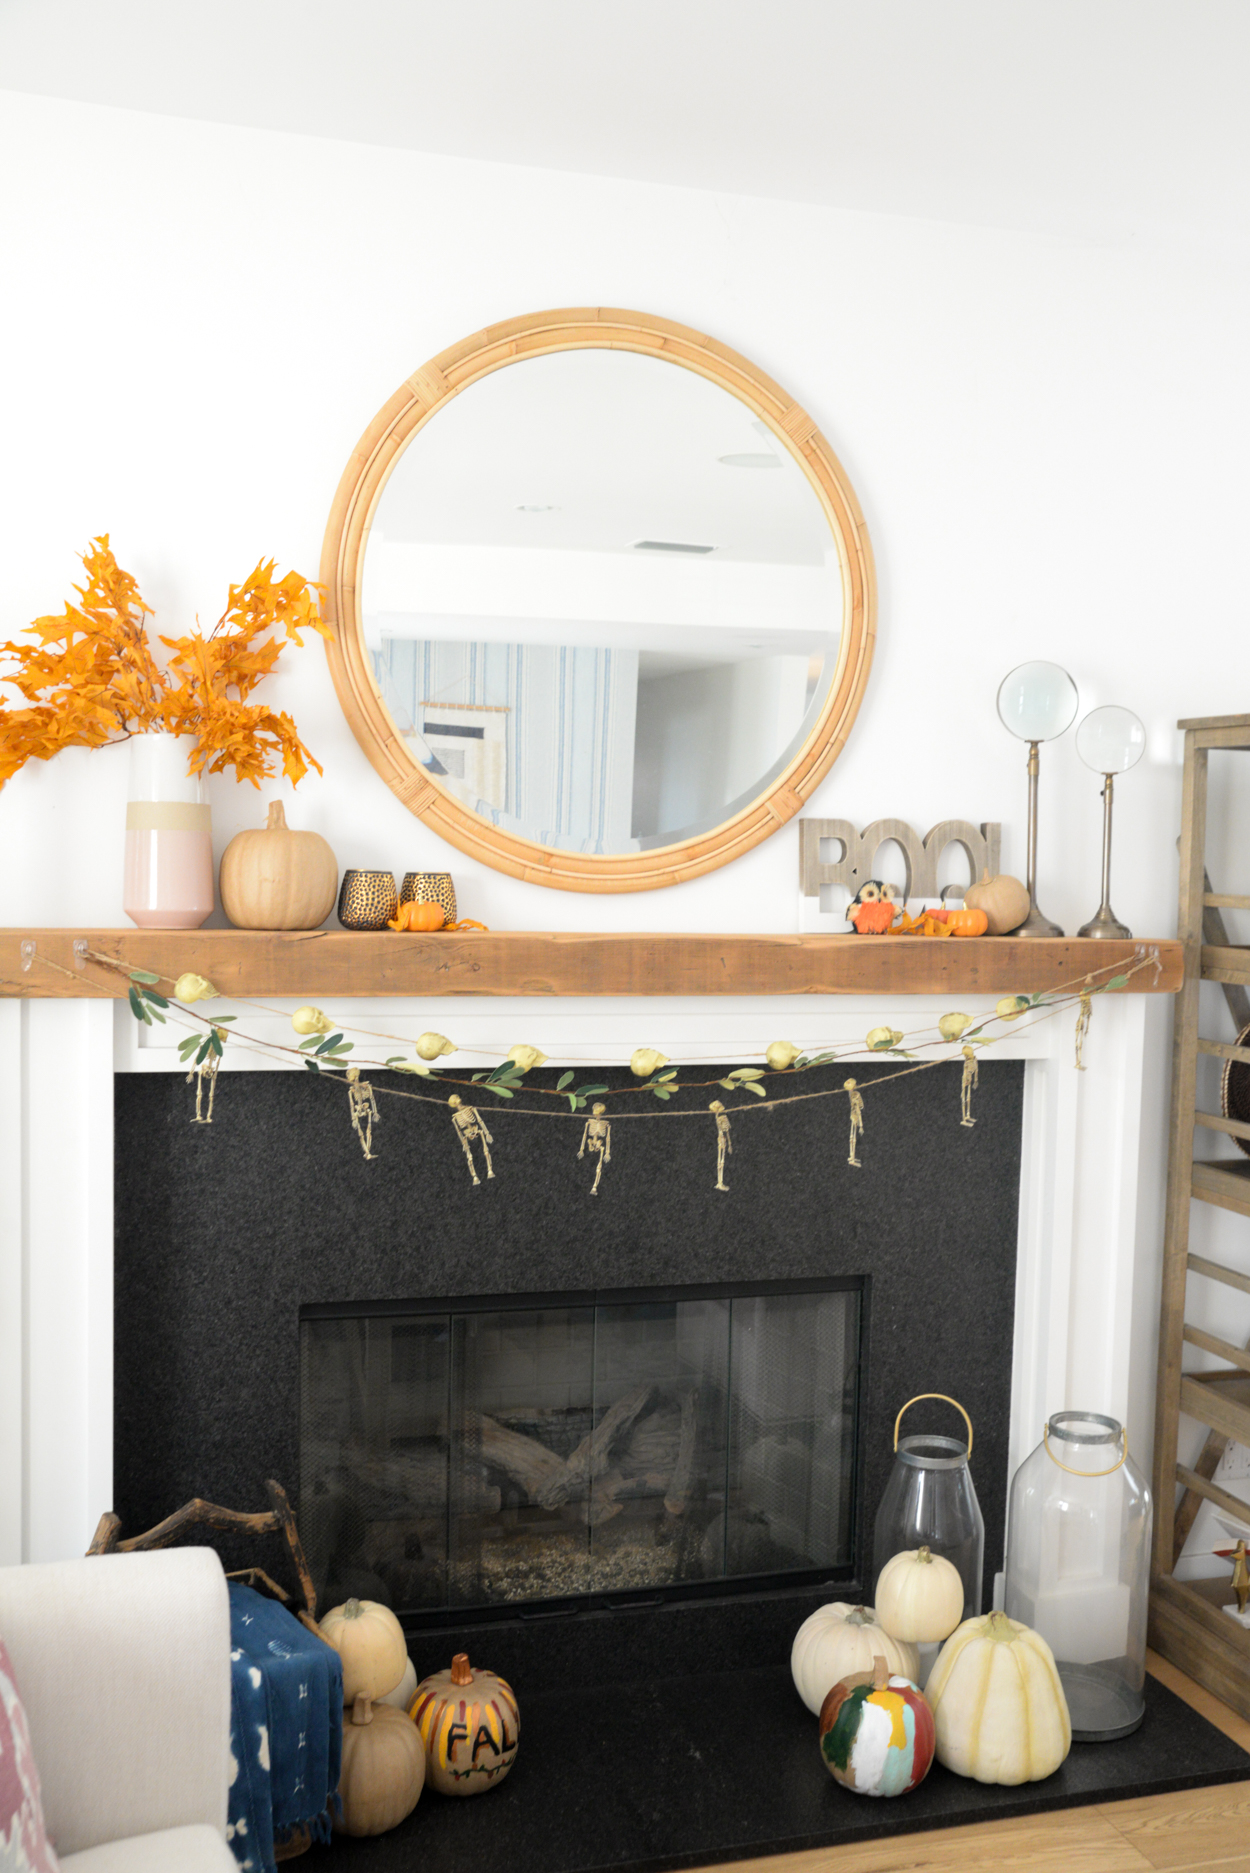 The skeleton garland is old, originally found at Michael’s, as are the fake white pumpkins, which aren’t super realistic as the ones they make now. The brown paper pumpkins were from the Target craft section and we planned to paint them all like the colored ones sitting on the ground, but we kinda just ran out of time and I liked the way they look as is just fine.
 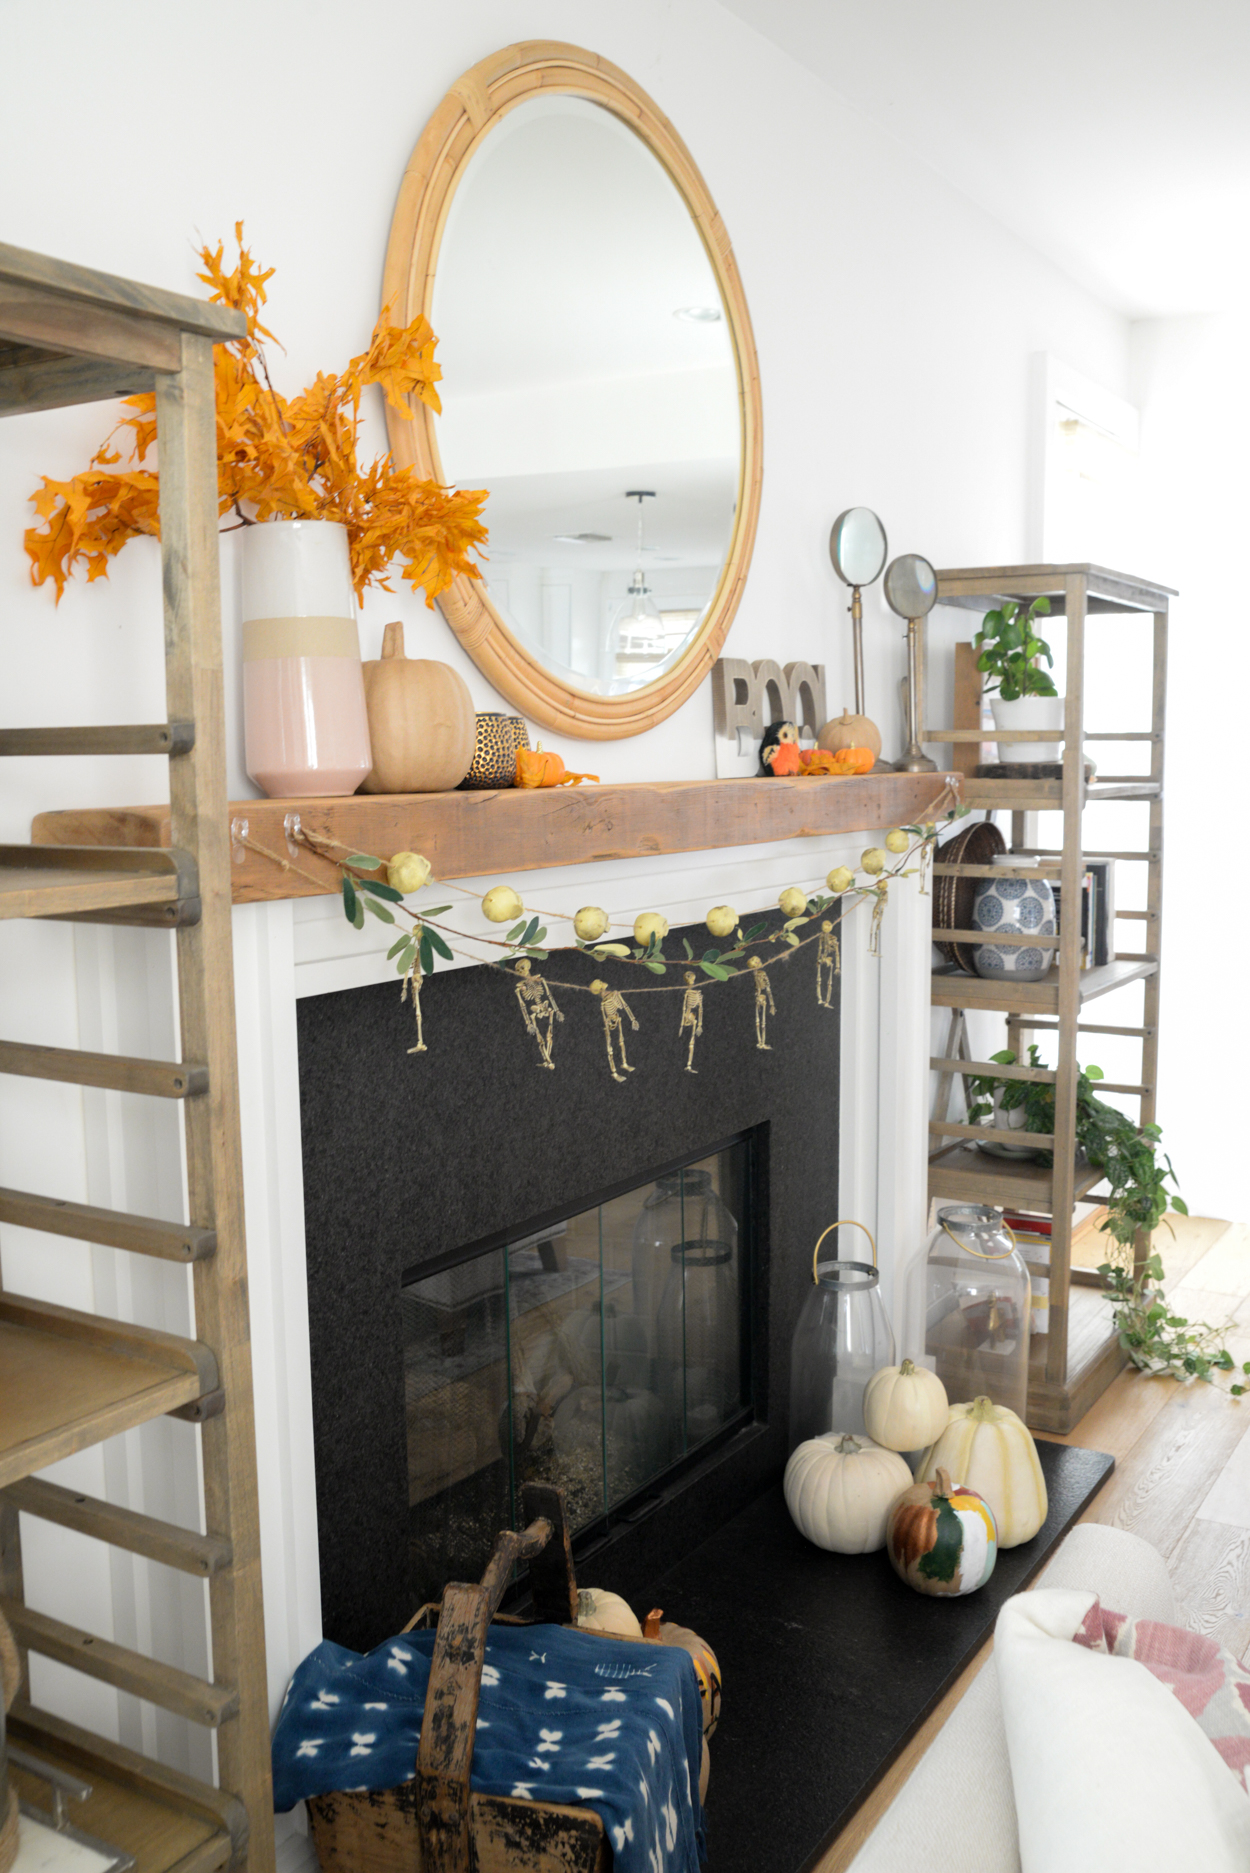 Those pretty colorful fall leaves are real waxed leaves they sell this time each year in the florist department at our local grocery store. They are about $5 and brighten up the spot nicely. Leia as you can see was really fascinated with Miranda while she was taking pictures 🙂
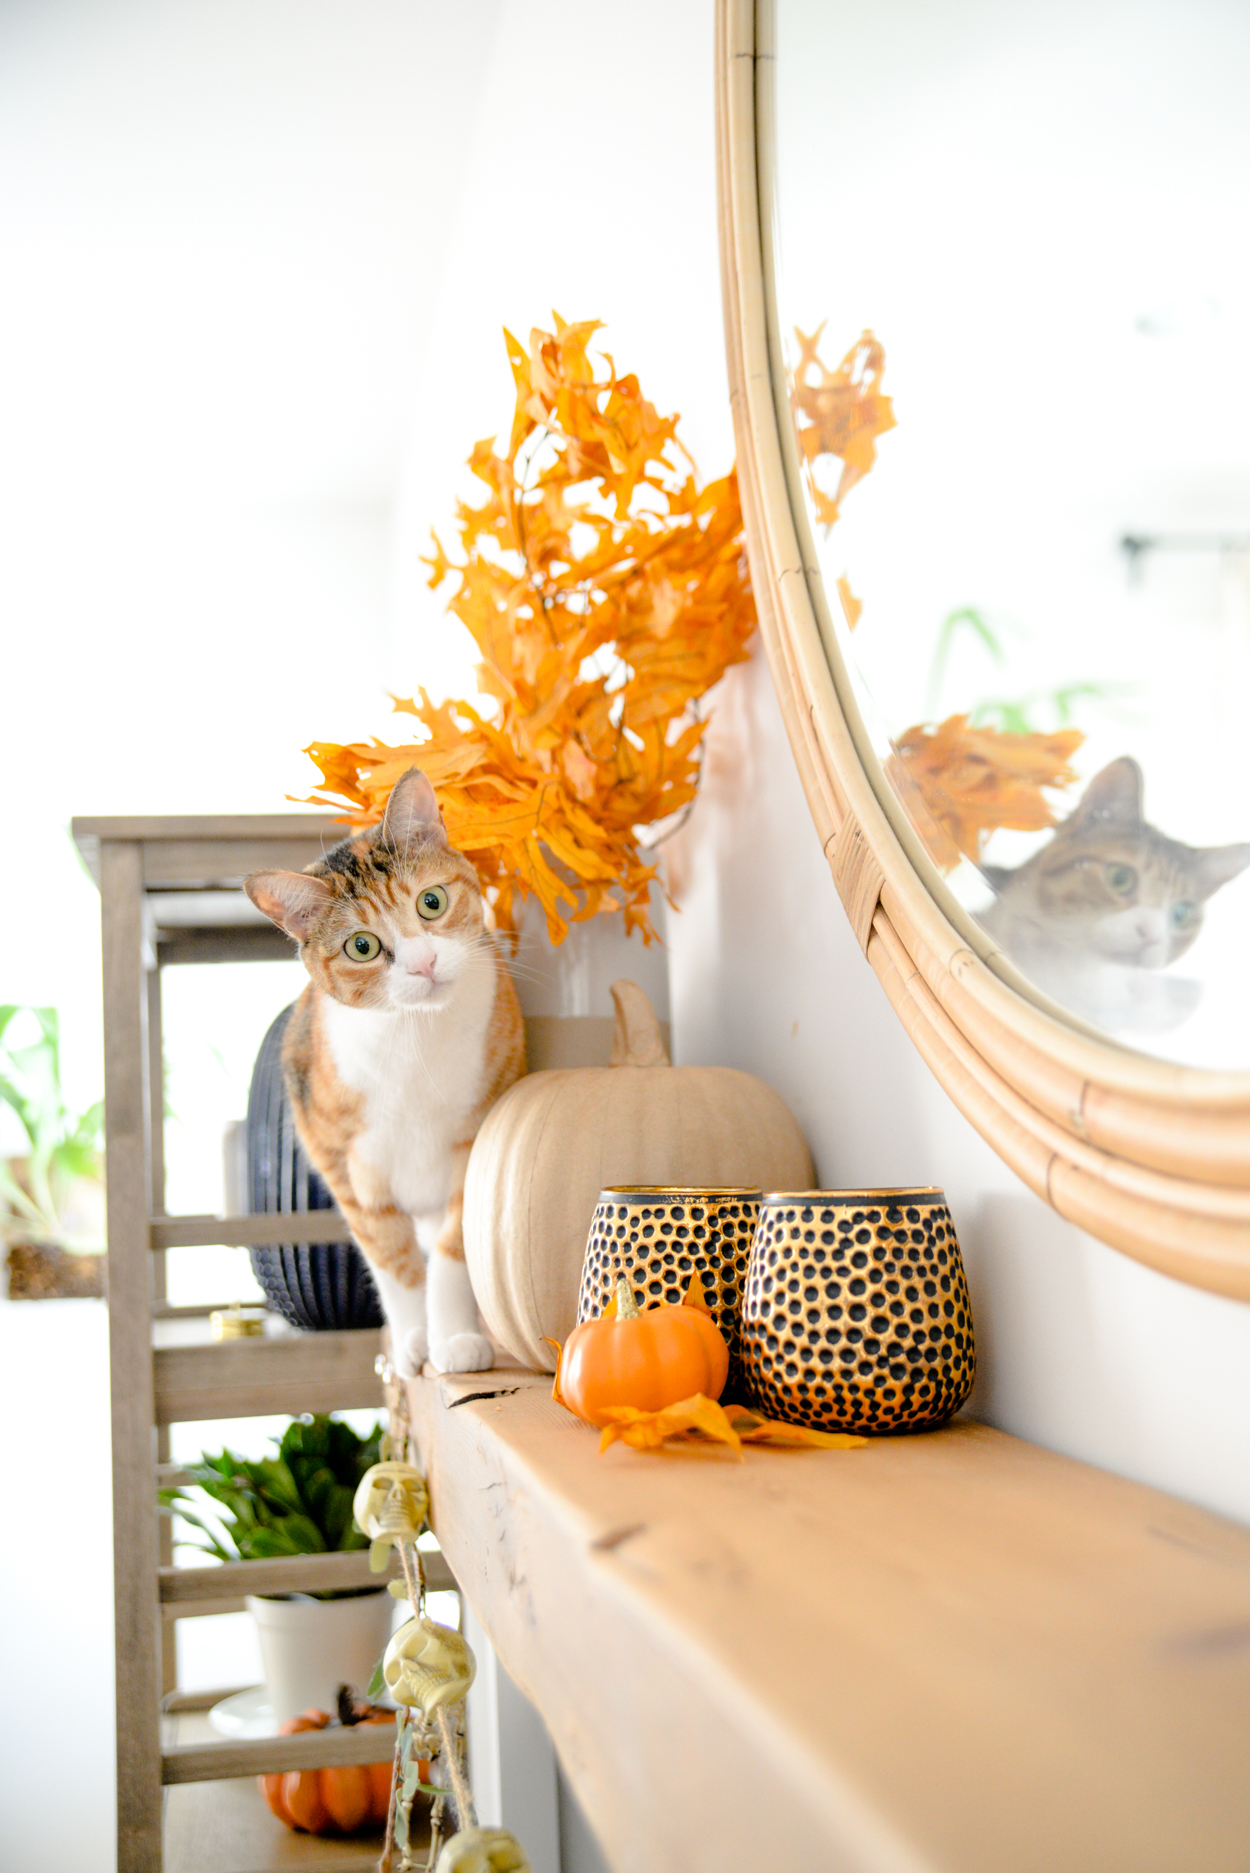 The BOO sign and owl are both from Home Goods, and the mini orange pumpkins were also picked up from Target this year.
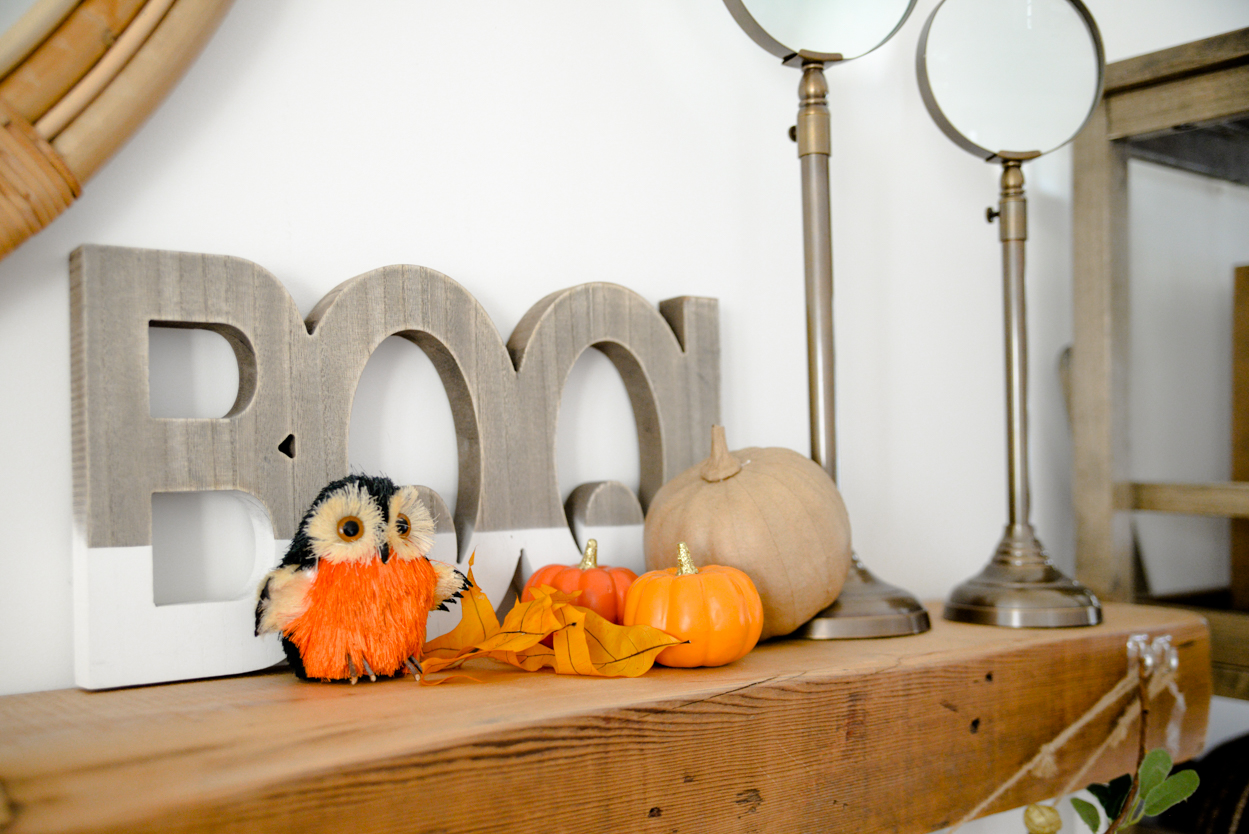 And there you have it! Nothing extraordinary but just enough to make the house feel festive and get the kids excited, without a ton of work on my part. The porch especially was something I worked on over the course of a few weeks, adding pumpkins and mums as I brought them home, until I finally arrived at the place where I said, “enough pumpkins, stop buying more pumpkins!”