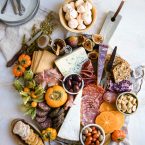
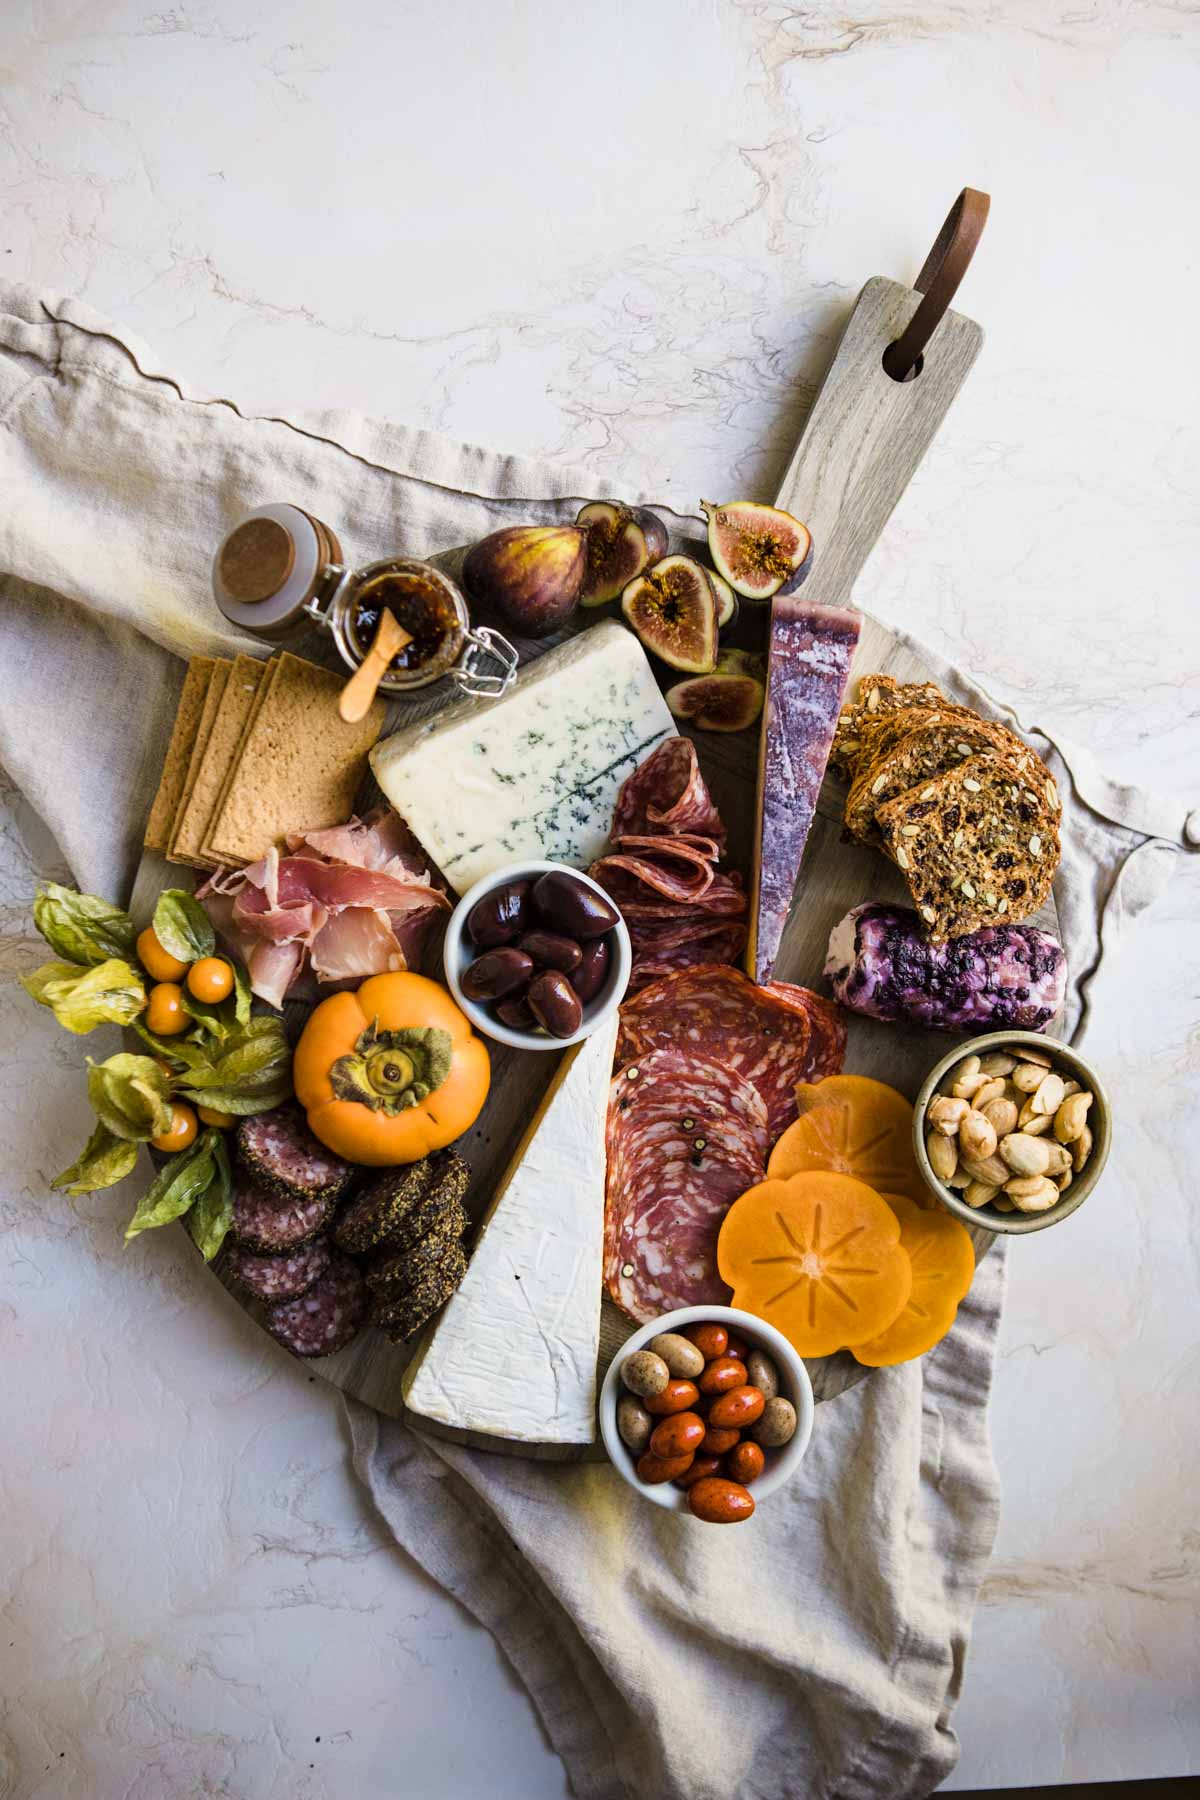
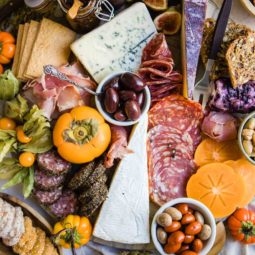
Learn how to make this easy Thanksgiving charcuterie board that you can assemble in less than 30 minutes. It has something for everyone, from salty meats to sweet snacks, making it the perfect appetizer for your Thanksgiving dinner or Fall event. And after making my spooky Halloween Charcuterie Board, you’re now a pro at assembling a gorgeous cheese board in a flash!
You may be asking how a Thanksgiving charcuterie board is really any different than a traditional charcuterie board, and that would is a great question! The main difference is that you’re going to add seasonal touches for fruits, sweets and decorative items. Think bright orange persimmons, deep purple figs and bright red cranberries. This is where you can add in a fruit spread like my cranberry freezer jam or pretty sugared cranberries. And don’t forget the cocktails! This maple Sazerac or Apple Cider Moscow Mule would be *perfect*!
So don’t over think it. If you’re already a pro at making your own charcuterie board, all you need to do is add some seasonal flair! Let me show you.
Jump to:
Why you’ll love this beautiful charcuterie board
- Easily customizable and versatile – as long as you have the basis of every good charcuterie board, cured meats and cheeses, you can a variety of other foods to fit a wide range of tastes.
- Quick to assemble with no cooking! Wow guests with this pre-party spread, without ever having to turn on the oven.
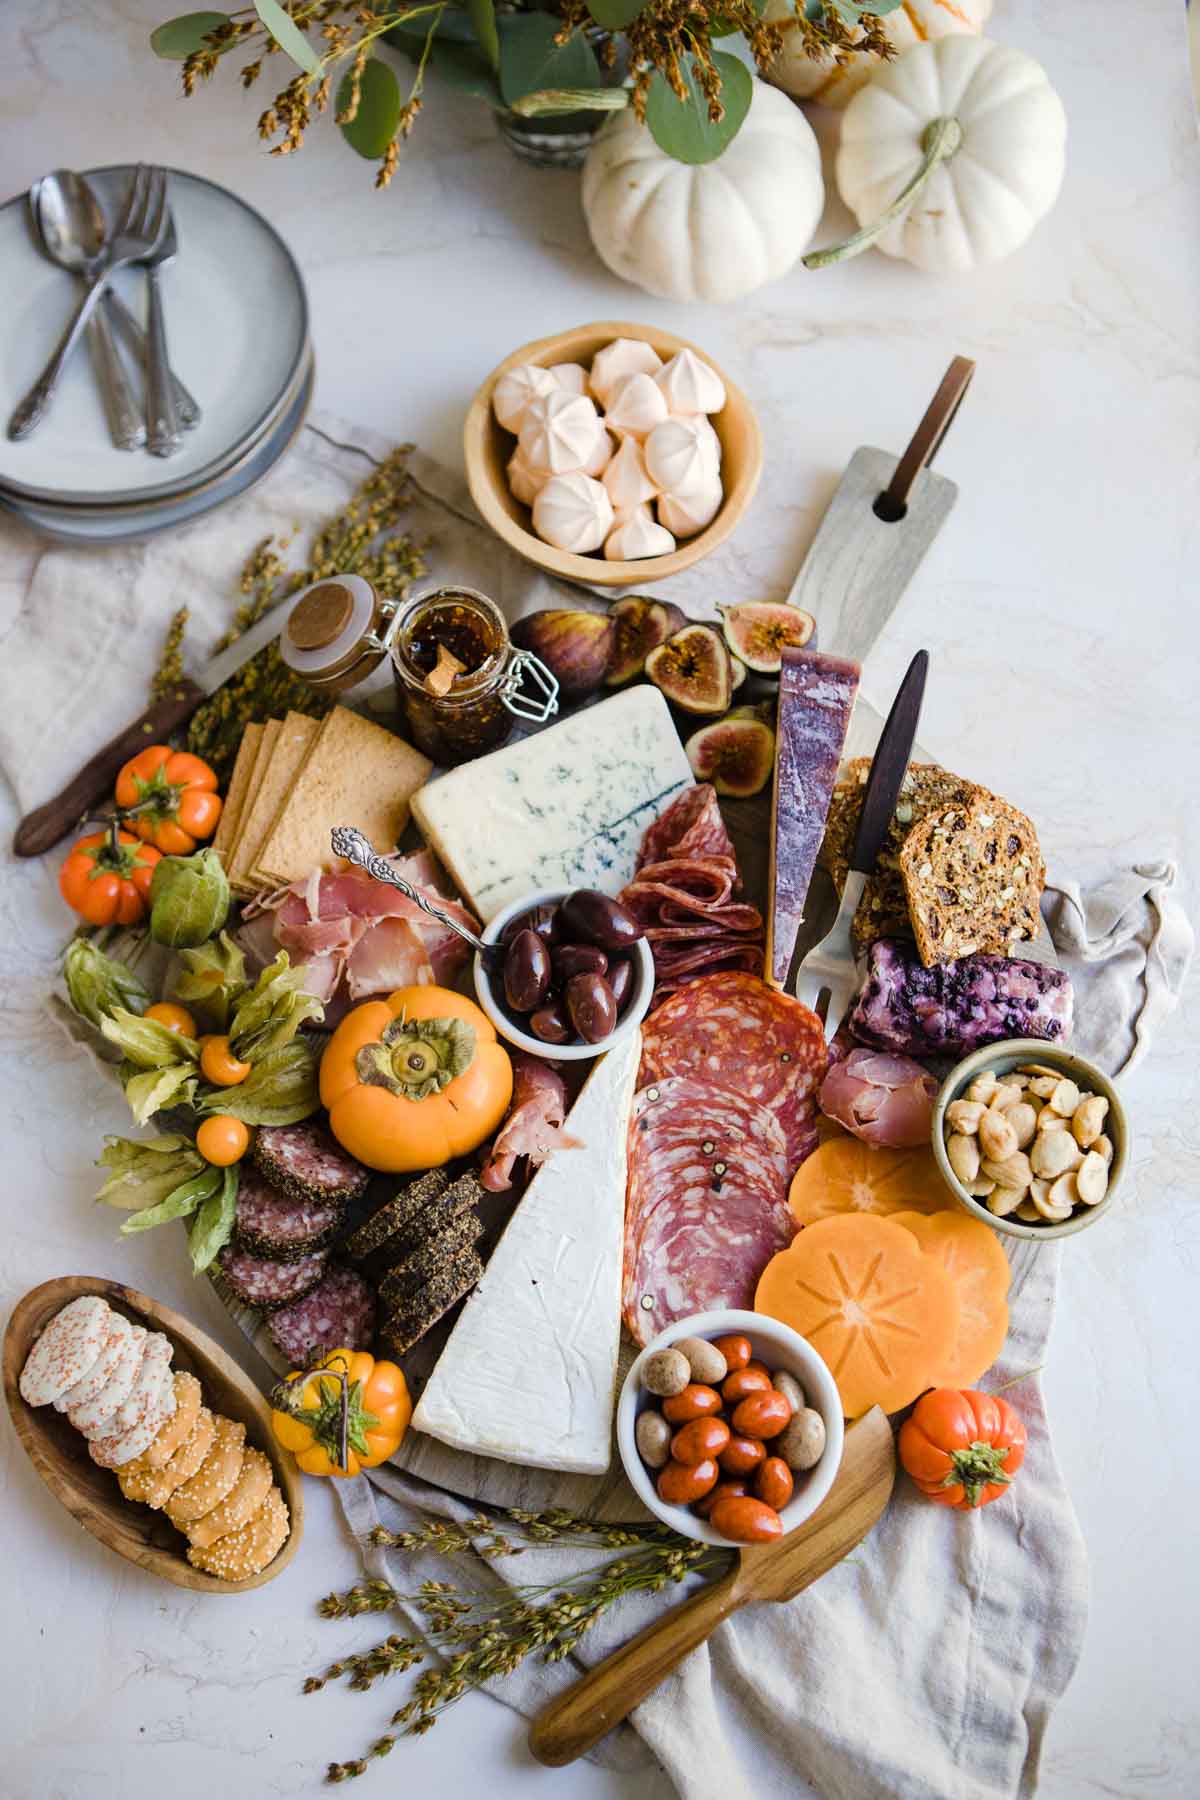
- So pretty it’s a decorative centerpiece and meal in one! I often skip a floral arrangement and opt for making one of my boards the centerpiece.
- Great family friendly meal idea for a relaxed night at home. This board doesn’t have to be saved as an appetizer to the big meal on Thanksgiving. Instead, you can serve fun snack boards as dinner for a casual and cozy Fall night at home.
Ingredients you’ll need
The word charcuterie literally means a store or collection of cold cooked meats. So the basis for any board must include a variety of meats. What else though?
- Serving board & utensils. A rectangular board like a nice wood cutting board, or a circular board found here. It will also help to have a small bowl or two to hold various items, cheese knives and perhaps little serving picks or forks.
- A variety of 3-4 different types of cheeses. I usually go for at least 1 hard cheese and 2 soft cheeses. A wedge of brie is always a great option, as well as goat cheese or a light and fragrant Humboldt Fog. For hard cheese, you can’t go wrong with a nice Parmesan or Asiago. Or something not quite as firm, like a farmhouse Irish cheddar.
- A mix of delicious savory meats, or else it’s not a true charcuterie board! Thick cut peppered salami, thin prosciutto and sopressata are all great ideas.
- Olives, nuts, pickles and crackers. You want a mix of crunchy textures, and a variety of flavors.
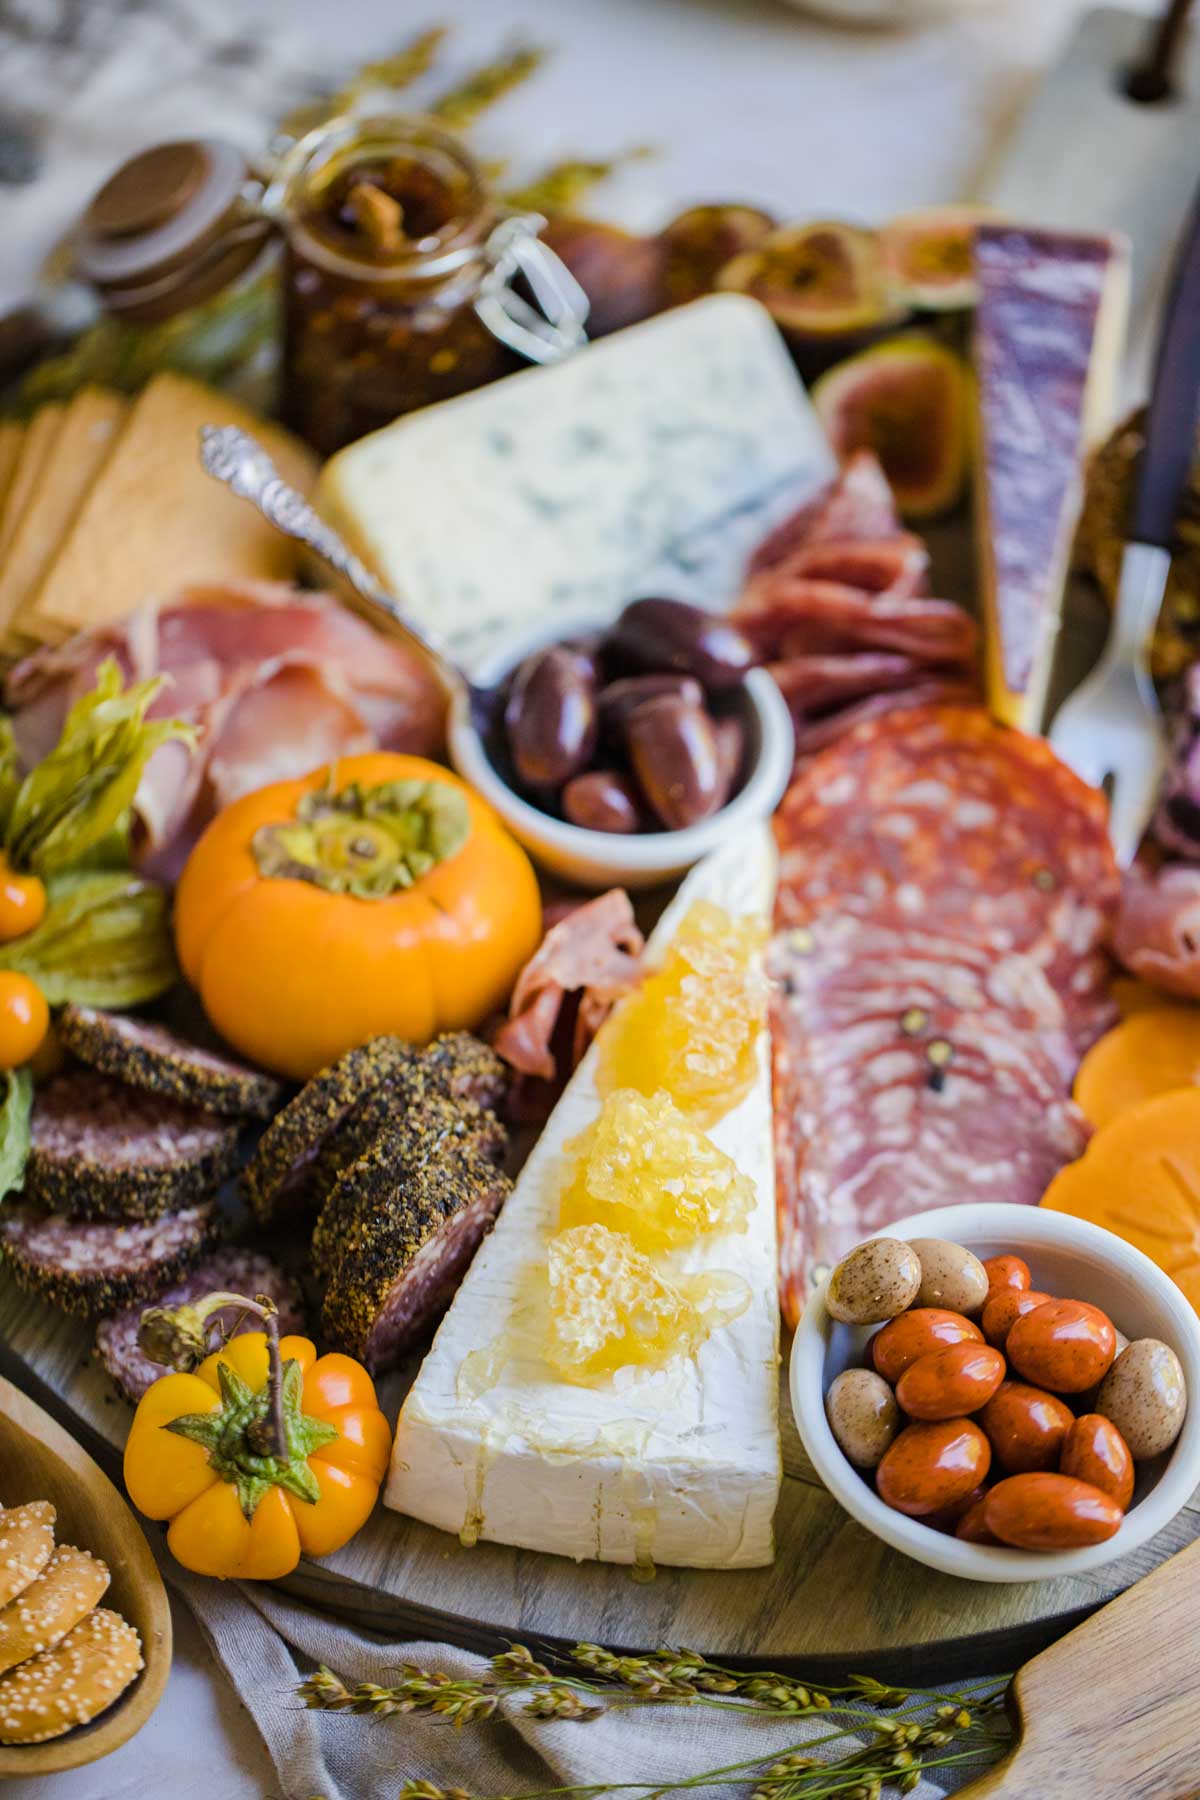
- Dips and spreads that complement the cheeses are a great way to add unique flavors. Think fresh honeycomb, fig jam or a tapenade.
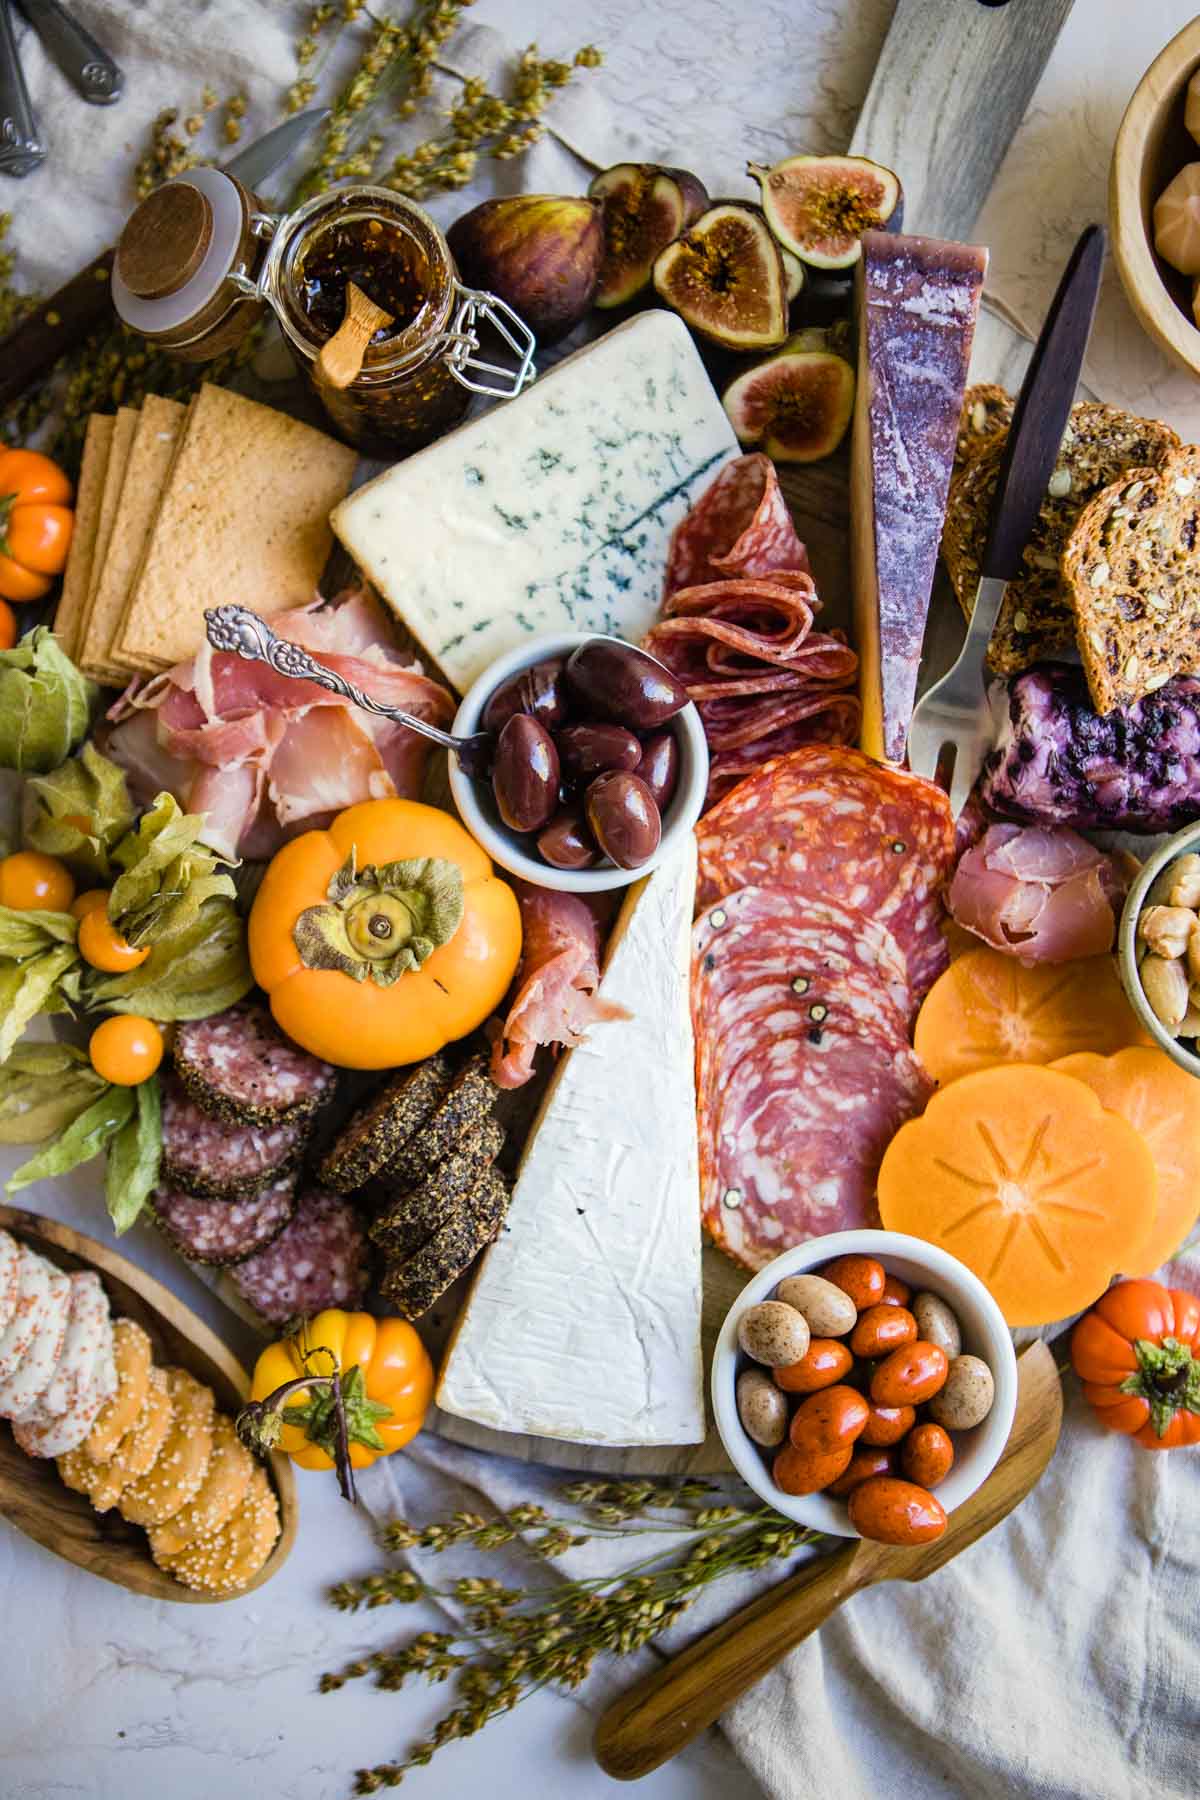
- Fresh fruits and crispy vegetables are always a good idea, because they help cleanse the palate with something mild and refreshing. Red grapes, berries, figs and as shown here, persimmons. I often add dried fruits as well, such as craisins, figs or apricots.
- Sweet treats to serve as a dessert. I love chocolate covered nuts, themed cookies, dark chocolate or fall themed sweets like candy corn are all fun ideas.
There really is no wrong way to put together a fall charcuterie board so have fun with it and make it suited for your own friend’s and family’s taste preferences.
Step-by-step instructions
Creating a beautiful board is so simple I promise you’ll have it down in a flash. Start by grabbing all of your ingredients, plus the serving platter and utensils and bowls you’ll be using.
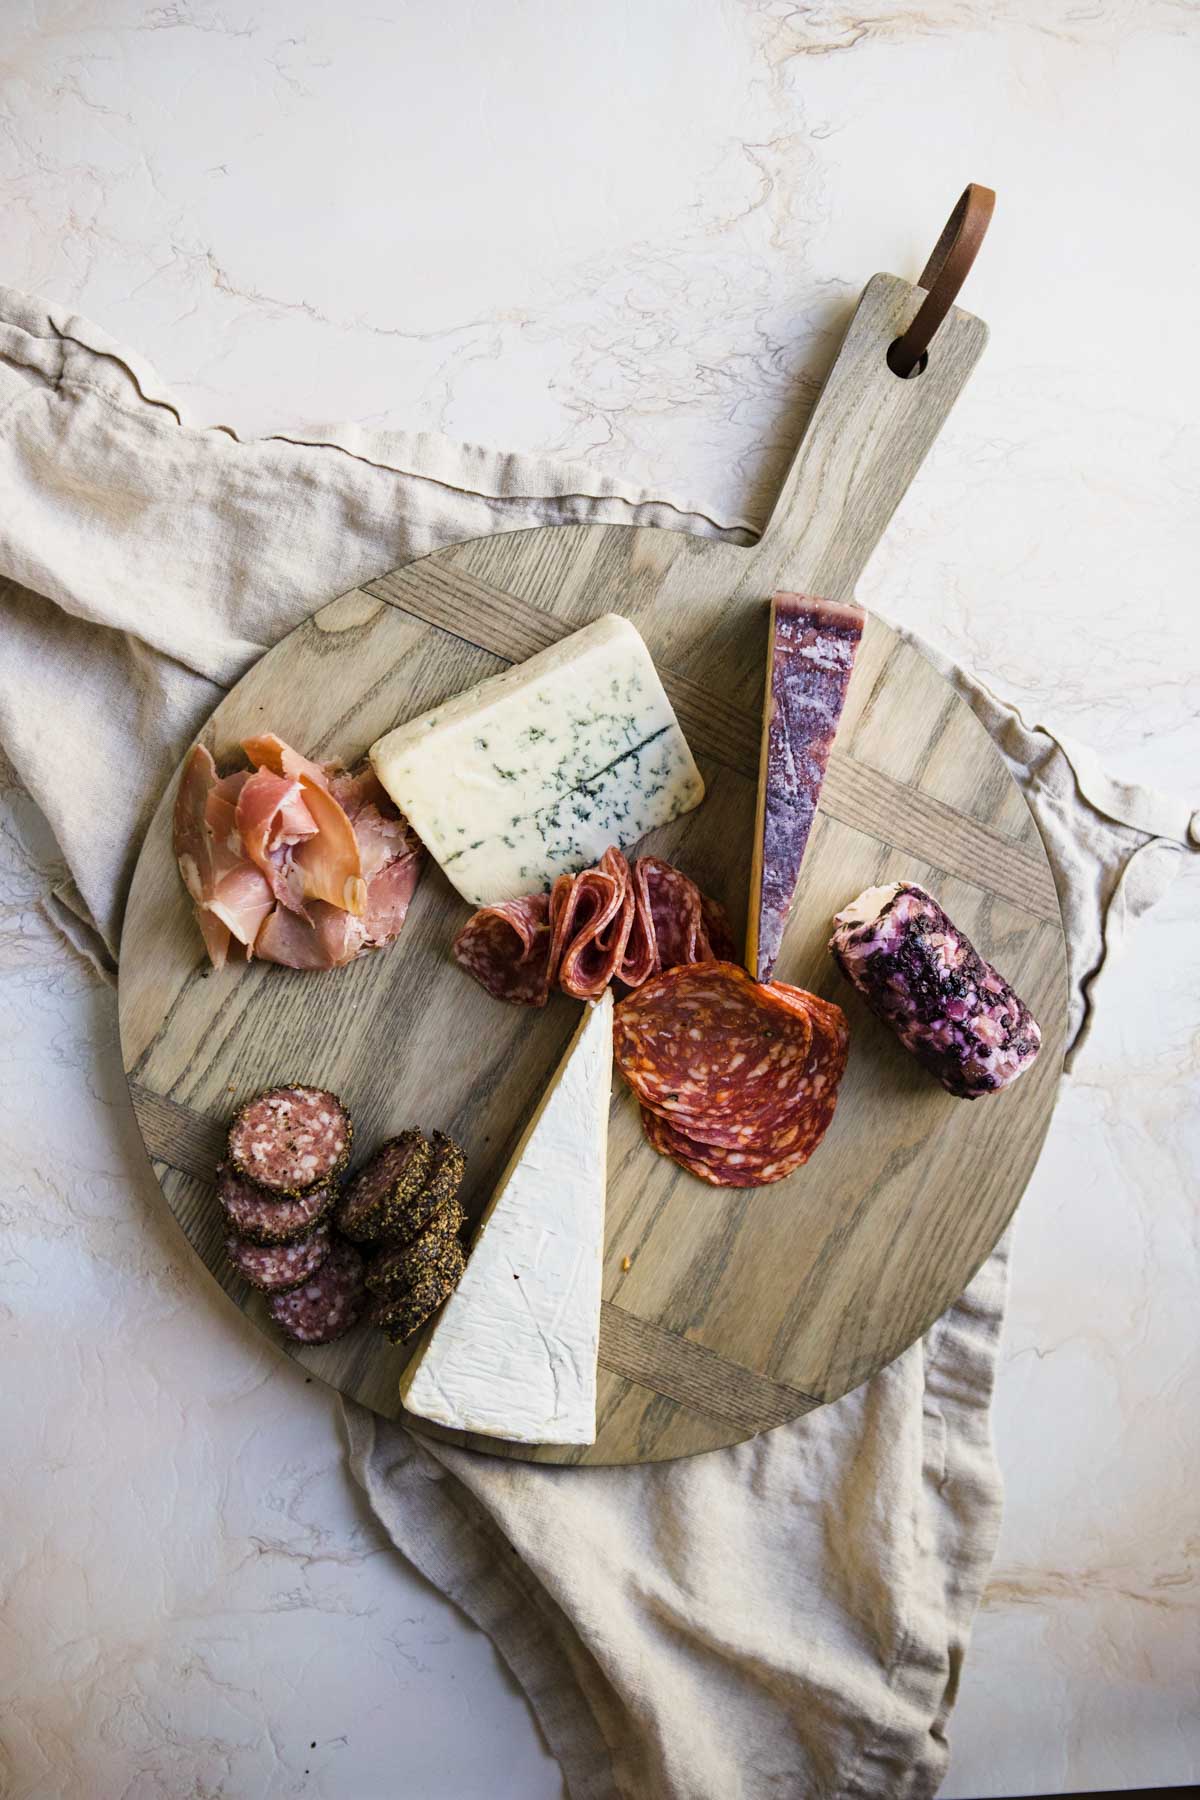
Begin by arranging the cheese and delicious meats. There is no perfect way to do this, so just sorta spread them out on the board, leaving space in between to add the other ingredients.

Next, add the food items like fresh fruits, then raw nuts and olives or pickles. Once the main ingredients are in place, add in the crackers, to keep them as fresh as possible.
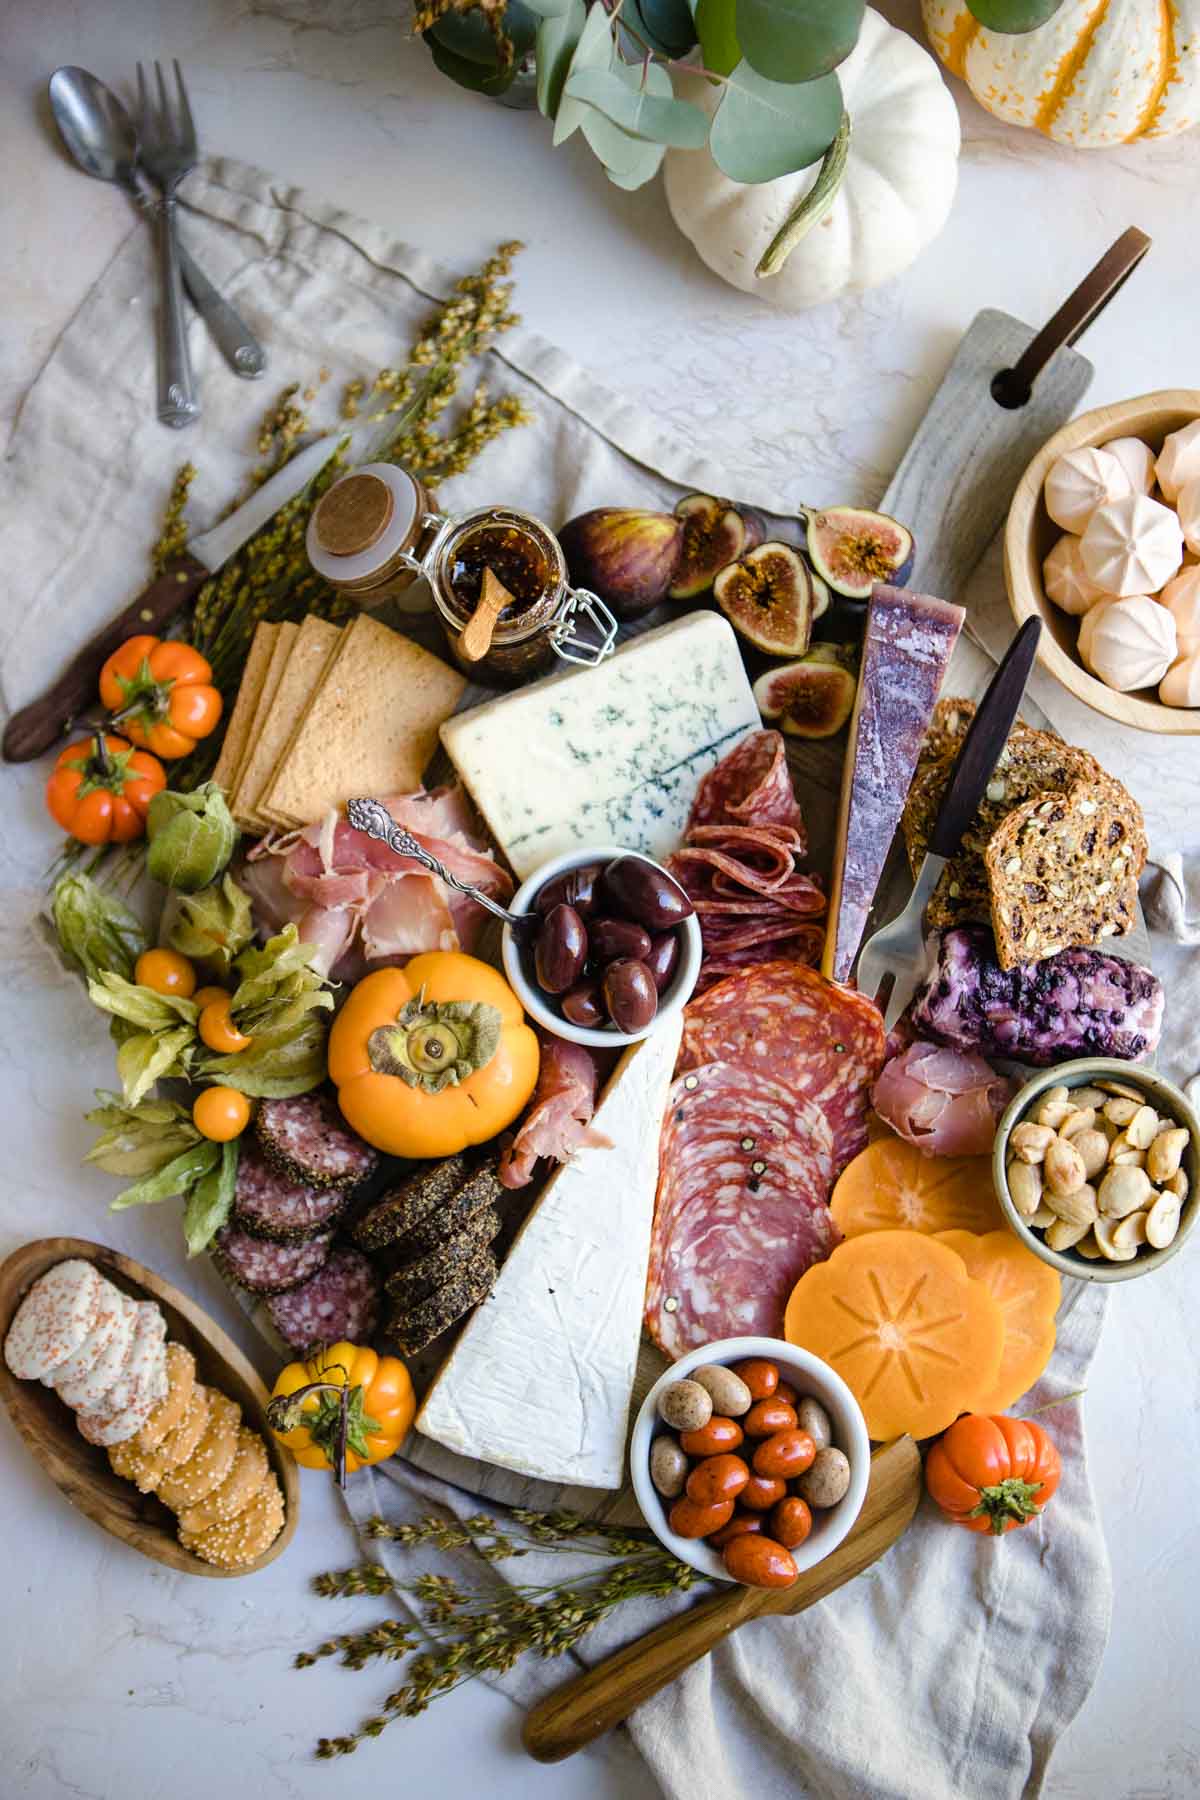
Finish your board by adding in a sweet treat or two, and then fill in any empty spaces so the board looks really full and bursting with food.
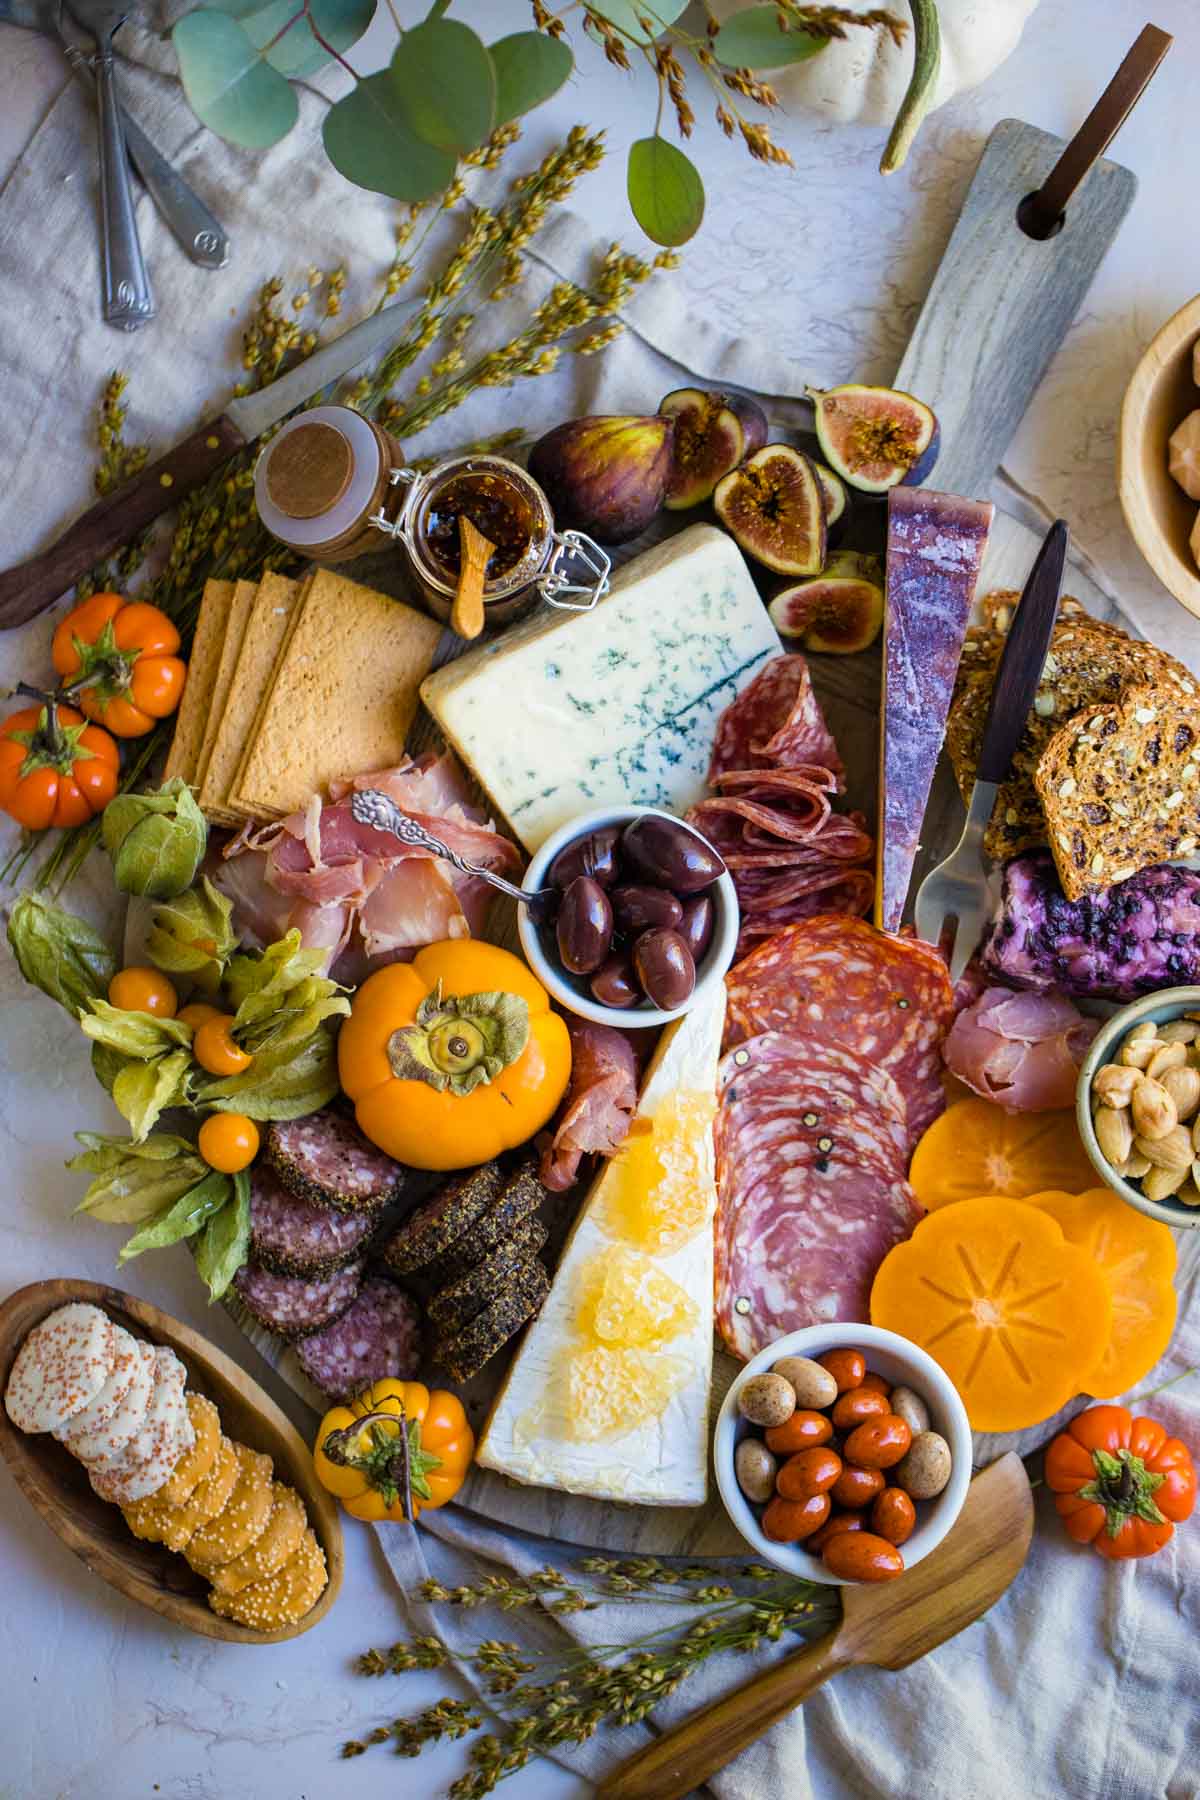
The very last thing I do to complete my fall-themed charcuterie board is to add in decorative items. Think mini pumpkins or dried florals like the wheat stalks I picked up from Trader Joe’s.
Expert tips and tricks
I have built dozens of grazing boards for a variety of different occasions. Here are a few of my best tips I can share to help you make your own Thanksgiving charcuterie board (or any grazing board for that matter).
- Shop your pantry first: If you do a decent job keeping your pantry stocked with non-perishables, you’ll likely find some fun ingredients to use first. Fancy crackers, nuts, jarred olives and little sweet treats can be picked up when on sale and stored for your next occasion.
- Check Home Goods: Home Goods is one of my favorite places to stock up on unique snack items, especially jars of beautiful olives, chocolates and crackers, and are priced really well. Occasionally you may even find honeycomb! And of course it’s a great place to buy boards in different shapes and sizes.
- Check Trader Joes: Trader Joe’s has fantastic prices on cheese and seasonal non-perishable snack items.
- Get your meats from the deli: Buy cured meats from the deli counter, as the prices are usually cheaper by the pound, and you can more easily stick to a specific budget by only buying what you need.
- Buy seasonal: Buy seasonally appropriate fruits, as in-season fruit will usually be a lot cheaper.
- Saving leftovers: I typically save just the cheese, meat and possibly hams or dips, and ditch the rest. The reason why is the other nibbles are little finger foods people are often reaching their hands in and picking at. With cheeses and meats they are (hopefully) using a knife or fork to serve. I wrap leftovers in plastic wrap or cheese paper.
I hope you have found some inspiration as well as useful tips in this post. I would love to see your Fall board, so please tag or dm me your version! Whether you’re having a small family thanksgiving celebration or a giant extended family huge blowout, I hope it’s a good one! May you be blessed with full bellies and hearts!
More Charcuterie Boards
If your Fall charcuterie board was a bit, think ahead and pin or save these other spectacular boards for the upcoming holidays!
- Christmas Charcuterie Board
- New Year’s Feeling Good Fresh Veggie Crudité Board
- Valentine’s Day Dessert Board
Easy Thanskgiving Charcuterie Board
Equipment
- Serving Platter
Ingredients
- 1 lb Cured Meats
- 1 lb Assorted Cheeses
- 16 ounces Assorted Crackers
- 8 ounces Assorted Olives and Nuts
- 8 ounces Assorted fruits fresh and/or dried
- 8 ounces Assorted veggies
- 4 ounces Dark chocolate and other assorted sweet treats
Instructions
- Choose Your Serving Platters And Utensils
- Assemble Your Cheeses
- Then Your Meats
- Fill In With Olives, Nuts, And Fruit
- Last The Crackers (To Keep Them Crisp!)
- Finishing Touches – fill in little holes with more meats, veggies or sweet treats
Lori says
I can’t wait to follow your charcuterie styling this Thanksgiving! Especially love the “crackers last” tips I never knew that!!
Susie says
Love your styled Thanksgiving Charcuterie! I am going to copy yours exactly for Thanksgiving afternoon.
Daniela says
Wowie I love this and love all the colors on your board! So perfect for the Holidays! Your pics are stunning :).
Connie says
No matter what I find on charcuterie boards, I’m always amazed on how pretty they look. They always look so fancy! Loved the gif too!
Gunjan says
I have bookmarked this page because I am definitely serving this beautiful and delicious charcuterie.
kerri says
i am all for an awesome charcuterie board. i have not been able to make mine look like this, it’s incredible. my next board, i’ll be using this as my guide!
Chandice Probst says
I love making charcuterie boards! And persimmons are my favorites I love that you used those as well… Such a great variety of things here for a beautiful board!
Marisa F. Stewart says
Excellent instructions and I can tell you I’d rather graze on all those delicious appetizers than head to a main meal. I love the way you arranged everything makes it colorful and appealing to the eye. My tummy is growling with me looking at the photo.
Heidy M says
I made this charcuterie board for our employees and they went crazy over it. I loved how simple it was to make look amazing by following your instructions. I will be making a mother one for Thanksgiving and New Year’s!
Have a great day
H
Gourmet Vegetarians says
Love your animated graphic for your chacuterie board, it looks so cool!! Always love making a platter so great to get inspo on how others do it 🙂 Thanks for sharing!
Debra says
Nice! Love the step by step photos…I can replicate….and so many creative ideas as to what to put on there that is colorful and interesting. Thanks.
veenaazmanov says
Thanks for such an innovative idea. This is so perfect and I just love all of it. Presentation yum.