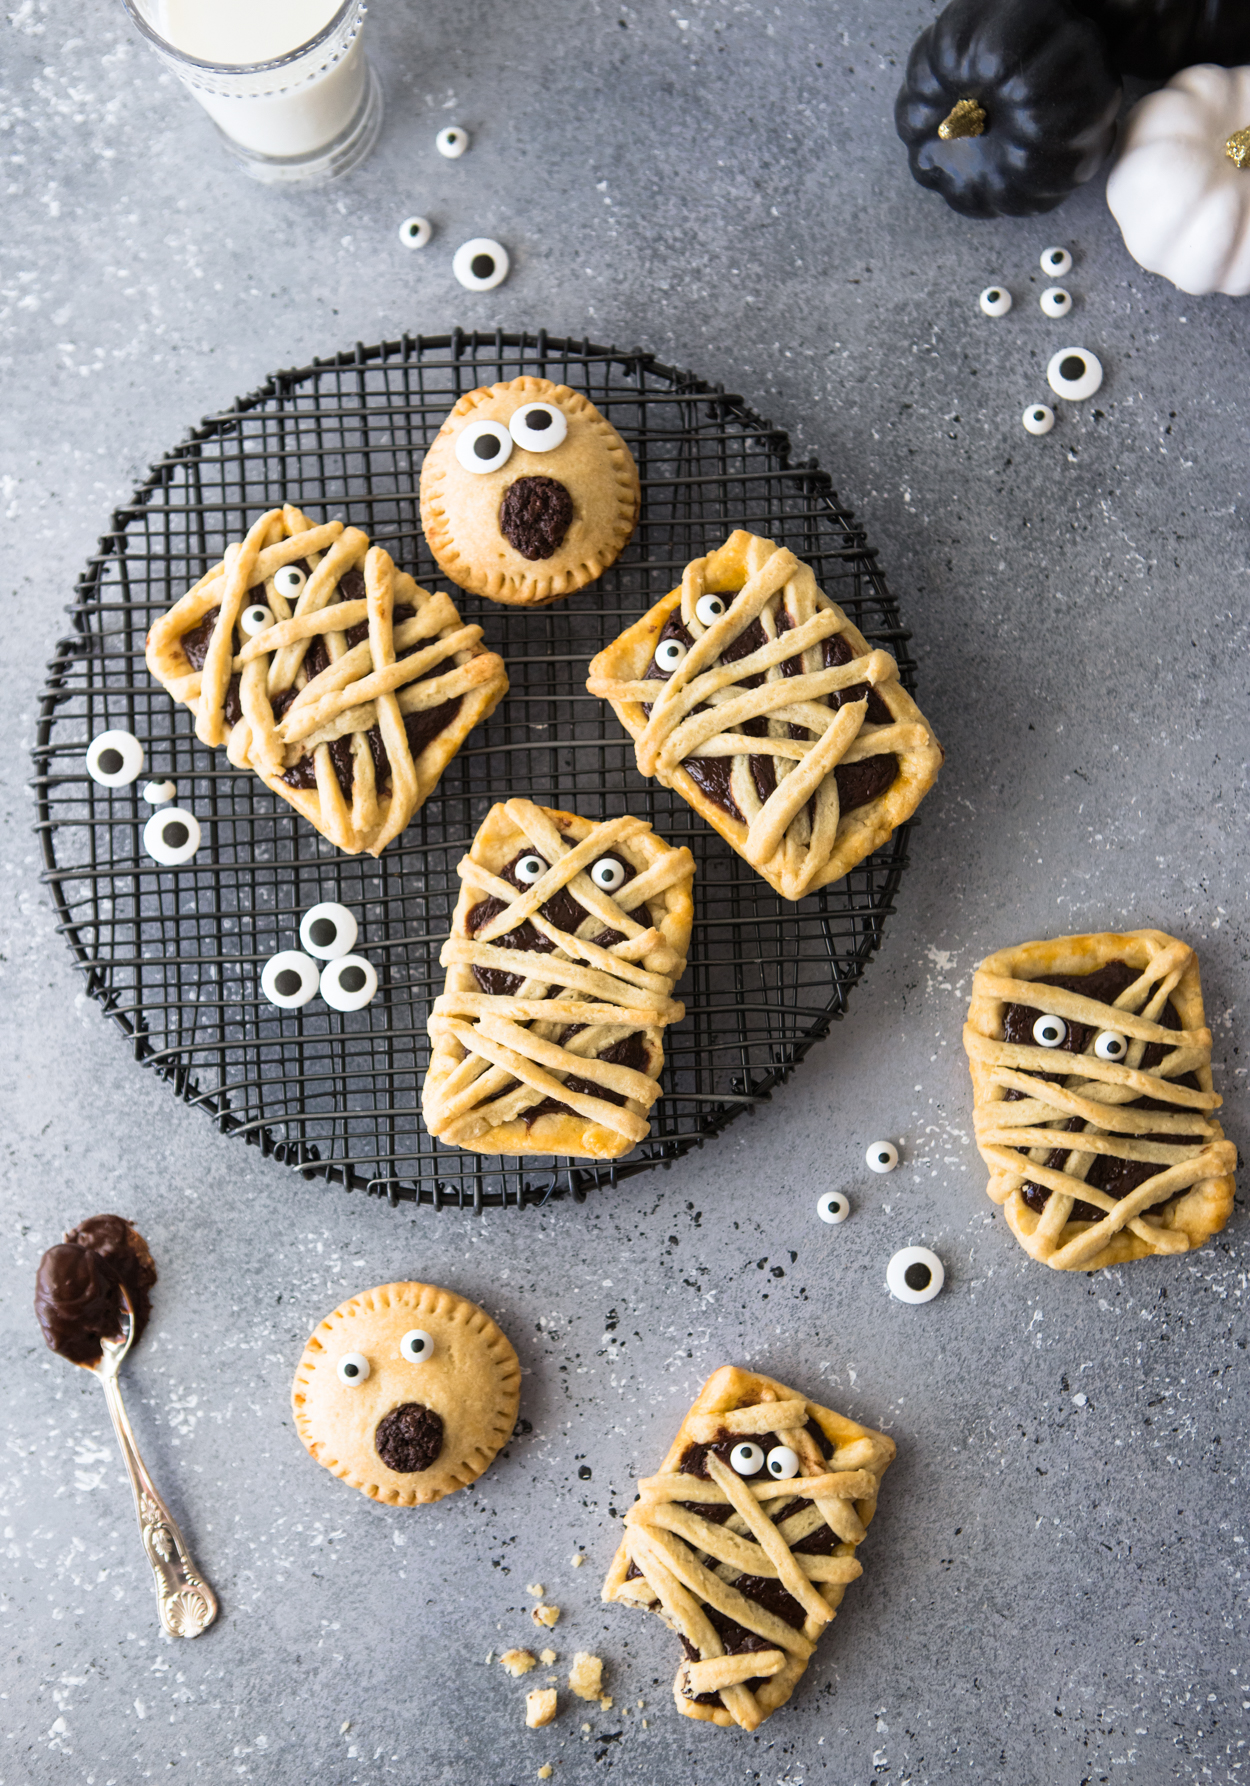
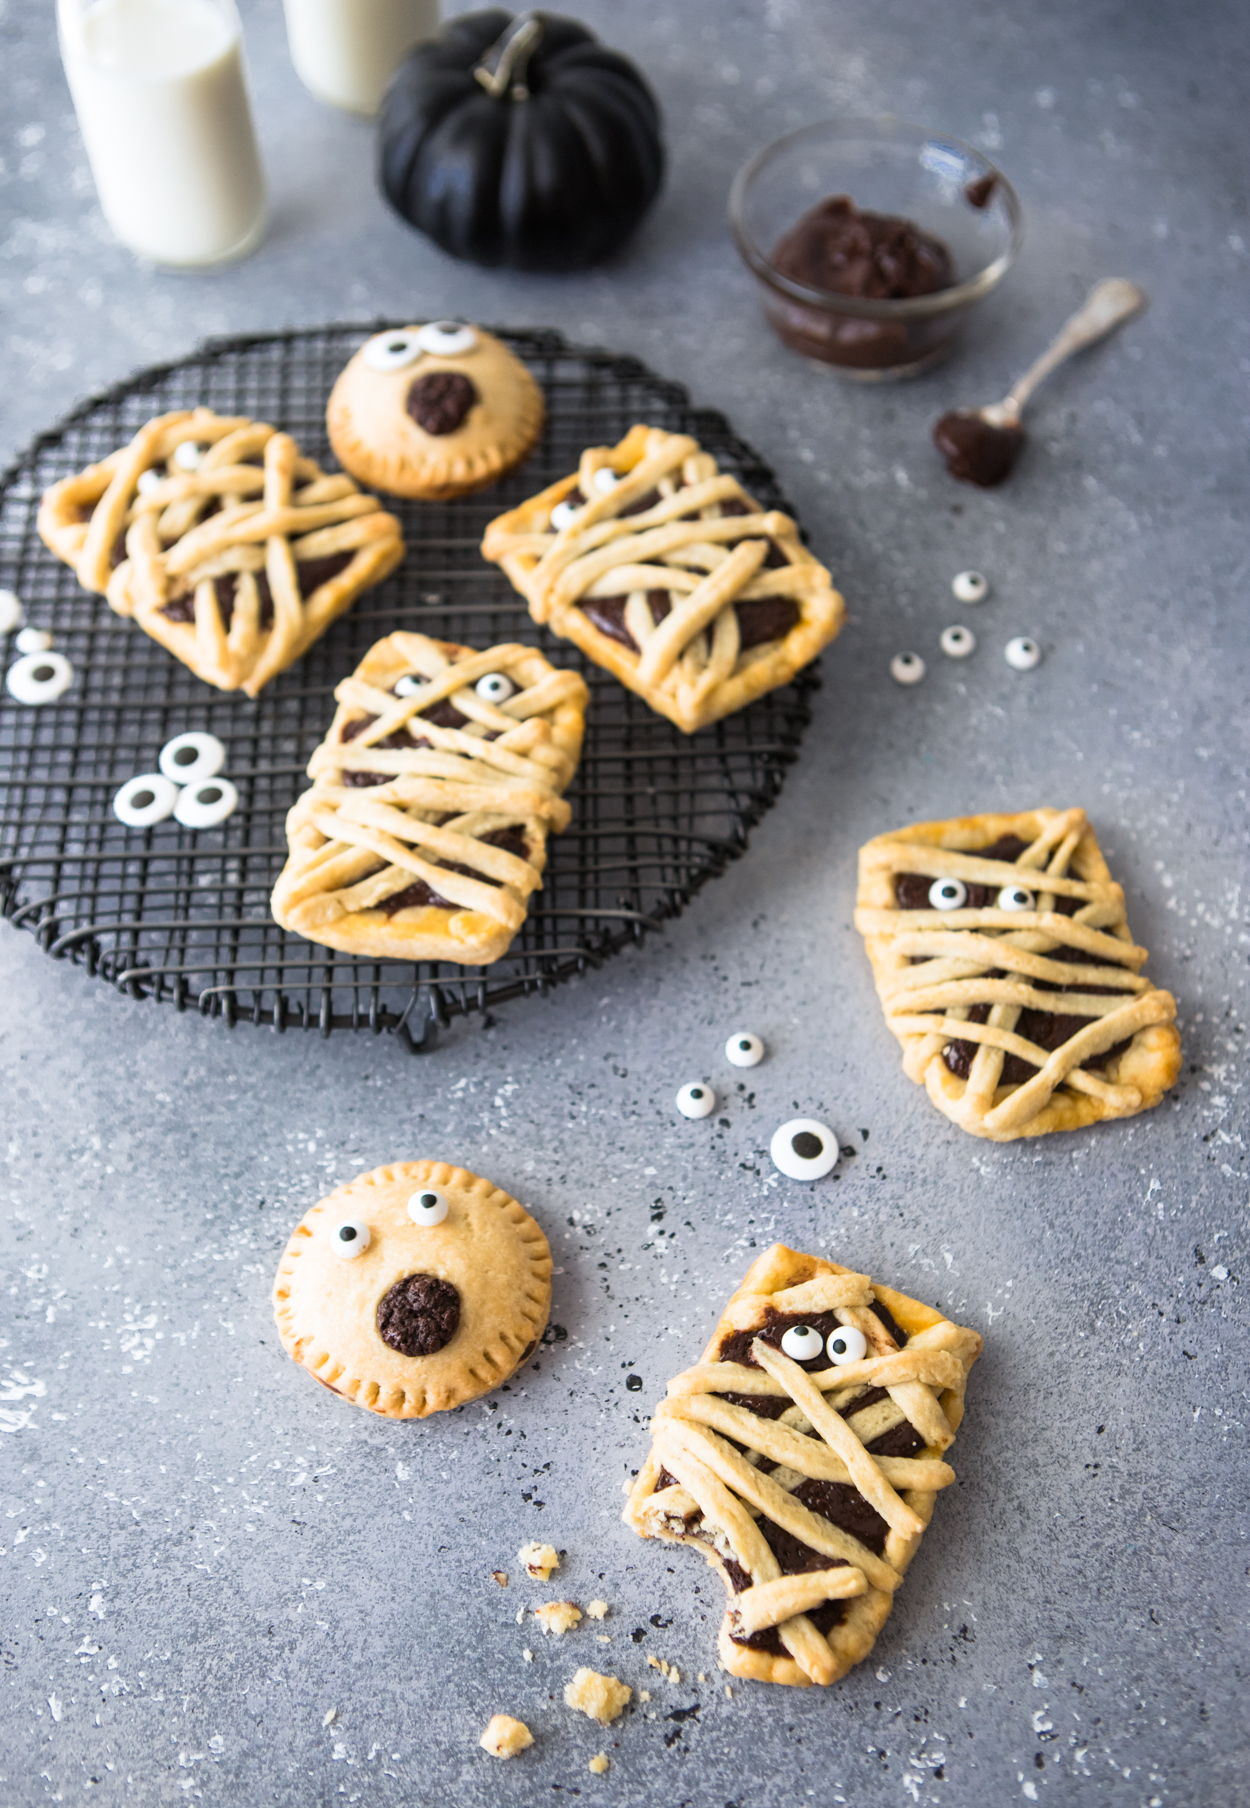
These super cute chocolate hand pies for Halloween are the perfect party treat to serve guests! And just a fun baking project for you and your kids for the Fall!
I’ve been wanting to make hand pies for awhile now, after seeing a few recipes for egg filled hand pies that reheat to make a great breakfast treat. Then we went to Vermont and I had the Hatchery’s apple cinnamon hand pie (pop tart/same diff), and I was all “hold up, wait a minute we’ve gotta figure out how to make these!”
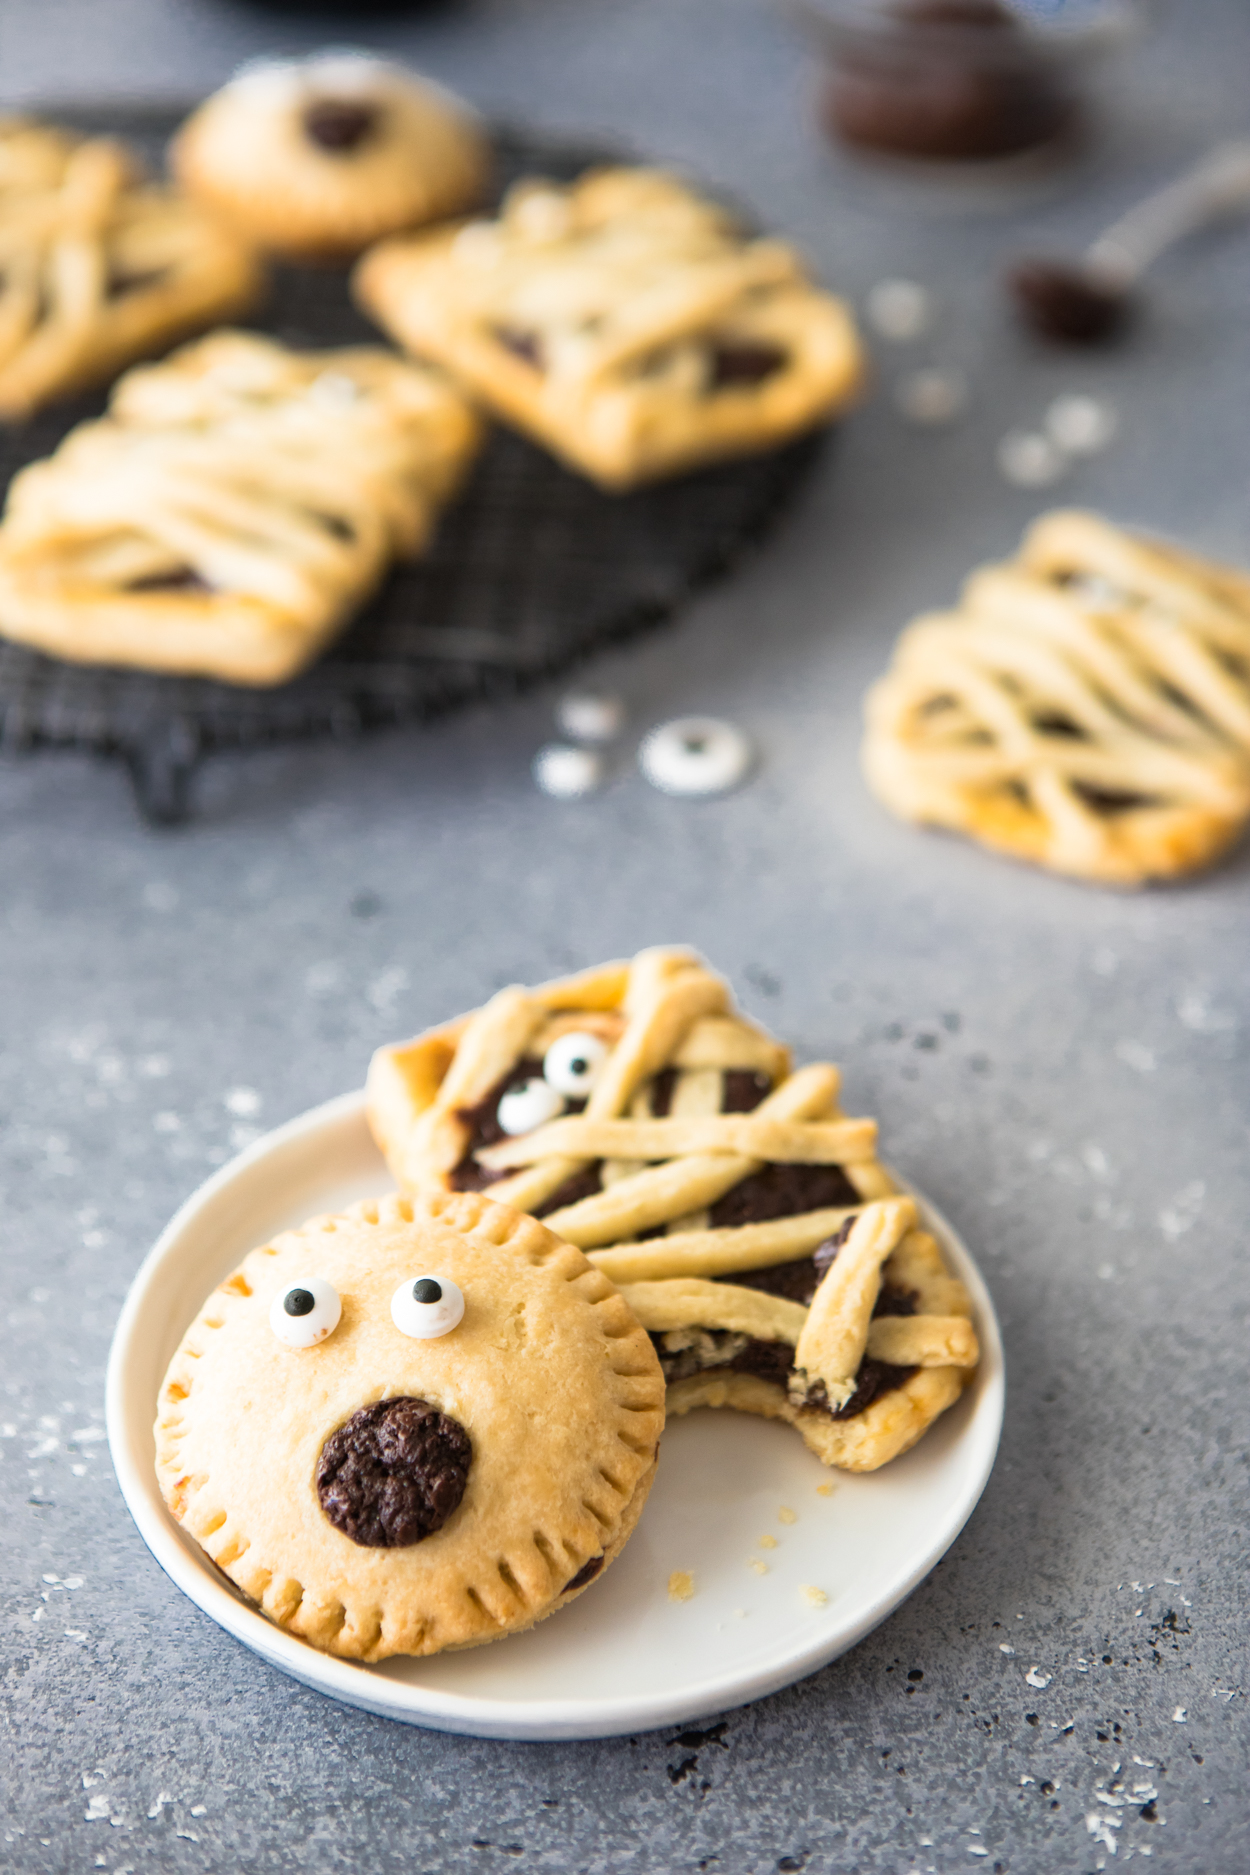
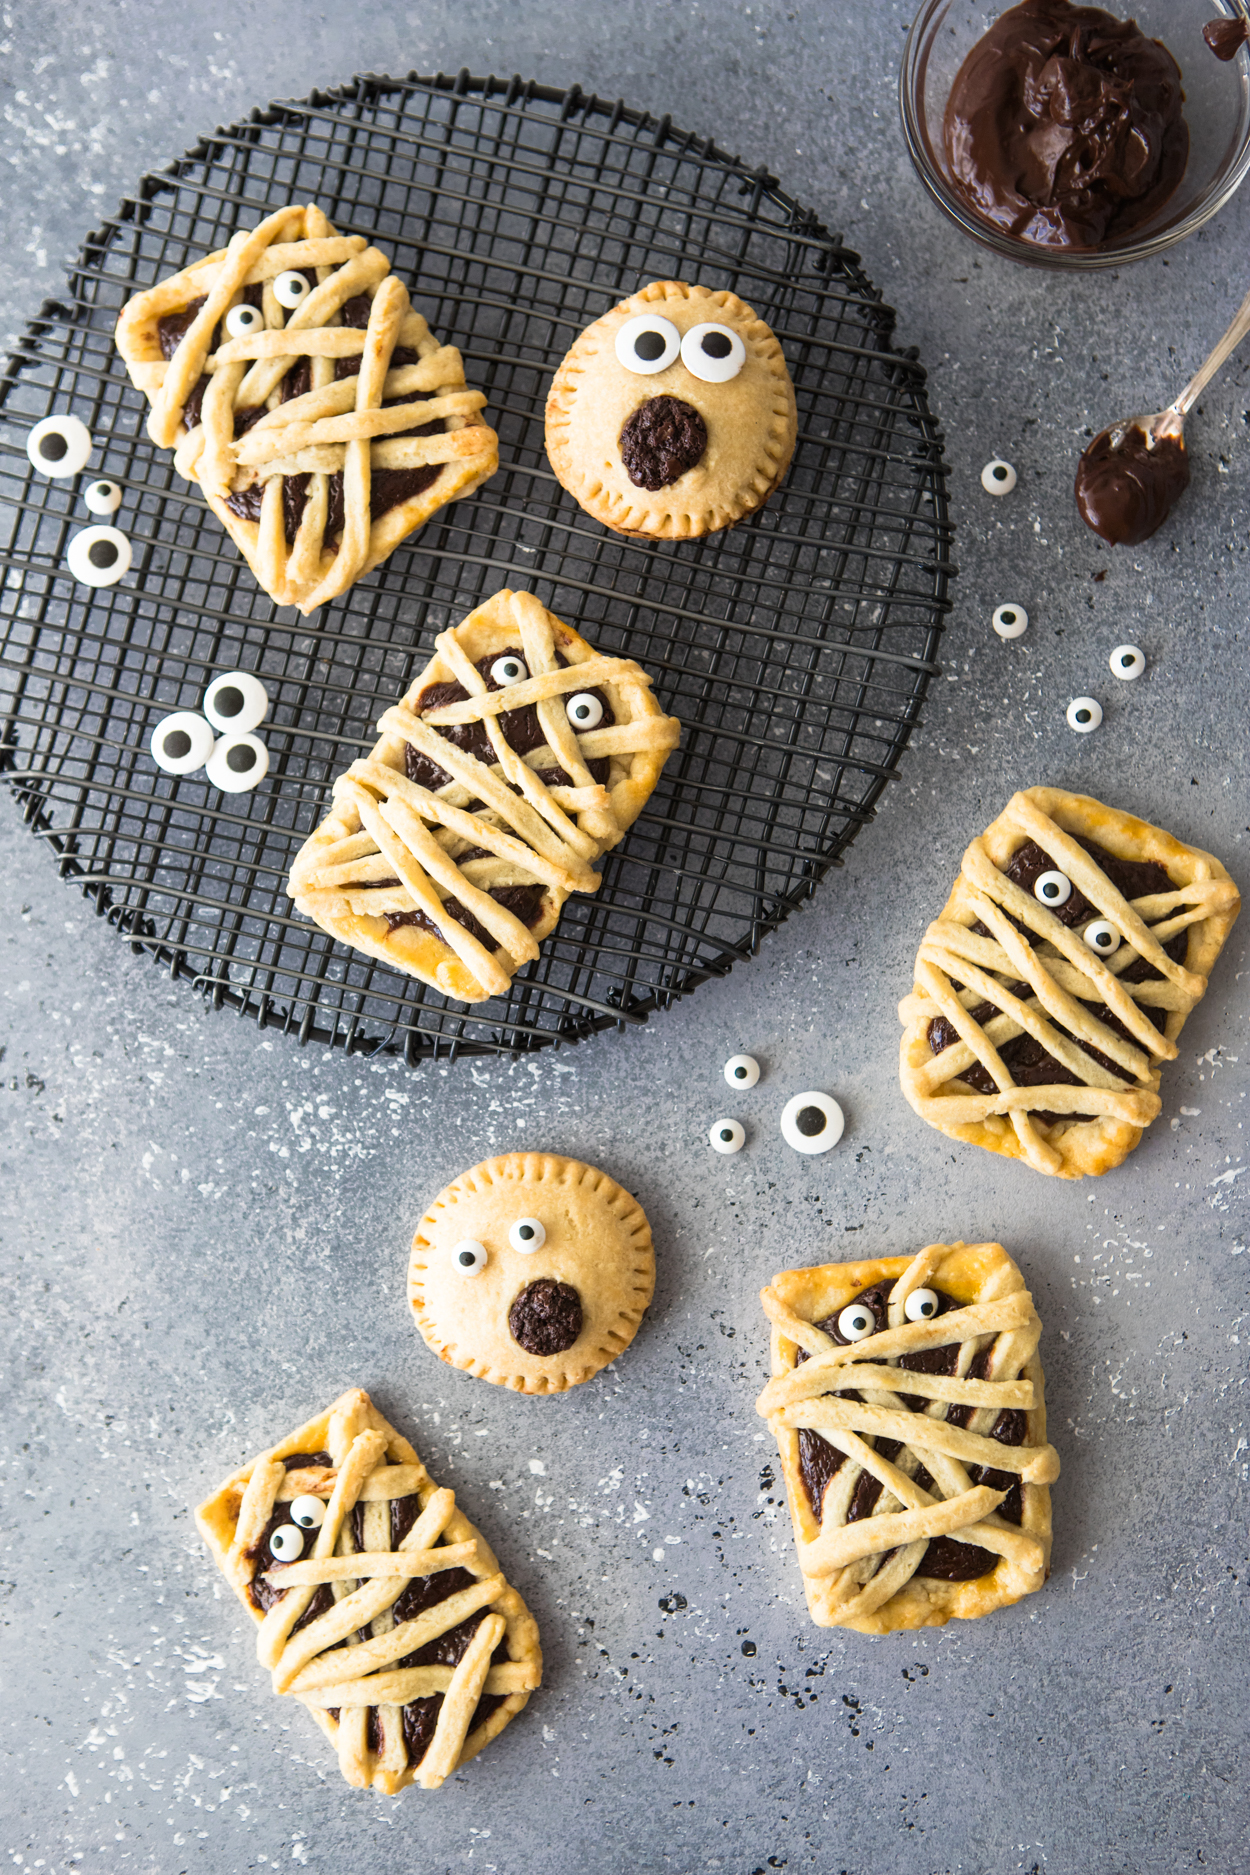
So here we are. Obviously not apple cinnamon, but I happened across Martha’s mummy hand pies and I thought it was the perfect chance to experiment and also create a treat for my mother in law’s annual Halloween party this weekend. Martha’s were originally filled with berries, but chocolate felt more seasonally appropriate, and with the leftover dough it was fun to also create a couple of the little scared/surprised emoji guys.
Before I delved into baking, I spent a long time researching hand pies and the dough that’s used to make them, and it seems like there’s two camps; standard pie crust people and pate brisee crust people. What the heck is the difference between the 2? Good question, and luckily I have the answer.
What Pie Crust Is Best For These Chocolate Hand Pies?
Standard American pie crust uses just 4 ingredients; flour, fat (butter), salt & liquid (ice water), whereas a pate brisee uses the same four ingredients, plus sugar, which wrecks gluten formation.
American pie crusts typically release more steam and therefore puff up more than a pate brisee, which is typically denser and sturdier than a traditional American pie crust, and is often used for meaty savory tarts and pies.
Because I had read that hand pie fillings could often leak, I wanted to take preventative measures since the mummy pies would be so open and more prone to leakage, therefore I went with the sturdier pate brisee. But now that I’ve done some experimenting, I think standard pie crust could work just fine here since this chocolate filling seems to almost firm up even more when baked, as opposed to getting juicier, so feel free to use pie crust, especially if you find the premade rolled out crusts in the store! For a fruity hand pie though, I can definitely see how a sturdier crust would come in handy.
The Trick To Keeping These Moist
The key to making sure these stay moist with a good crust to chocolate filling ratio is to not crimp up the edges too thick, like anything more than ¼″ is too thick and your pies will feel dry. Don’t get me wrong, the kids will still eat them but more discriminating minds may object.
So roll out your crust to about a ¼″ disc, then when crimping the edges, just try to raise up the ends on their own as opposed to raising and thickening by borrowing from the flat crust to create a thicker edge, if that makes sense?
Also, don’t worry about being generous with the chocolate filling, there is plenty to make 6-8 pies so don’t be stingy. Dollop on a good heaping 2-3 tablespoon and spread about a bit.
How To Cut The Mummy Strips
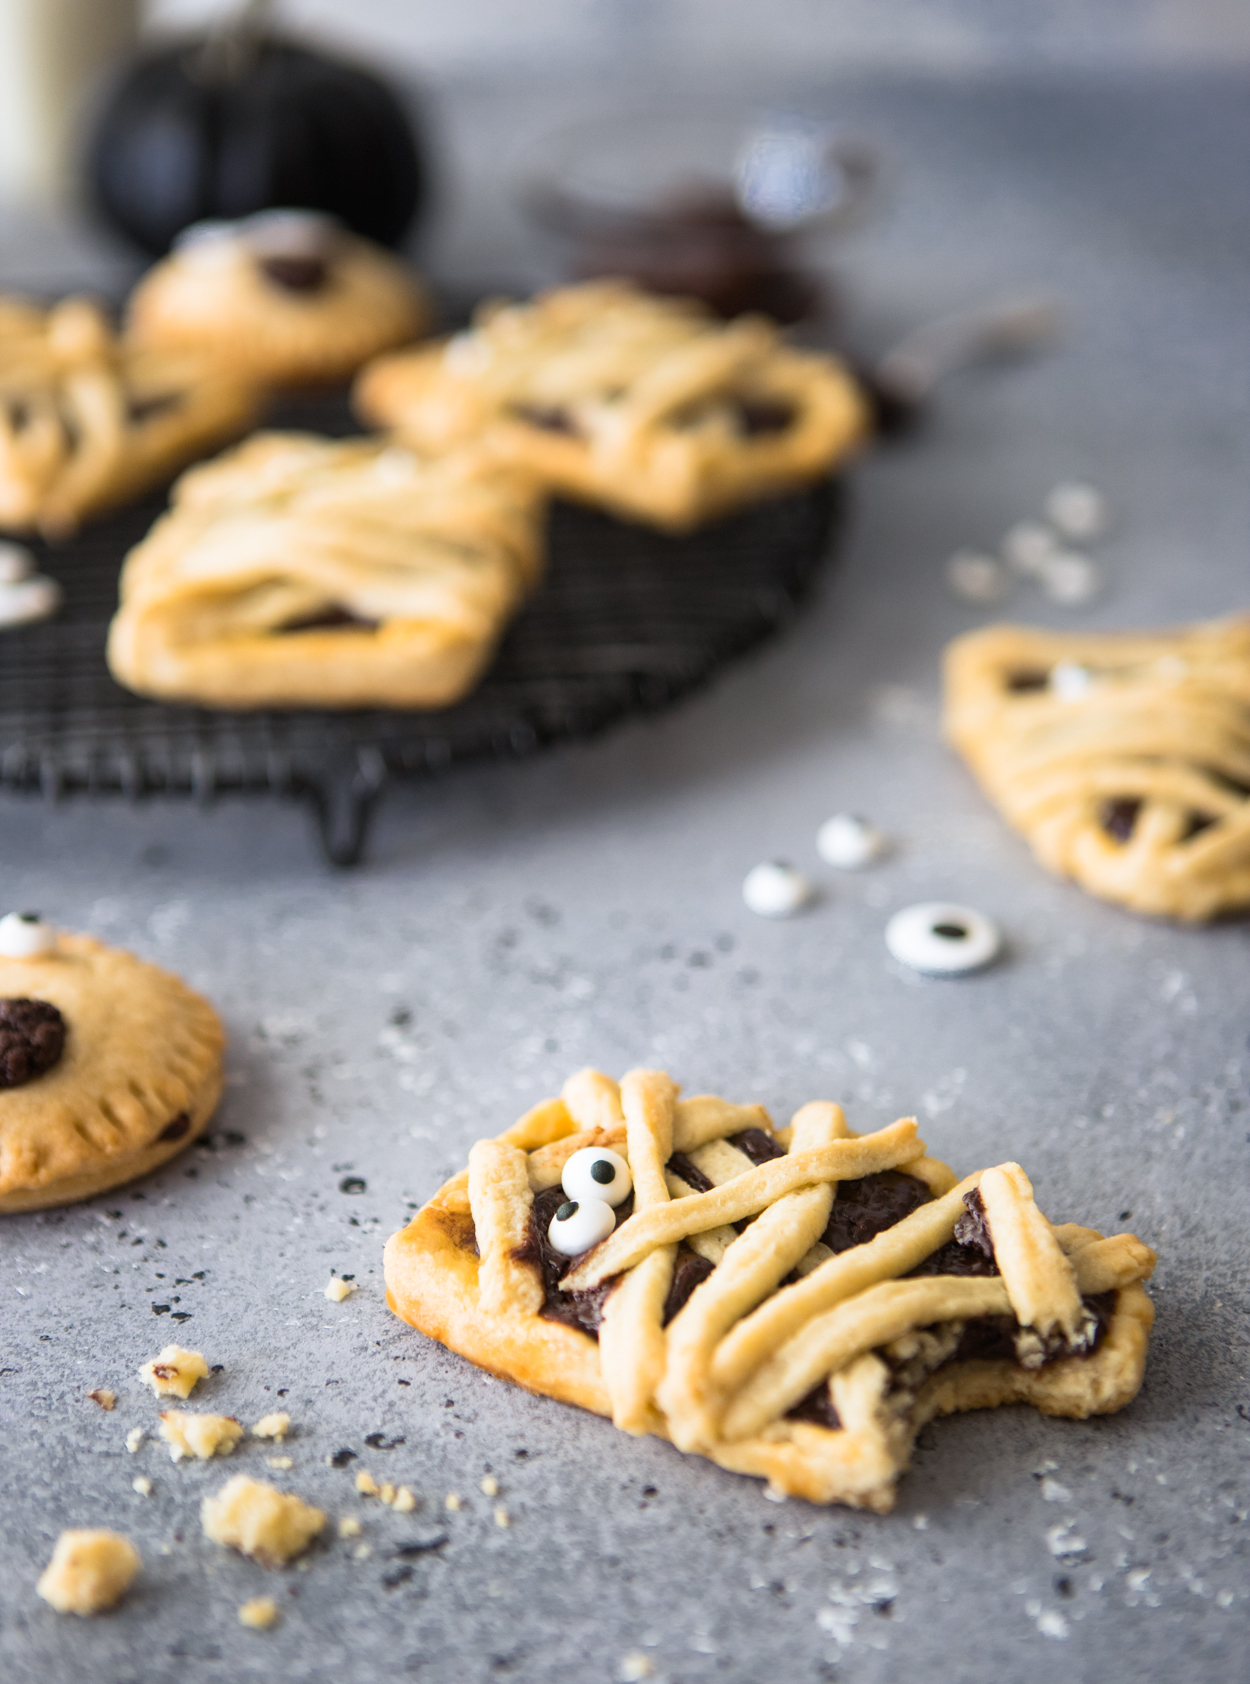
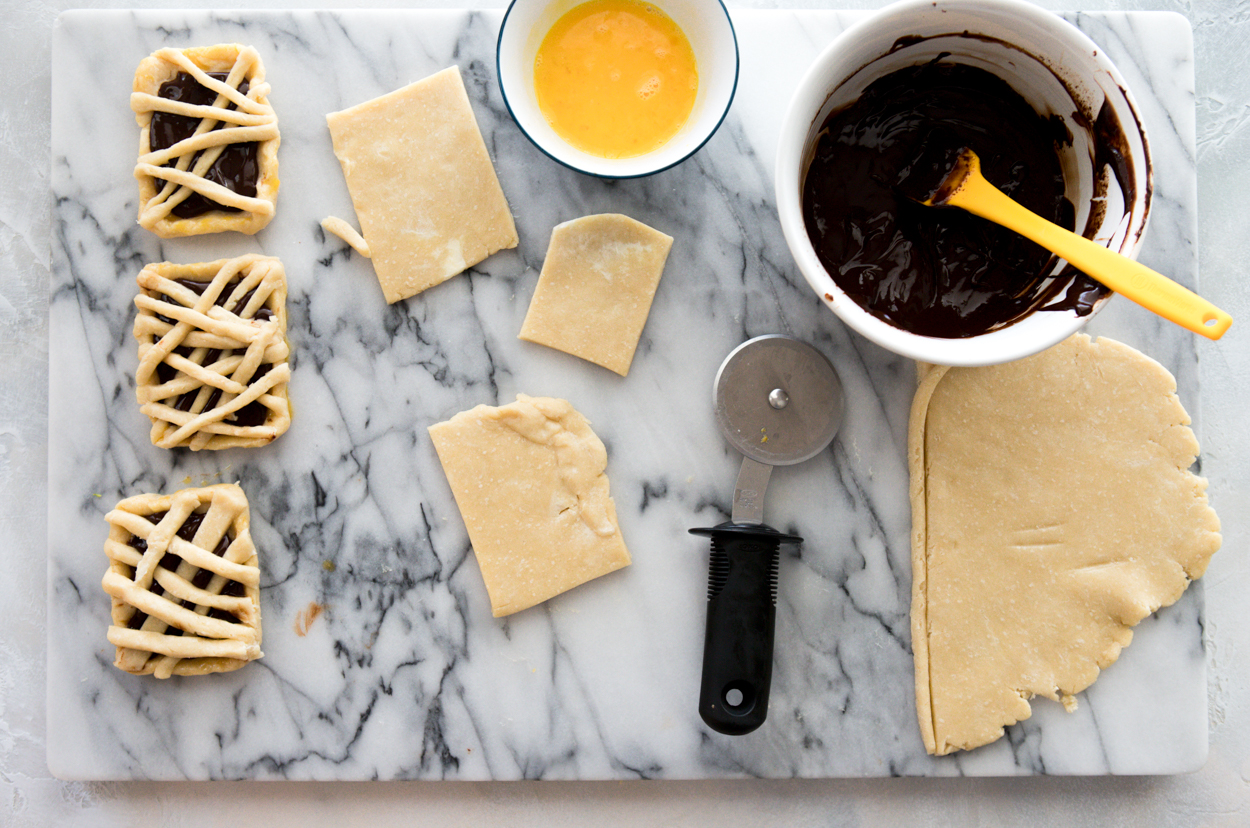
When cutting your strips for the mummy wrap, go as thin as you can without the strips breaking. I can’t tell you exact measurements because much of it depends on how warm you let your dough get, therefore how manageable it is.
But the thinner the better because it will lead to more realistic mummy strips, because mummies are real and therefore need to look legit authentic.
For my dough, which got pretty warm because it was an 80 degree day (those are common here in SoCal during October), I could only go about ¼″ thin, but feel free to go thinner if you can manage it.
How Many Chocolate Hand Pies Will This Make?
My pies measure 4″x 3″ after crimping and I made 6 mummies, leaving me with enough dough leftover to create 2 round little emoji guys just for fun.
Truth be told, these were MUCH easier to make than the mummies, so by all means take this recipe and run with it. I think it would be just as fun and easier to make the simple double crust hand pies like the emoji guy, and do either rectangles or round ones and cut out Halloween shapes using mini cookie cutters like these from Wilton.
Either way, these are delicious and super fun for the fam bam – my kids LOVE them and Hayden wanted one for breakfast, so there you go! Have fun and let me know if you’ve got questions XO.
LOOKING FOR MORE HALLOWEEN INSPIRATION? CHECK OUT THESE POSTS!
Round out this Halloween Charcuterie board with one of these Halloween and Fall inspired post ideas!
- The Perfect Halloween Themed Snack Idea; a Spooky Charcuterie Board!
- Our Simple Fall Decor
- Apple Cider Moscow Mules
- Fun Halloween Cookie Ideas – Royal Icing Spider Web Cookies!
TOOLS NEEDED TO MAKE THIS RECIPE
- Stand Mixer
- Saucepan
- Rolling Pin
- Pizza Cutter
- Baking Sheet
LET’S CONNECT!
Follow along with me on Instagram! And if you make this recipe be sure to tag me @howe.we.live so I can see! I love seeing what you’re making!
Chocolate Hand Pies for Halloween
Ingredients
For the crust:
- 2 ¾ cups all purpose flour
- 1 ¼ teaspoon salt
- 2 teaspoon sugar
- 9 ounces cold unsalted butter cut into small cubes
- 7 tablespoon ice water plus up to 2 more as needed
- 1 egg for egg wash
For the Filling:
- 4 ounce bar semi-sweet baking chocolate coarsely chopped
- ½ cup heavy cream
Other:
- Edible googly eyes to decorat
Instructions
Preheat oven to 400 degrees
Make the crust:
- Combine the flour, salt and sugar in a stand mixer, and mix till just combined. Add in the cold butter and mix on low medium until dough has crumbs to ½" pieces in it. Add in the 7 tablespoon ice water and continue to mix. Test the mixture by seeing if a small amount holds together; if it doesn't add in another 1-2 tablespoon of water until mix holds together and is still crumby - you don't want to mix it until it becomes a fully combined ball of dough, you want some crumbliness to the dough.
- Once your dough is mixed well, take it out and half it. Place each ball of dough between 2 sheets of plastic wrap and roll it into a flat disc about ¼" thick. Refrigerate for an hour.
Make the filling:
- Roughly chop up chocolate and place in a small bowl. Warm heavy cream over stove until it simmers then immediately remove from heat. Pour cream over chocolate and stir until nice and smooth - don't worry, it will look a little sketchy at first but will mix together nicely after a minute or so.
Assemble Hand Pies:
- Let chocolate filling cool and thicken up a bit.
- Once dough has been chilled, remove from the fridge and plastic wrap, and cut one of the discs into 3" x 4" rectangles (or circles in your desired size). Cut the other disc into thin strips that are manageable to work with, about ⅛" -¼" thick.
- Crimp edges of rectangle hand pies and generously spread 2-3 tablespoon of filling in hand pie. Apply strips in a criss-cross, haphazard method and crimp strips together with edges of the base so it holds together. Brush gently with egg wash. Bake for approximately 25 minutes or until dough is a light golden brown.
To assemble round hand pies:
- Collect any leftover strips of dough, roll out and chill again till you can handle the dough, about 20 minutes.
- Remove from fridge and roll out to ¼" thick. Cut out round shapes, fill and cover with an additional round crust, and crimp the edges all the way round with a fork. Depending on what design you want, make sure to cut out a shape before applying top crust, or if you just want plain hand pies, put crust into place and then cut 2-3 slits into crust to allow for venting. Bake for 20-25 minutes.
- As soon as hand pies come out of oven, apply edible googly eyes and allow to cool before enjoying!

Loreto and Nicoletta Nardelli says
What a creative and cute idea! These hand pies are not only perfect for a Halloween party, but also super delicious with the pate brisee and the chocolate filling!
Gunjan says
My daughter just glanced at this recipe while I was scrolling down and she really wants me to make these for Halloween. They look amazingly beautiful and tempting. I will let you know how it went for us.
Debbie says
What an adorable idea for a delicious Halloween Treat ! We have a neighborhood Halloween Party and these Chocolate Hand Pies will be perfect for kid and Adults . They are going on my list for sure.
anna says
These are not only delicious but sooo adorable! Perfect timing, I’m saving this for sure to add to my Halloween bakes this year!
Veronika Sykorova says
These are so creative! I just ordered those little eyes on amazon! Can’t wait to experiment with them and make something spooky for halloween haha
Aleta says
How adorable!!! My girls are going to absolutely love these, especially when I get them to help me make them. They are so cute and perfect for Halloween!
Eva says
These are so incredibly cute! Too cute to terrify me, even though mummies should be rather terrifying, right? But those googly eyes make these mummies so cute and sweet. Anyway, great choice with the chocolate filling. I would also definitely choose chocolate over berries. Berries leak, and this filling behaves so much better that a good result is guaranteed!
Aditi Bahl says
wow,the pies look so lovely. The recipe is so easy and the dish looks absolutely lovely. My kids are a pie fan and am surely trying this for Halloween. Thanks for sharing.
veenaazmanov says
This is so festive. My kids would love to do it themselves. This is so chocolatey and cute.
Tawnie says
I love How easy these were to make! Thank you!!
Emily Bruno says
ThEse are so cute!! i’ve only ever made fruit hand pies, Need to try chocolate asap!
Amy says
These look so fun and delicious