
 I sound like a broken record here, but things have been busy at home as we continue to unpack and settle in. Last weekend we finally unloaded the huge shipping container that held the remaining contents of our home, and half the stuff either made it back into the house, and the other half got shoved in the garage. After living with a minimal amount of items during our time at the parents, as we were unpacking the pod, both Art and I looked at all the “stuff” we had previously shoved in our house and agreed that we didn’t need a good chunk of it. So ironically, we enlarged our home by 290 square feet and now have all this extra storage, which we’re hesitant to fill up.
In the end I’m of course grateful for the extra space that came with the renovation, not just the additional storage, and know that we will make good use of extra cupboards and drawers. And by make good use, I mean not filling it up with 1000 children’s books or old kitchen items I hold on to for who knows what reason. All this to say, our house currently feels light and airy, whereas our garage feels like a dark and claustrophobic dungeon. We’ve definitely got our work cut out for us.
So things are definitely moving along at home, but we’ve yet to complete one room in the house. I learned that holding off on purchasing some items until we really needed them wasn’t the best strategy, as things are often times sold out and/or on back order, hence why Taylor’s bathroom currently has no lighting fixtures or cabinet knobs. But we’re dealing with our blue painter’s tape solution and patiently waiting for the final odds and ends for each room to trickle in. When we made the budget for our renovation, we didn’t do a great job including the supplementary costs for things like toilet paper & towel holders, new mirrors, additional lighting fixtures, etc. And I certainly didn’t realize how pricey cabinet hardware was. So I spaced out what I ordered when to slow the bleeding of funds, and now we’re left with blue painter’s tape for knobs. It’s all good, there’s certainly worse problems we could have and I’m not complaining. But that explains some things in the photos below.
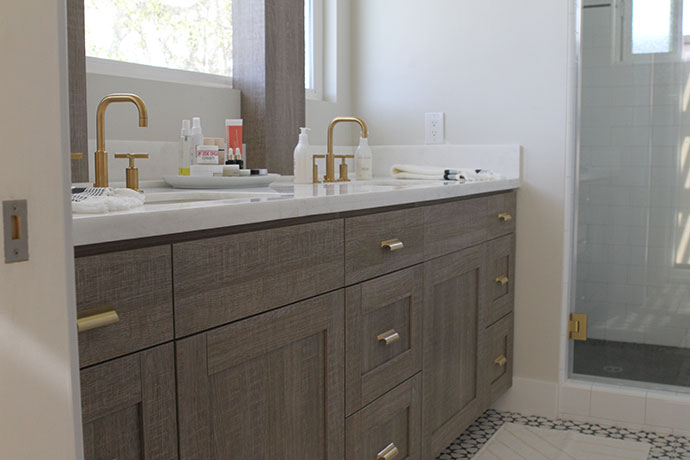
Speaking of the photos, even though we are not quite finished, I thought it would be fun to at least show you what we’ve got completed and what the final stages of a remodel look like. So let’s take a little tour of just the 2 bathrooms and our master.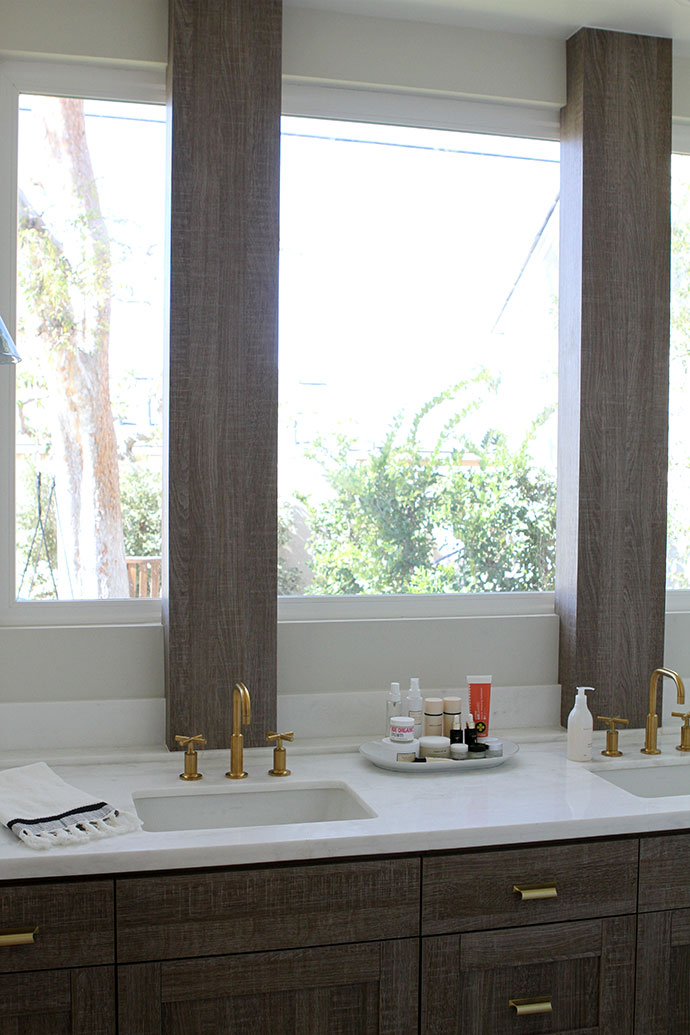 Beginning in the master, this past weekend they installed the covers for the beams above the sink, and today they installed the faucet and shower trim kit, after being on back order for several months. Our cabinet knobs just arrived Friday, so those will hopefully get installed this week, and I need to place the order for the bath accessories like towel bars and toilet paper holder. Oh, and we need to get mirrors of course. The ones Shelly had originally chosen for us are of course no longer available.
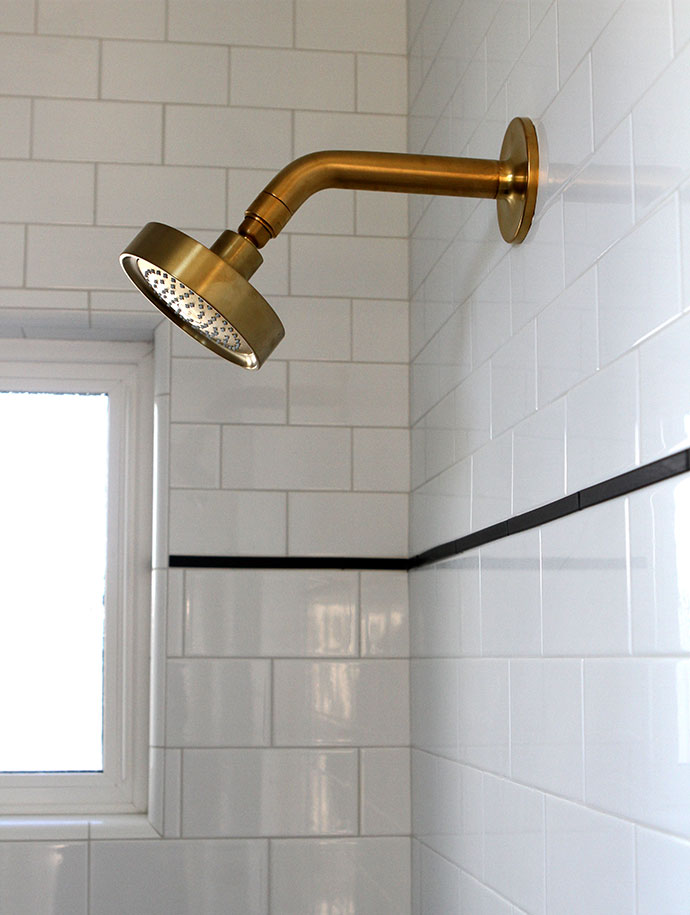
 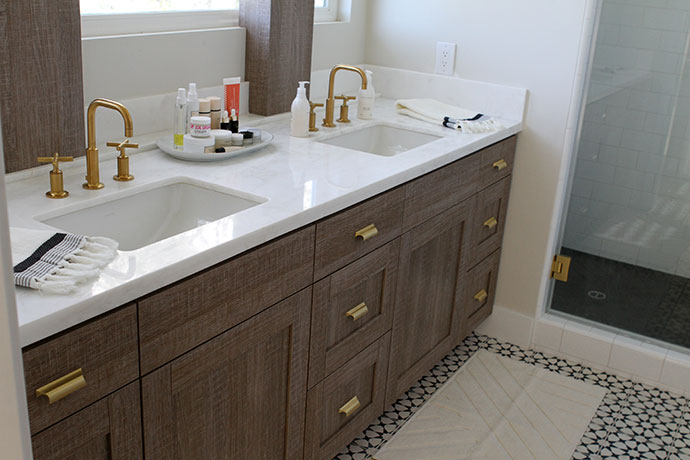 I was very nervous about how the whole open window and beams idea was going to turn out, but it honestly turned out better than I had expected, and I’m so happy we took the risk here. We had originally figured we would hang a pull down shade for privacy, but I’m hoping we can leave it like this. Unless the neighbors behind us build on a 2nd story, we should be fine as far as privacy goes. There’s just no taking showers when we’re having a backyard swim party, but I think we can manage that. The natural light that comes in is amazing, and at night we have a perfect view of the moon through the window. Once everything is complete I’m hoping to have one of my photographer friends come over and take photos using a different lens that can better capture the space.The ceilings are 9′ tall in the bathroom, which makes for a lot of square footage to cover in the shower. The tile that was originally designed for the shower would have just been way too expensive, so we went with a standard subway tile and used the tile we originally had chosen in here, for the kitchen back-splash. To create a bit of interest and break up the tall ceilings, the designer at Ann Sacks suggested we use 2 different sizes of subway tile, and break it up with a matte black horizontal line.
 The black matte is continued in the floor, with a penny tile filled in with black grout. The matte floor feels amazing when taking a shower and really creates a dramatic contrast.
 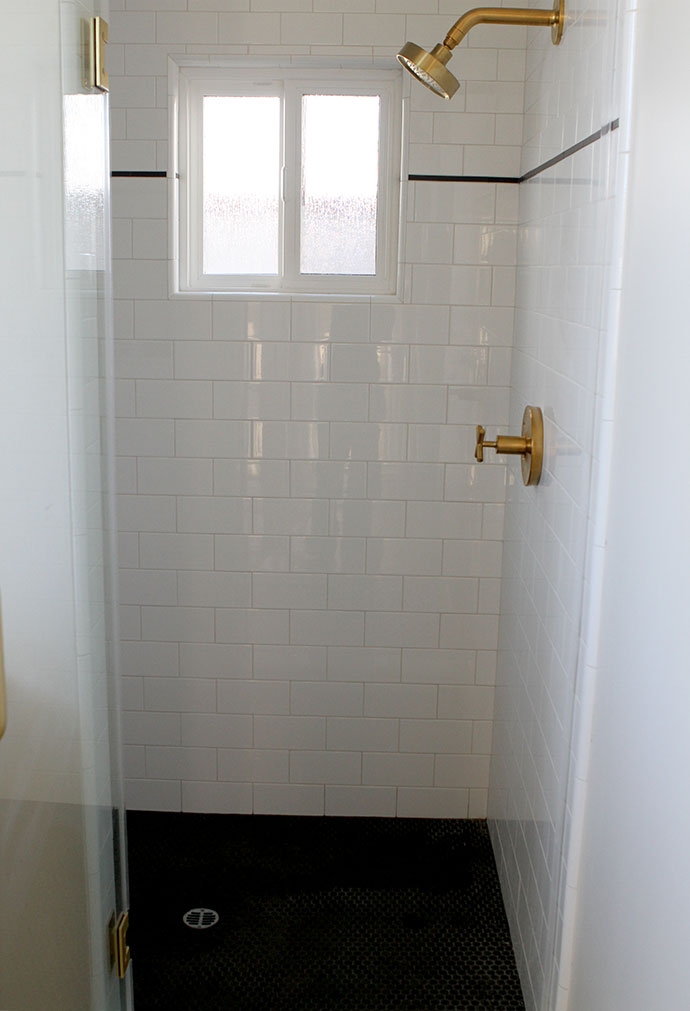 Speaking of floors though, the thing I love most about the bathroom though, are the painted concrete floors.
 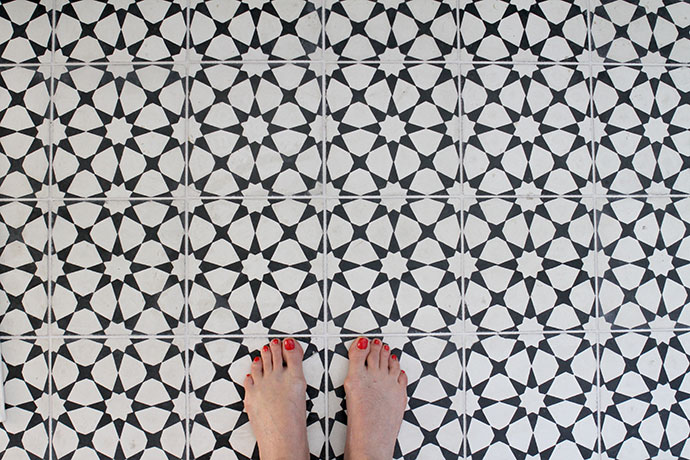 One of the major advantages of adding a bathroom in the back of the house was being able to give it outdoor access and essentially make it a pool bath. There’s a pocked door for privacy and another door to limit access to the master bedroom. So our floors in here will likely be continually wet and grimy, but better to quadrant it off here than give the kids access to the traipse through the entire house with wet feet. My hope is that eventually they will learn how to dry their feet off before going in the house, but I hear that often doesn’t happen until adulthood when they have their own mortgage to pay. 😉
 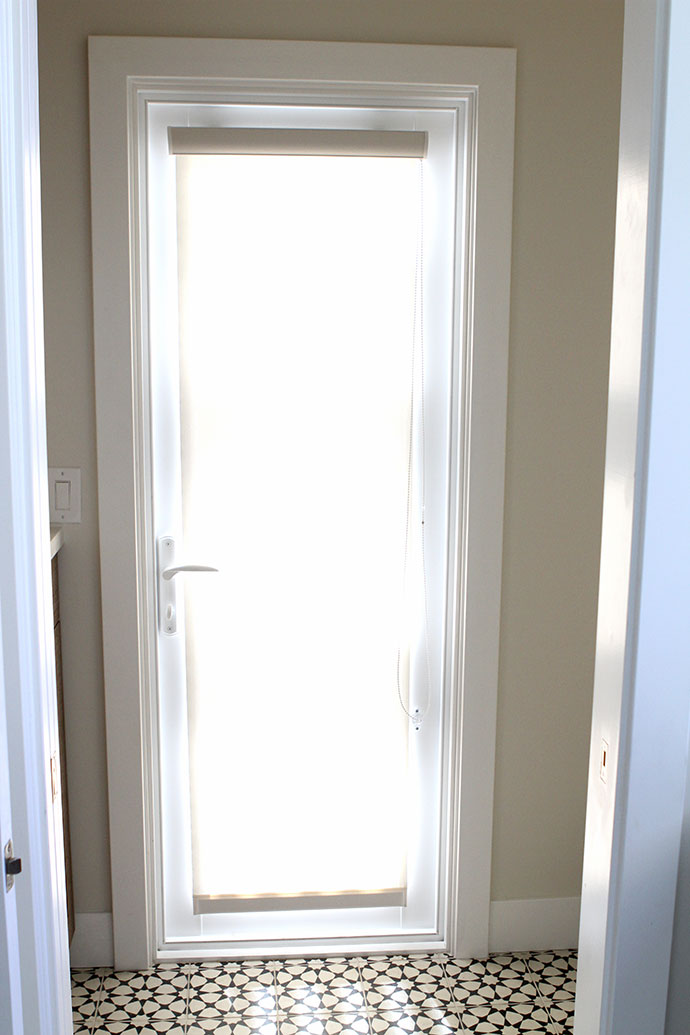 The door which closes off the bathroom from the master is mirrored on both sides, since we didn’t do closet doors with inset mirrors. I love them.
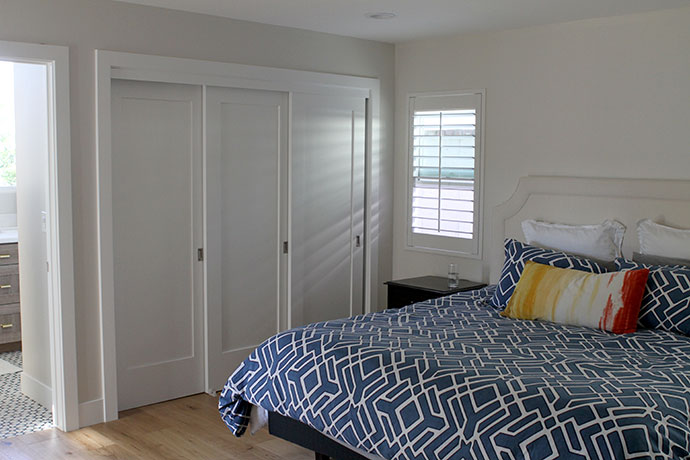
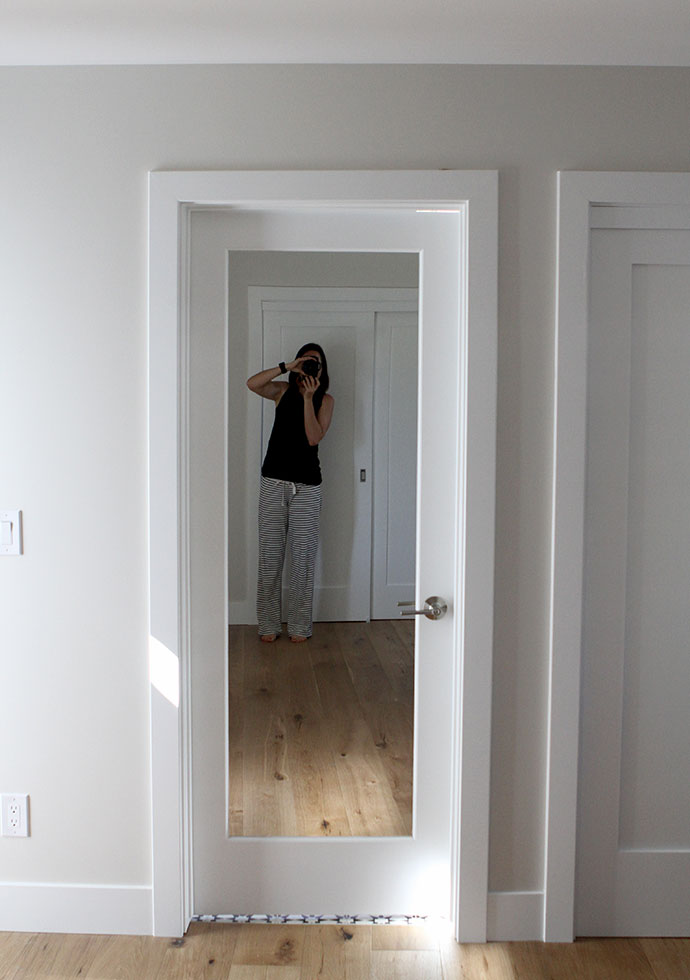 And speaking of closet doors, here you see my side of the room and my closet, and Art has an identical closet on the other side of the room. The dual opposing closets was the main reason we left mirrors off the doors, otherwise we would have had that hall of mirrors effect. My only regret with these doors was that I didn’t insist the handles go on the left side of each door rather than the right. My contractor thought it looked better this way for some reason I can’t even remember, but they kinda don’t make sense this way since us Americans tend to do things from left to right, not right to left. Oh well, the doors have a large enough inset on the panel that I mainly just pull them open that way.
 The wall that the headboard sits on will eventually get a wallpaper treatment, so until then it’s kinda plain jane in here. I do love the windows on either side of the bed though.
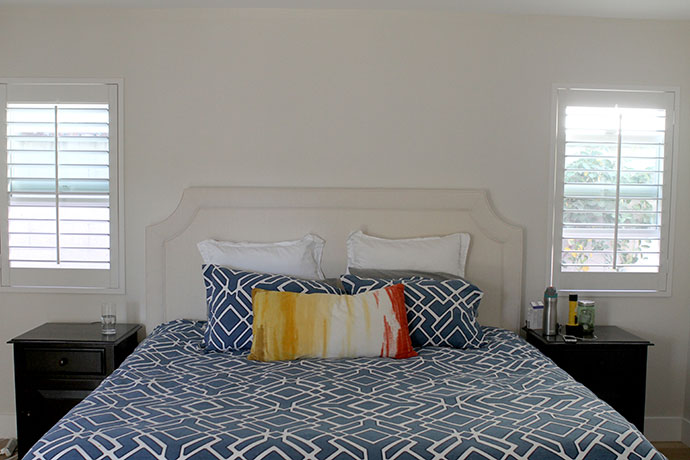 By the way, we wound up going with the Martha Stewart for Home Depot closet system, and love how it turned out. Much cheaper than custom, but you still get a semi-custom feel, and there are nice add-ons like the slanted shoe holders, tie racks and drawers. A few readers who follow me on Instagram have asked about our interior and closet doors. I’m not too sure who the manufacturer is, but we asked our contractor for shaker style options, and he brought us back a catalog for a company which offered a few different styles. We went with the single panel option and he purchased them at Ganahl Lumber. We love them and am so glad this was one item we decided to add in to the project after the fact. We went with a simple single plank baseboard and door casings and love the clean lines, although don’t love how dusty the baseboards get. We were warned but went with them anyhow. Oh well, I’ve just been sweeping them down with a broom and despite the dust, I really like them.
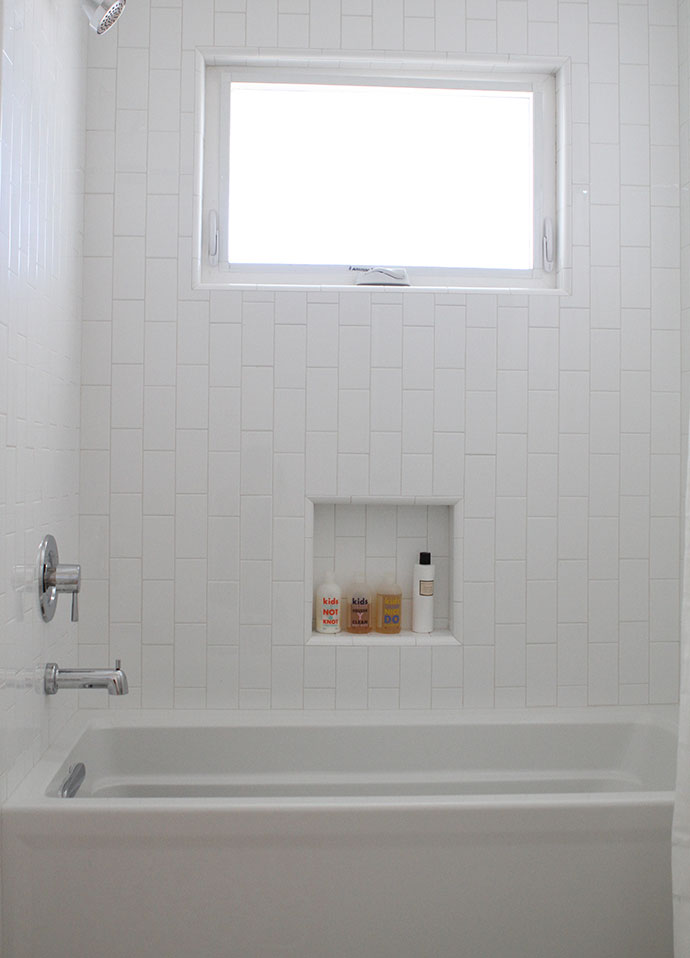
 Lastly, going into Taylor’s bathroom, we still have a few odds and ends to finish up, including choosing wallpaper, but with the addition of just a rug, shower curtain and some hand towels, the bathroom feels close to completion.
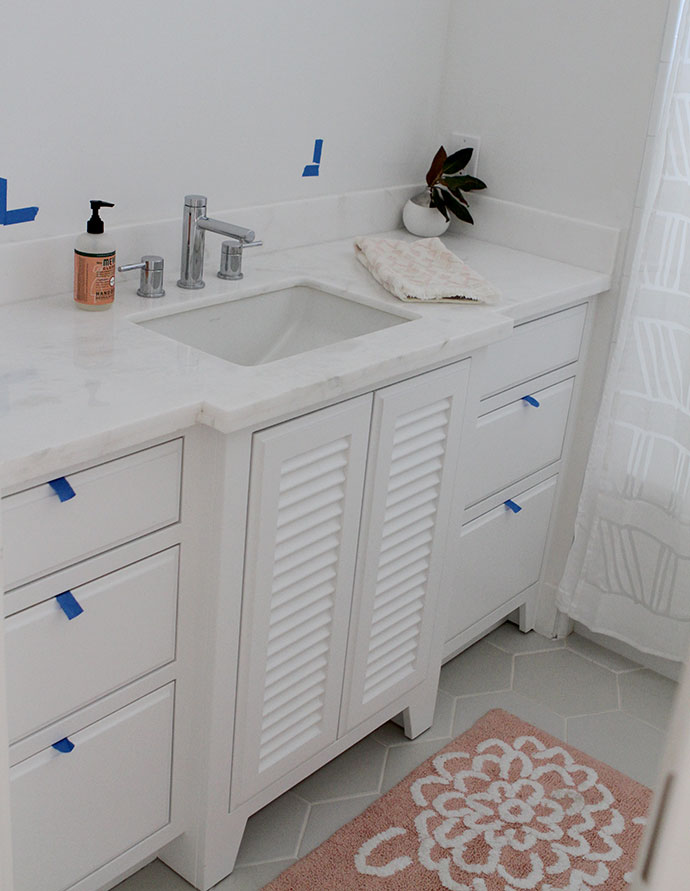 We added a bit of square footage in here so that the toilet was no longer sitting half way in front of the tub, so now it feels a lot more spacious in comparison to what we were used to. I’m thinking one of the wall ladder shelves would be cute here on this empty wall. The floor tile is a combo of a lined hex and a smooth hex. We had the lined tiles alternate on the diagonal to add more interest, which is sort of difficult to see in the photo.
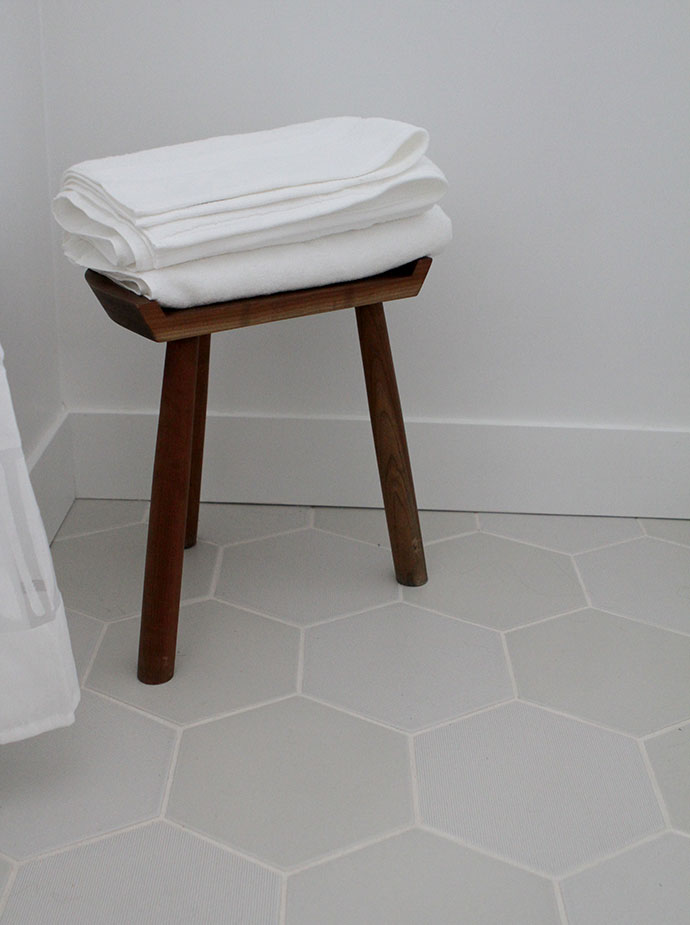 Because we’re going to eventually do wallpaper in here, and the floors have a lot of visual interest already, we decided to keep the shower simple with subway tiles again. To change it up from the master though, they installed them in an offset vertical pattern.
 As I said before, we’re still waiting on knobs in here, as well as the sconces. We will be hanging the mirror that previously hung above our mantel, so just need to get it installed the next time the contractor sends one of his guys back. That’s another downside to not having everything ready to go all at once; once the majority of the project wraps up, the subcontractors get pulled to other jobs and your job is then put on a lower priority. So someone will come work on finishing up odds and ends maybe once or twice a week now, as opposed to being available to come whenever product comes in.
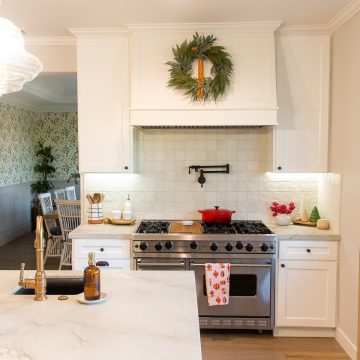
  I shot photos of the kitchen today as well, but since this post is already long enough I’ll hold off posting those until tomorrow or Wednesday. In the mean time, I’ll do my best sourcing items below. Let me know if you’ve got questions!
Master Bath:
Flooring: Cement Tile Shop
Shower Tile: Ann Sacks
Faucets: Kohler Purist Line
Countertops: Marble slab
Cabinet: Custom, using “reclaimed wood” veneers which is quite silly when you think about it haha!
Cabinet Pulls: Schoolhouse Electric
Sconces: Restoration Hardware
Wall Color: Benjamin Moore Classic Gray
Rug and hand towels: Target
Taylor’s Bath:
Flooring & Shower Tile: Ann Sacks
Faucets: Moen Align Line
Countertops: same marble slab as master bath
Cabinet: Custom, painted the standard white that the finisher always uses(??)
Shower curtain and rug: Target


Alexander Filis says
HI ,
lovely job
my question is where did you get the door with mirrors on both sides?
Alyssa from The Sparkly Life says
Looks amazing! LOVE the gold faucets in your master bathroom…and that floor!